Why Drywall Taping Order Matters in Your Renovation
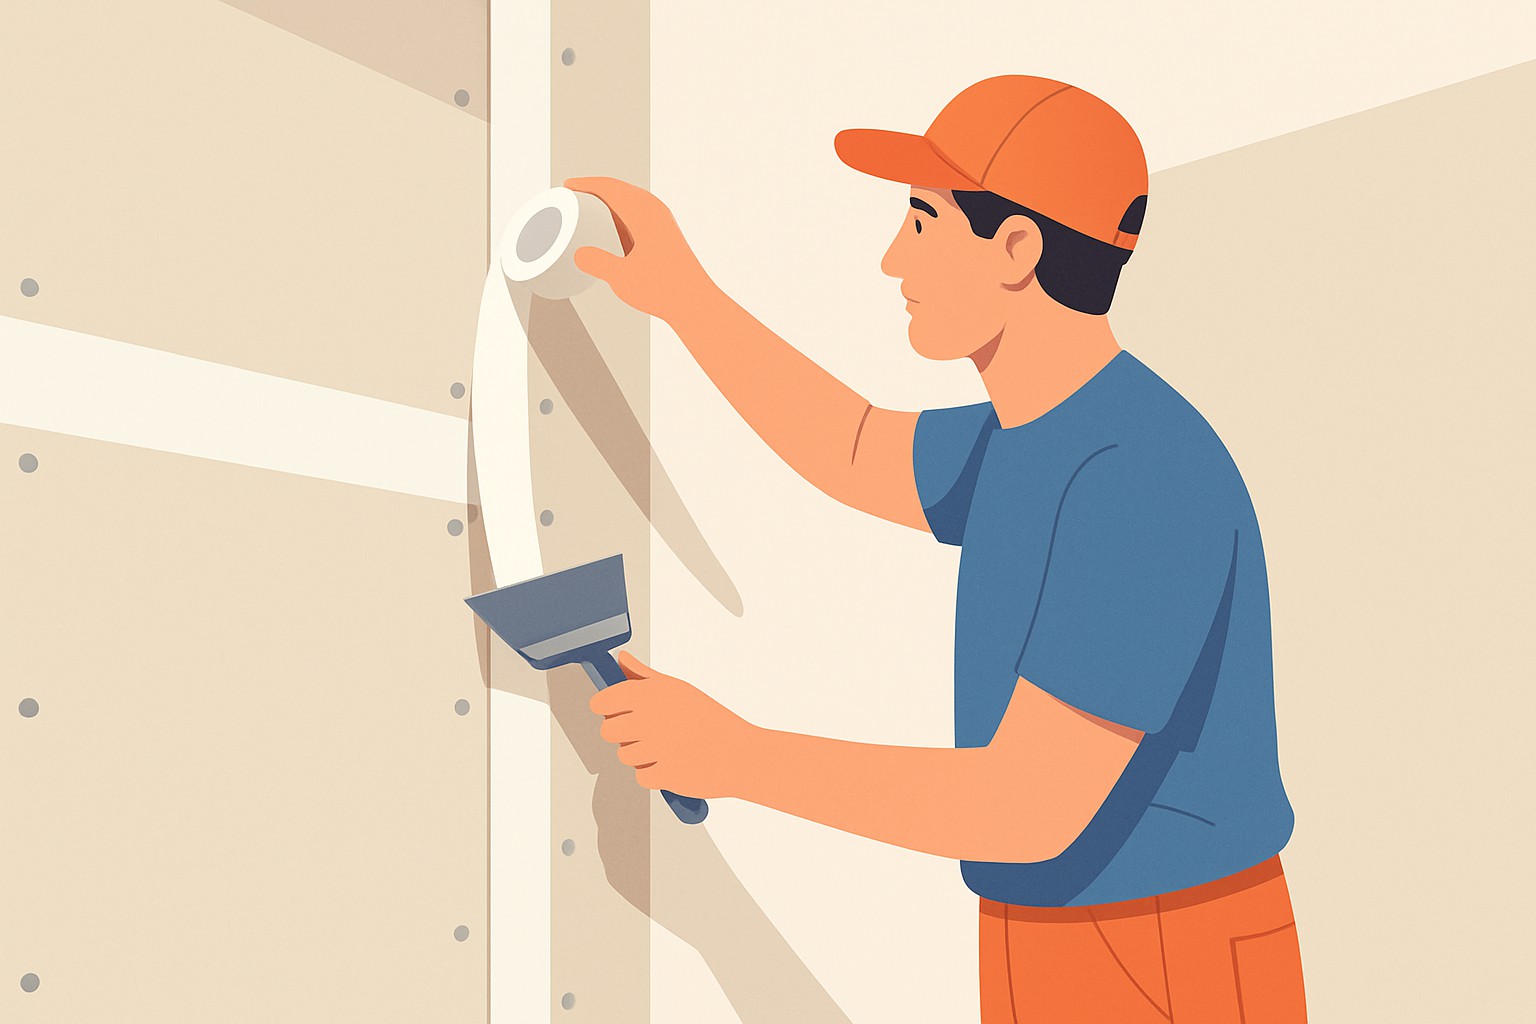
This guide explains why the order you tape your drywall is important in any renovation project.
- Discover the best order to tape joints and corners that looks great and holds up against cracks over time.
- Get familiar with the essential tools and materials you will need to nail a professional drywall taping finish.
- Follow a straightforward step-by-step method—from tricky inside corners to filling screw holes—for a smooth surface.
- Learn how to handle common hiccups like tight corners and humidity so your workflow stays on track without frustration.
- Master sanding and priming techniques that prepare the wall for a flawless paint finish.
Drywall taping is absolutely important whenever you’re tackling a renovation that involves finishing walls. The drywall taping order you stick to can really make or break the whole deal—it affects not only the durability of the wall but also its overall look and how well it stands the test of time.
Drywall taping involves covering seams between drywall panels with tape and joint compound to create a smooth surface that’s easy on the eyes. You’ll usually work with paper or mesh tape along with joint compound—often called drywall mud—and tools like taping knives, mud pans and sanding sponges.
Understanding the Drywall Taping Process and Why It Really Matters
The drywall taping order is basically the game plan for mudding and taping all those joints, corners and seams during installation. Following the right sequence, starting with the inside corners and moving on to outside corners, then wrapping up with seams and screw holes, can save you from headaches like cracking, bulging or lumpy surfaces.
- Slapping tape on in the wrong order often leads to overlapping mud that dries all uneven, which can spell trouble with cracks and peeling later on.
- Doing it out of sequence usually ends up wasting time because you will probably have to redo or sand down those pesky uneven patches more than once.
- Using the right taping order keeps things running smoothly and helps the mud dry nice and even, which can really shave down the total project time.
- Sticking to the proper sequence almost always results in a wall that looks cleaner, with flat surfaces and seams that practically disappear.
- Following the right order also helps avoid weak spots in corners and joints, making the wall tougher and more likely to hold up when life puts it to the test.
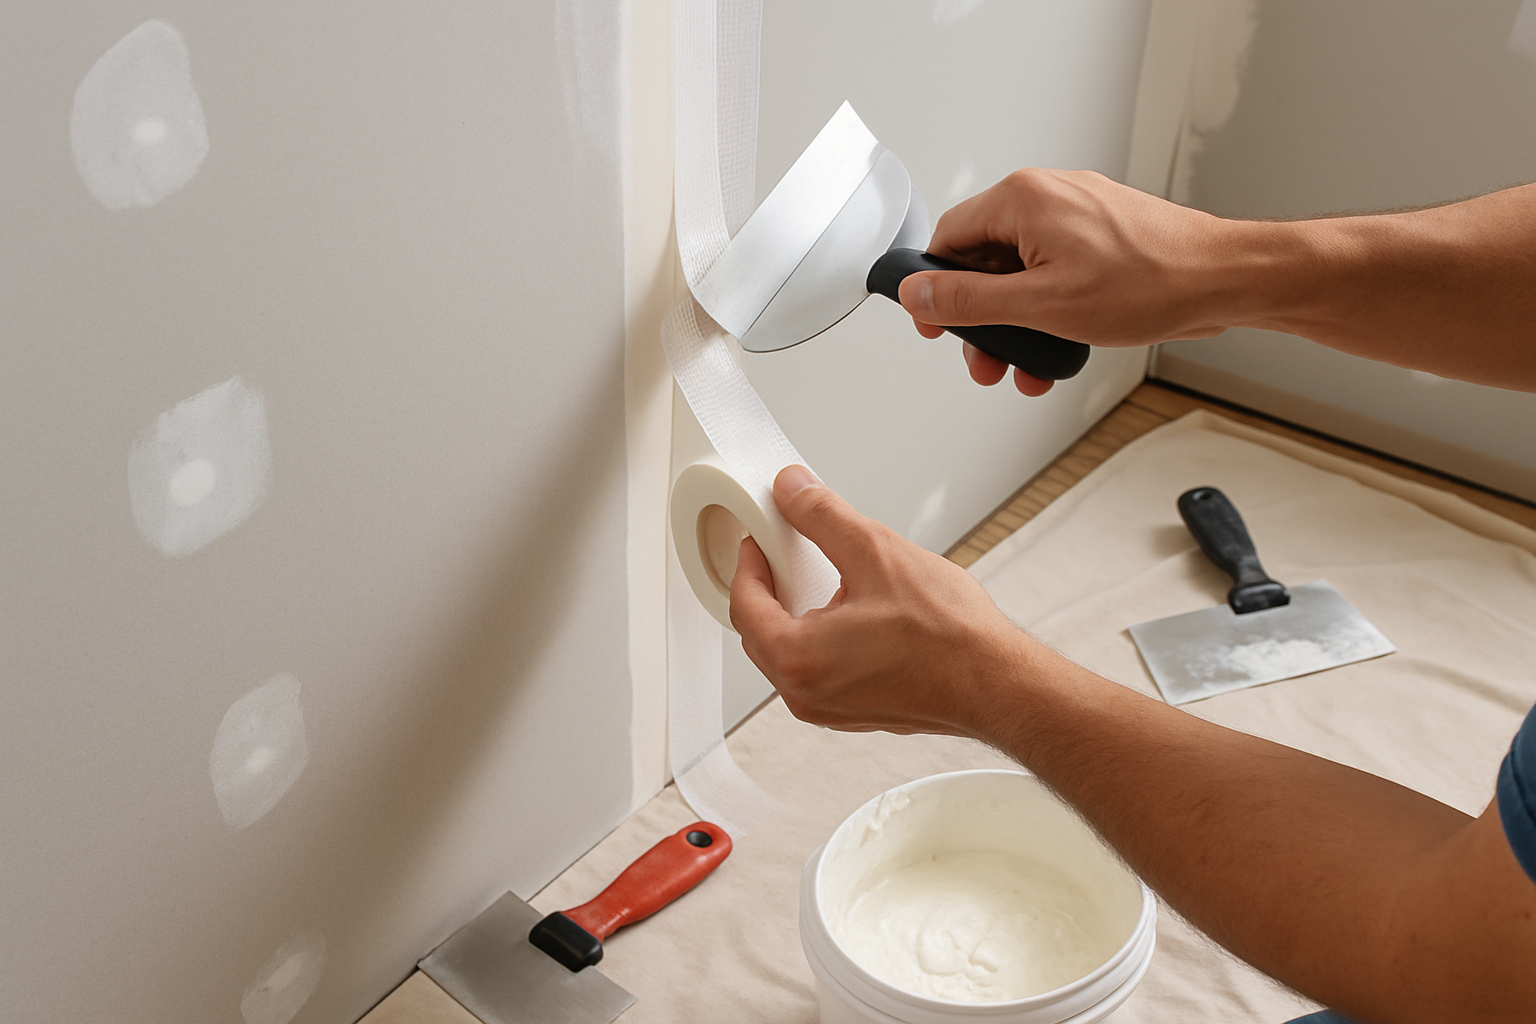
Step-by-Step Guide to the Recommended Drywall Taping Order (Because getting it right makes all the difference)
It really pays off to tape and mud drywall joints in an organized fashion, starting with the key structural joints before tackling the smaller details.
Kick things off with the inside corners by slathering on joint compound and embedding tape. This step helps nail those clean sharp edges that make a world of difference.
Next up, tackle the outside corners using metal or plastic corner beads because they give your work extra strength and a crisp polished finish that is hard to beat.
Then, move on to taping the butt joints where drywall sheets meet. This trick goes a long way in keeping pesky cracks at bay.
Spread tape over all the remaining seams and joints. Carefully smooth it out to create an even uniform surface that is ready for the next steps.
Fill every screw and nail hole with joint compound. Grab a smaller knife here for precise repairs that really tidy things up.
Slap on extra coats of joint compound but be patient. Let each layer dry completely before sanding to achieve that smooth flawless finish everyone's after.
Make sure each coat of joint compound dries completely—usually around 24 hours—before you start sanding or slap on the next layer. This patience pays off by preventing cracks and actually speeds things up in the long run, since every layer gets to bond properly.
Essential Tools and Materials You’ll Want for Smooth Drywall Taping Success
- Pre-mixed or powdered joint compound that’s a real workhorse perfect for both taping and finishing without fuss.
- Paper drywall tape for standard joints or fiberglass mesh tape when you need extra durability.
- A good mix of taping knives like 6-inch and 12-inch blades to help spread the compound smooth because nobody likes lumps.
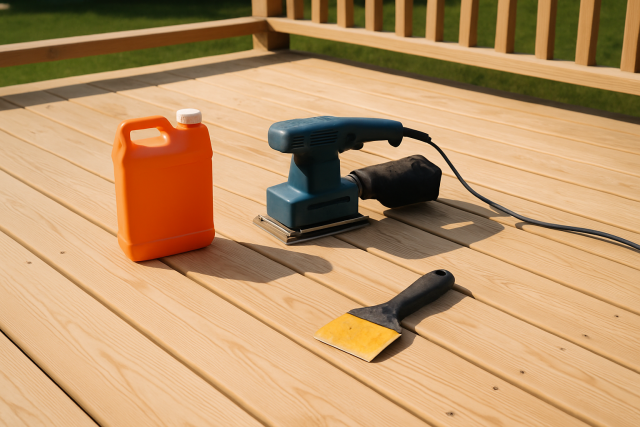
- Sanding sponges and fine-grit sandpaper designed to gently smooth dried compound while being kind to the tape underneath.
- Corner beads made from metal or plastic plus the right fasteners to keep outside corners sharp and protected.
- A mud pan that makes holding and mixing your joint compound much less messy.
- Putty knives to carefully fill screw and nail holes with the precision of a pro or close enough for your wall’s sake.
Picking the right tape and joint compound is surprisingly vital when it comes to getting materials to stick properly during taping.
Typical Challenges with Drywall Taping Sequence and How to Tackle Them Like a Pro
The drywall taping process usually follows a pretty straightforward routine but things get fiddly when you deal with odd nooks, windows, doors or monster-sized rooms. Navigating these spots requires flexibility, sharp measuring skills and careful planning to keep the finish smooth.
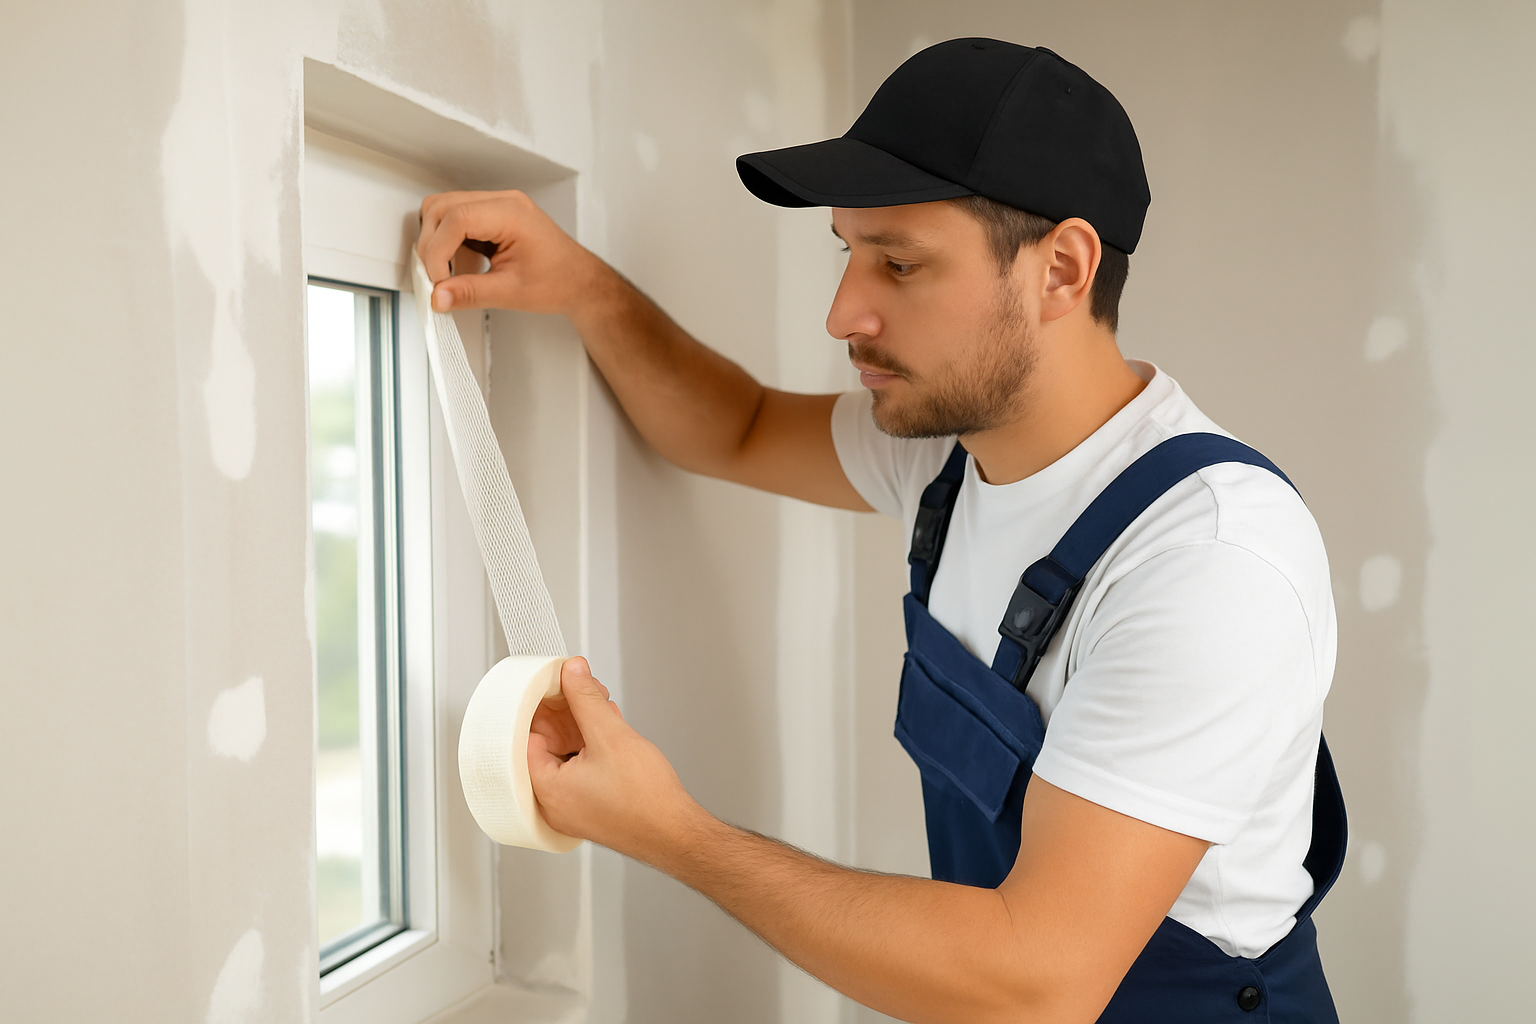
- When working around tricky tight inside corners or oddly angled joints you need to cut and tape carefully to achieve that clean professional finish everyone admires.
- These situations increase the challenge and require extra attention to prevent cracks. Sometimes that means using reinforced taping for added strength.
- It is wise to adjust your workflow slightly or use drying aids to keep the process moving smoothly.
- Textured and patterned drywall surfaces are a different challenge. They often require specific taping techniques if you want those seams to vanish completely.
"Patience and careful sequencing really lay the groundwork for smooth drywall finishing. Trust me, paying close attention to the order of tapping not only saves you a bunch of time in the long run but also helps you nail a durable, professional-looking wall—no shortcuts here." — Mark Thompson, Professional Drywall Finisher
Finishing Touches with Sanding, Priming, and Painting Once Drywall Taping Is Done
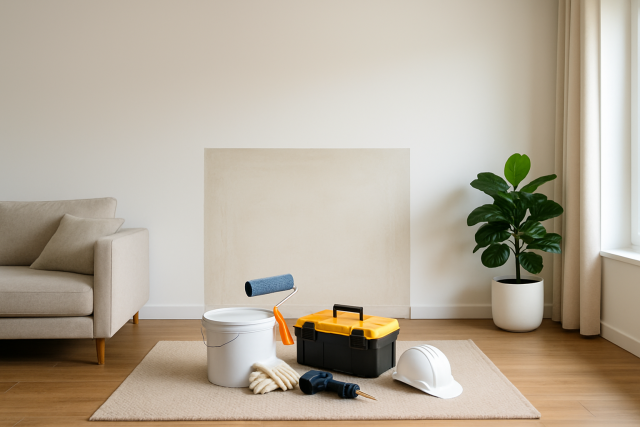
Now that the drywall taping is all wrapped up, it’s time to roll up your sleeves for the finishing touches. Sanding, priming, and painting might sound straightforward, but trust me, a little patience here can make a world of difference. You’ll want to smooth out those seams so the surface looks seamless—as if the wall was born that way. Then comes priming, which, while not the most glamorous step, is absolutely vital for making your paint job stick around longer and show up true to color. Finally, the fun part—painting. Whether you prefer a bold splash or something subtle, these last steps are what really bring your space together and make all that hard work worth it. Just take your time, and you’ll be rewarded with walls that look sharp and professional every time.
Following the correct drywall taping order is key to keeping walls smooth and sturdy—think of it as setting the stage for a flawless finish. Doing it properly not only makes sanding a breeze but also speeds things up, saving you some elbow grease.
- Use light, even strokes with fine-grit sandpaper or sanding sponges to sand walls until the surface feels smooth and flush to the touch. Take your time here because rushing can leave you with unwanted bumps.
- Apply a drywall-specific primer to properly seal the joint compound. This small step really helps the paint stick better and last longer, so don’t skip it.
- Pick a high-quality paint and apply it in smooth, even coats to highlight the drywall’s flawless finish. A steady hand can make all the difference in the final look.


