How Long Does It Take for Tile Sealer to Dry Completely?

This article dives into everything you need to know about tile sealer drying times to help you achieve a long-lasting professional finish that makes you proud.
- Get a real grip on how different types of sealers and tile materials can change drying and curing times—it's not always what you would expect.
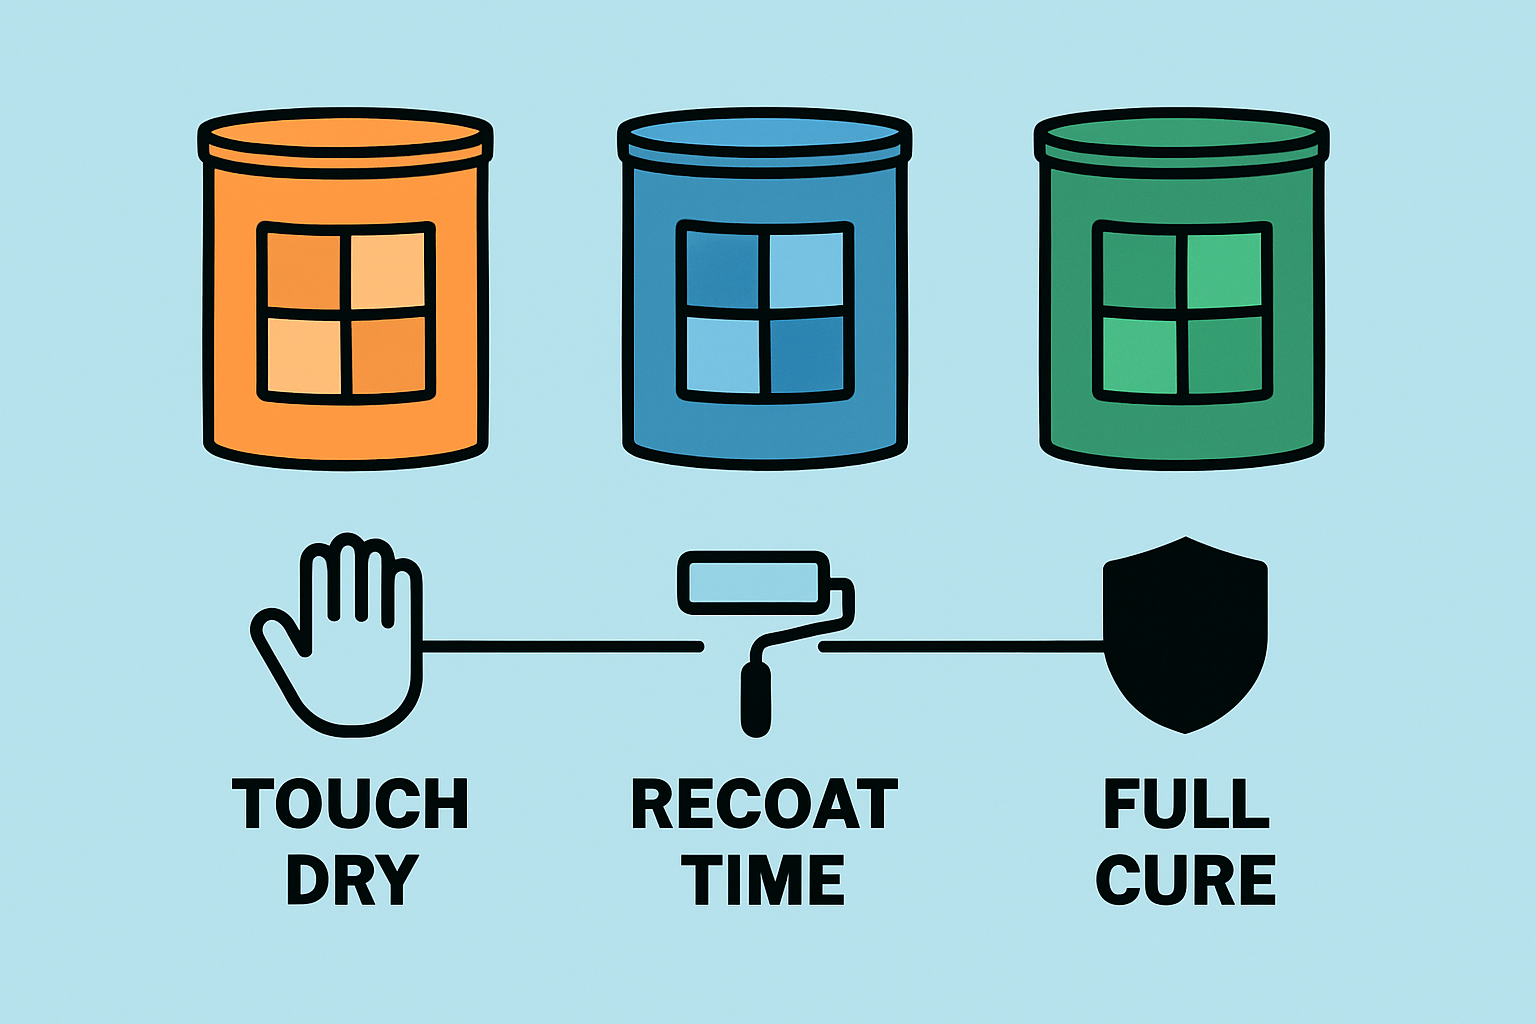
- Grasp the vital distinction between being 'dry to the touch' and being 'fully cured.' Trust me, rushing this step can cost you when protecting your tiles.
- Stick to an easy step-by-step guide for applying sealer evenly to nail the drying process and get the best coverage possible.
- Explore clever, safe tricks to speed up drying by tweaking ventilation and other environmental factors without turning your space into a wind tunnel.
- Learn how to spot the magic moment when your sealer is genuinely ready for use—using it too soon often leads to headaches you could have avoided.
Knowing how long a tile sealer needs to dry is super handy for planning your next moves—whether that means slapping on another coat, tackling the grouting or finally letting individuals stroll across the floor.
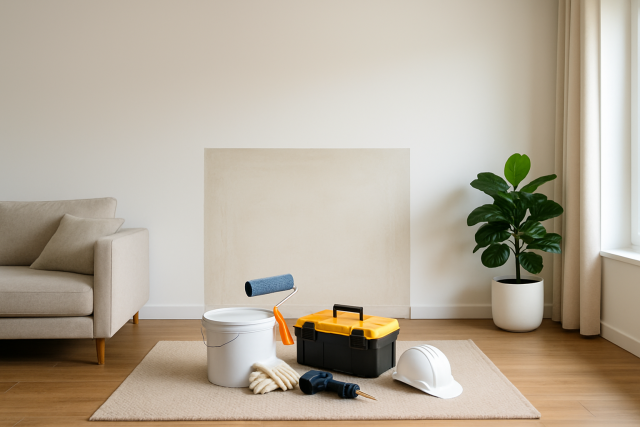
What Tile Sealer Is and Why Its Drying Time Really Matters
Tile sealers generally fall into two camps. Penetrating sealers soak right into porous tiles like natural stone while surface sealers form a protective shield over ceramic or porcelain tiles. Giving the sealer plenty of drying time is key because it allows the barrier to set up just right and stand guard against stains, water and everyday wear.
Key Factors That Affect How Long Tile Sealer Needs to Dry (and Why It Matters)
- The kind of sealer you pick really makes a noticeable difference. Water-based sealers usually dry faster than solvent-based ones. Penetrating sealers take longer to cure because they need to soak in properly.
- The type of tile you’re working with also plays a part. Porous natural stone absorbs sealers differently from non-porous porcelain.
- Temperature isn’t just a background player. Warmer conditions help evaporation and get your sealer dry sooner.
- If the humidity is high, the moisture in the air can drag out the drying process.
- Thick layers demand more patience because they take longer to cure.
- Good ventilation is your friend here. It helps whisk away solvents and moisture and speeds things up.
- The surface condition whether it’s clean, previously sealed or a bit oily can affect how well the sealer absorbs and cures.
Each factor plays a vital role in drying times. When humidity is high or airflow is lacking, the curing process drags, often resulting in weak adhesion and finishes that don’t look quite right.
Common Drying Times for Various Tile Sealers—What to Expect and Why It Matters
| Sealer Type | Average Touch Dry Time | Average Full Cure Time | Ideal Drying Conditions |
|---|---|---|---|
| Water-Based | Usually takes about 1-2 hours to feel dry to the touch | Typically fully cures within 24-48 hours | Performs best in a warm, dry spot with plenty of airflow to keep things moving |
| Solvent-Based | Generally dries to the touch in 30 minutes to an hour | Full cure usually happens between 48-72 hours | Likes it when humidity stays low and there’s a nice, steady breeze going |
| Penetrating Sealers | Often feels dry after 2-4 hours | Usually needs 72 hours or more to fully cure | Prefers moderate temps and low humidity for the best results |
| Surface Sealers | Roughly 1-3 hours till it’s touch dry | Normally done curing in 24-48 hours | Works best when it’s dry, well-ventilated, and out of direct sunlight, no sunbathing allowed |
It’s important to get the difference straight between a surface that’s just dry to the touch and one that’s truly fully cured. The sealer might feel dry on the surface after a few hours—like it’s ready to go—but the real magic happens during the full curing process, which is what actually builds up its protective strength.
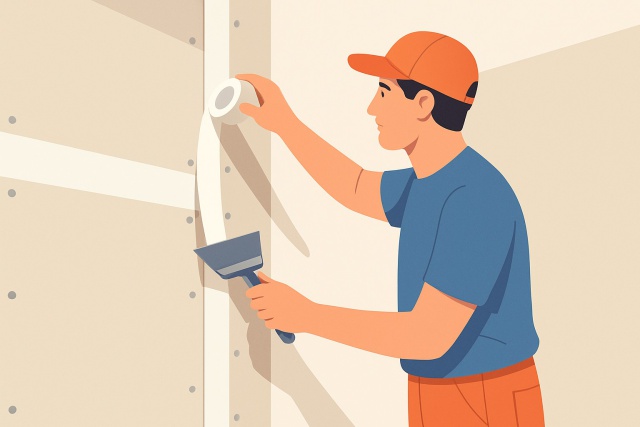
Step-by-Step Guide to Applying Tile Sealer for the Best Drying Results
Let’s roll up our sleeves and dive into the nitty-gritty of applying tile sealer like a pro. With a little patience and some careful moves, you’ll have those tiles not just sealed but practically basking in their new finish, drying beautifully and ready to impress.
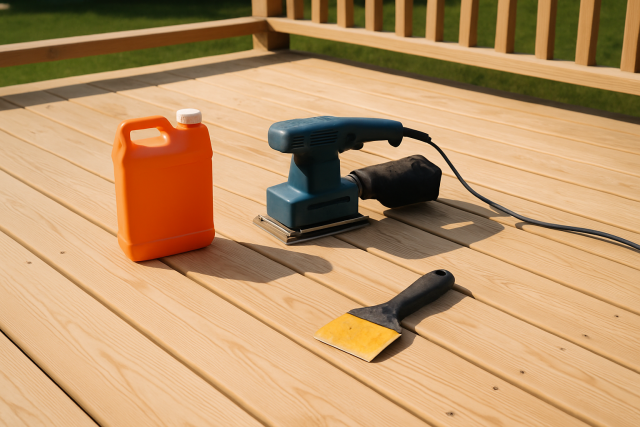
Start with a clean dry tile surface that’s free of dust, grease or old sealers. Think of it like giving your tiles a fresh canvas so the new coating can really grab hold.
Carefully follow the manufacturer’s instructions and pay close attention to recommended drying times and environmental conditions. These little details can make all the difference.
Pick a sealer that suits your tile type and the finish you’re aiming for. It’s like choosing the right outfit for the occasion.
Apply the sealer evenly with a brush, roller or applicator pad. Try not to use thick coats because less is often more here.
Let the first coat dry completely before adding a second one if the product instructions say so. Patience really pays off in the end.
Keep drying conditions just right by ensuring good airflow and a moderate temperature. Avoid humidity and direct sunlight while it cures. Your tiles will thank you.
Avoid slathering on too much sealer at once since it can trap solvents and make drying drag on longer than you would hope, often leaving you with streaks or those pesky uneven spots. If the space is poorly ventilated or a bit damp when you seal, the finish might never quite cure properly and could stay annoyingly sticky.
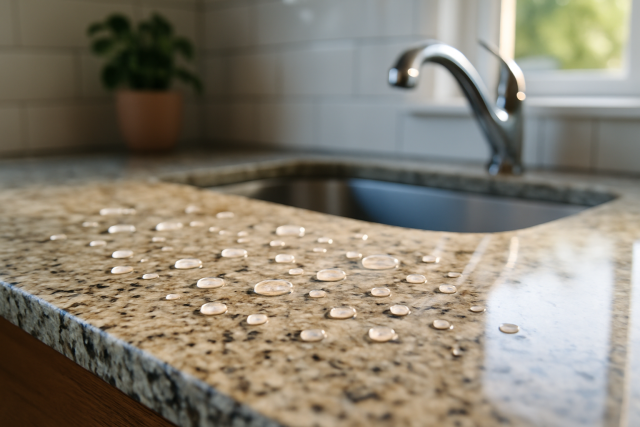
How to Tell When Tile Sealer Is Fully Dry and Ready to Use Your Handy Little Guide
- The tile surface is dry and no longer feels sticky to the touch, giving you that satisfying 'done right' feeling.
- The sealed area shows a consistent matte or glossy finish with no streaks or wet spots to spoil the look.
- The drying and curing times recommended by the manufacturer have been fully respected so no corners were cut.
- Environmental factors like temperature and humidity create the perfect setting for the sealant to work.
- Small test patches have been left untouched and show no smudges or damage when you gently press or wipe them, which is always a nice little reassurance.
Slapping anything onto the tile surface before the sealer has dried properly is a recipe for trouble—think stains, peeling and a protection layer that will not hold up. That usually leads to pricey repairs and the dreaded task of redoing the whole job.
Tips for Safely Speeding Up Tile Sealer Drying Time (Because Waiting Is Overrated)
- Boost room ventilation by cracking open a window or turning on a fan to get fresh air moving.
- Keep moisture under control and the temperature comfortable by using dehumidifiers or heaters. This really makes a difference.
- Apply thin, even coats instead of thick globs to help the drying speed up and save you from waiting too long.
- Plan your sealing projects on dry, warm days when humidity is low because that’s when things go smoothly.
- Avoid sealing surfaces that are baking under direct sunlight to prevent annoying bubbles. Also, double-check the area isn’t damp or too cold.
It’s tempting to try speeding up the drying process but rushing often backfires and leads to incomplete curing and weaker protection.
Common Issues That Pop Up When Tile Sealer Hasn’t Fully Dried and How to Tackle Them
If the tile sealer isn’t fully dry you could end up with streaks or dull spots that don’t look right. If it refuses to stick properly the sealer might start peeling or flaking off. Plus moisture sneaking underneath can cause bubbling or discoloration which is never fun to see.
Nail down exactly what is going wrong. It could be a case of not letting things dry enough or applying the product slightly off the mark.
Give it extra time to dry before attempting any fixes. Ideally do this in a spot where air flows freely.
After cleaning the surface, apply a thin and even layer of sealer to smooth things out.
Gently buff away any surface flaws using mild cleaners or isopropyl alcohol before resealing.
If the problem persists after that, consider calling a pro or rethinking your choice of sealer to better suit your setup.