How to Strip Decking Back to Bare Wood in One Weekend
This guide walks you through the process of quickly and effectively bringing your deck back to bare wood so you can enjoy it like new again.
- Get acquainted with the essential tools and materials that will help you strip your decking safely and efficiently—often finishing it in just one weekend.
- Follow straightforward step-by-step instructions for applying chemical strippers and removing old finishes without damaging the wood beneath.
- Discover sanding techniques that will leave you with a smooth bare wood surface perfectly prepped for a fresh finish.
- Tap into expert advice to tackle common headaches like uneven sanding and stubborn bits of residue that won’t quit.
Learning how to strip decking back to bare wood gives it a much-needed facelift and sets the stage for new finishes to last longer and work better. Taking off old paint, stain or sealer is like peeling back layers of dirt and mildew, leaving behind a fresh canvas to work with. The process might seem daunting at first but with the right tools and a solid plan you can have your deck looking bare and ready in about a weekend.
Decking usually gets finished with stains, paints, sealers or oils designed to shield the wood from harsh weather. Common decking materials like pressure-treated pine, cedar, redwood and tropical hardwoods each have their own special care instructions—nothing one-size-fits-all here. Over time, those finishes tend to fade, peel off in patches or trap dirt underneath. This leads to damage and an uneven, sorry-looking deck. When it’s time to refinish, stripping the deck back to bare wood is a must.
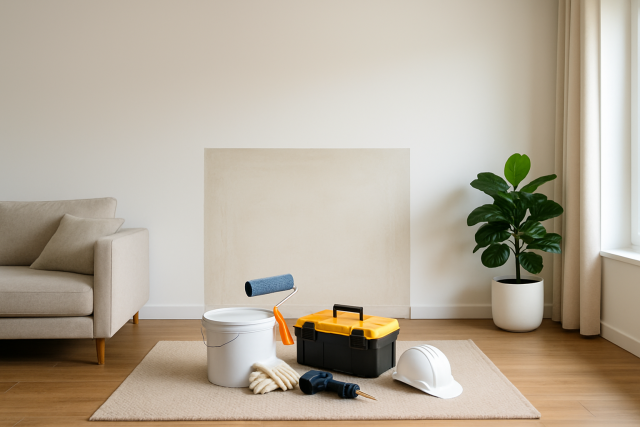
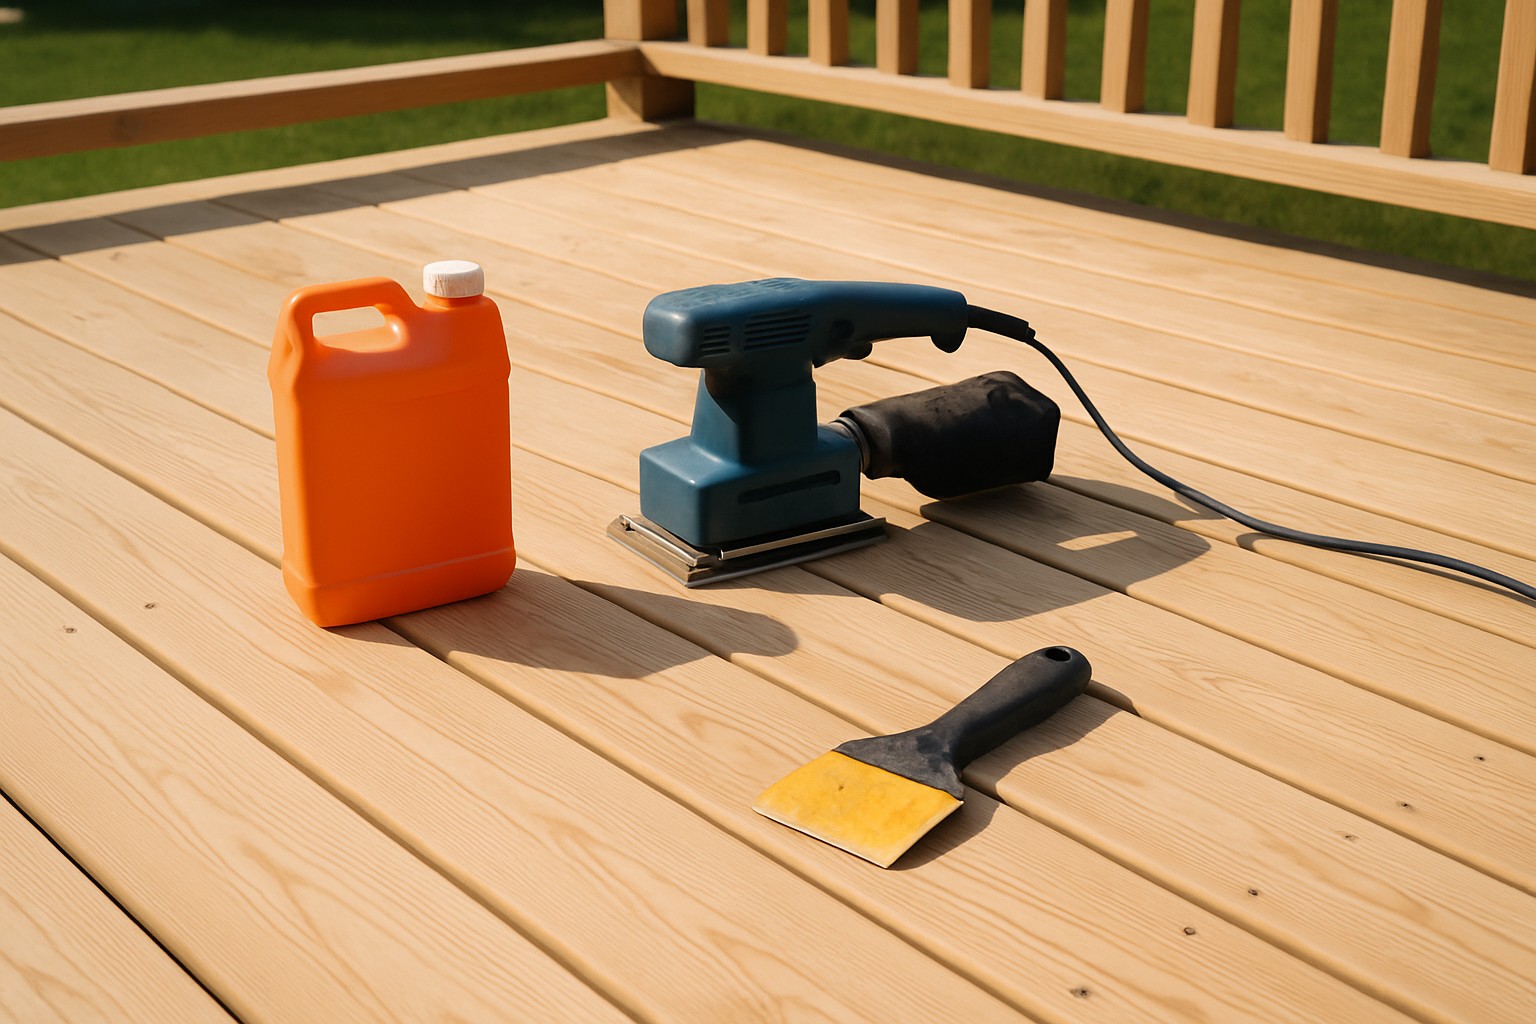
Tools and Materials You’ll Need to Strip Decking Down to Bare Wood (Because Who Wants to Start With a Mess?)
- Power sander (orbital or belt) to quickly peel away layers of finish and smooth the wood surface without breaking a sweat
- A variety of sanding discs in different grits that let you ease your way from rough to silky smooth
- Chemical deck stripper that handles the heavy lifting on stubborn finishes so you use less elbow grease
- Scrapers and putty knives perfect for carefully removing loosened finish and stubborn residue by hand which works great for delicate spots
- Wire brushes to reach all the hard-to-reach nooks and crannies making sure no groove is left behind
- Safety gear such as sturdy gloves, safety goggles and masks to keep your skin, eyes and lungs well protected while you work
- Cleaning tools like a stiff broom, garden hose and deck cleaner to prepare the surface and rinse away every speck of dust and grime
- Plastic sheets or tarps to shield your nearby plants and outdoor furniture from the inevitable dust and chemicals so they’ll thank you later
Each tool has its own moment to shine in the process. The power sander really cranks up the pace for removal. Chemical strippers work their magic by softening finishes which makes scraping much easier. Wire brushes come to the rescue for awkward hard-to-reach spots. Don’t skip wearing safety gear. It’s a game-changer for avoiding nasty chemical burns and inhaling dust you don’t want in your lungs.
How to Get Your Deck Ready for Stripping (Without Losing Your Mind)
Start by clearing the deck of all furniture and accessories to give yourself plenty of elbow room to work safely. Sweep up any loose dirt and leaves because it’s surprising how much grime can sneak in. Take a good look at the deck boards for troublemakers like rot or loose nails and tackle those issues before diving in. Don’t forget to cover nearby plants and surfaces with plastic sheets to keep them safe from dust or stray chemicals.
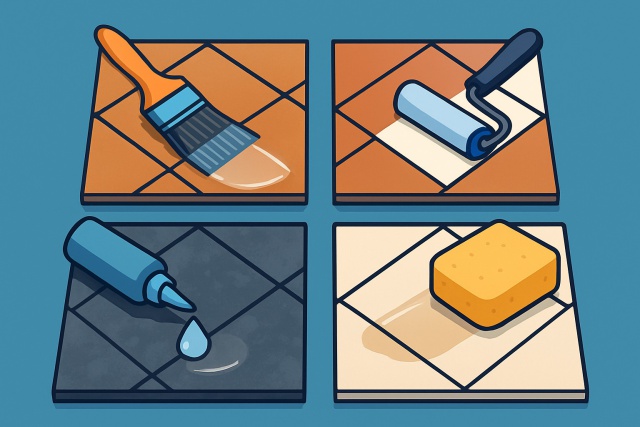
Step 1 How to Apply Chemical Deck Stripper Safely and Effectively A Handy Guide to Getting It Right
Pick a chemical deck stripper that matches your deck’s finish type well. Gel formulas work great on vertical surfaces because they cling better and give you more control during application. Apply the stripper evenly using a brush or roller, being sure to cover every nook and cranny without letting it pool and turn sticky. Follow the manufacturer’s instructions closely for the dwell time. This is the vital period when the stripper softens the old finish just right. Don’t rush to rinse it off too soon because patience pays off. Also, protect nearby plants by covering them with plastic to keep your greenery safe.

Step 2 Scraping Off the Old Finish and Clearing Away Any Leftover Gunk
After the stripper has done its job and softened up the finish, go ahead and gently scrape away the residue—just be sure not to gouge the wood while you are at it. Take your time working along the grain and keep your pressure nice and even to avoid any mishaps. When you hit those stubborn or fiddly spots, a wire brush can be a real lifesaver to loosen up hardened finish and get right into the grooves.
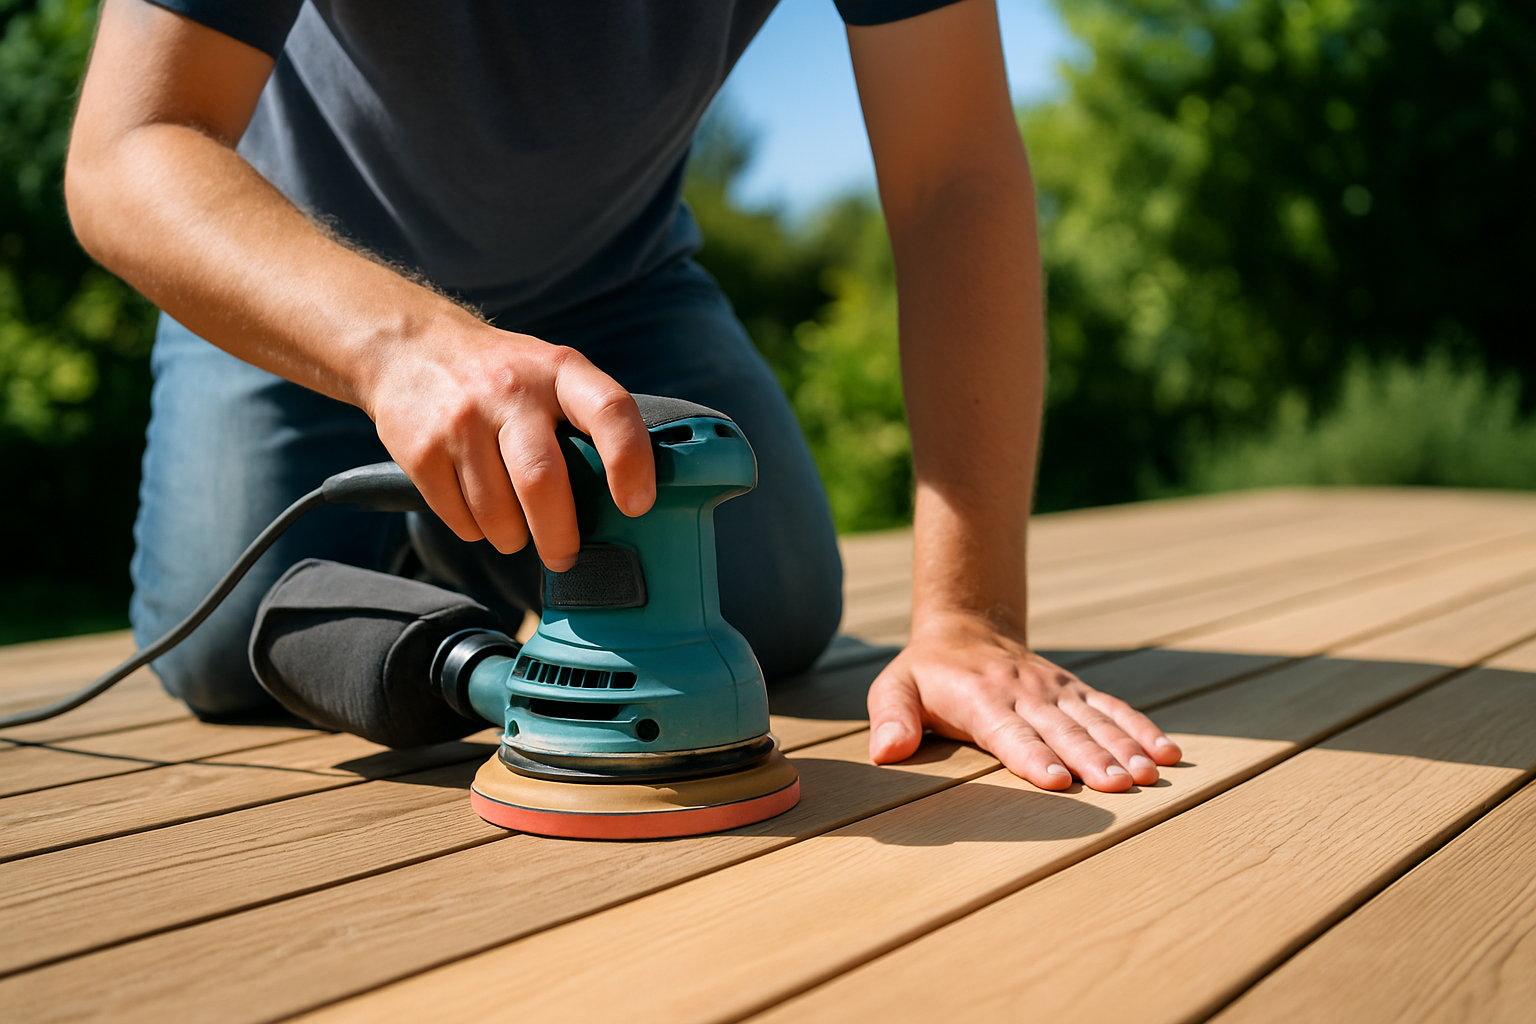
Step 3 Sand the Deck Down to Bare Wood Time to strip it back and get to the real deal
After scraping, sanding comes into play to whisk away leftover finish and leave the wood with a smooth, even surface. An orbital sander is a handy choice here because it’s easy to maneuver and delivers consistent results—no surprises. Kick things off with coarse-grit discs around 60 to 80 grit to tackle stubborn finish remnants. Next, switch to a medium grit between 100 and 120 to even out rough patches. Finally, go over it with fine grit between 150 and 180 to achieve a silky smooth finish ready for sealing or staining.
- Start off with a coarse grit to quickly remove those stubborn layers of old finish. It’s like giving your wood a fresh canvas right away.
- Switch to medium grit to smooth out sanding marks and tame any rough patches that are left.
- Finish with a fine grit to prepare the wood surface perfectly for staining or sealing. This sets the stage for a flawless look.
- Always sand along the direction of the wood grain because it helps avoid scratches or any unwanted damage.
- Remember to swap out or clean your sanding discs regularly. Keeping them in great shape ensures your sanding stays even and consistent.
Step 4 Cleaning Up and Preparing Bare Wood for Finishing
Once you’ve finished sanding, give the deck a good sweep to clear away dust and stray bits of debris. Nothing messes up a finish like leftover grit. Then rinse it off with water and let it dry completely. Patience here really pays off. It’s a smart move to check the wood’s moisture level with a meter. Aim for under 15% since this tends to be just right for applying sealers or stains without any hiccups. While you’re at it, take a close look for any rough spots or damage and patch them up as needed.
Typical Challenges and How to Tackle Them Head-On
- Uneven sanding can leave patches where the old finish stubbornly peeks through. It’s a good idea to keep your pressure steady and swap out sanding discs before they wear out.
- Tough finishes can be like stubborn jar lids. Sometimes they need several rounds of chemical stripper or patient careful scraping to come off completely.
- After sanding, any splinters or raised grain usually smooth out if you gently sand the surface again with fine grit sandpaper like coaxing a stubborn cat to relax.
- Managing your time wisely really pays off. Breaking the work into smaller chunks helps prevent fatigue from sneaking up on you midway.
- Never skip the safety gear since it’s your best protection against chemicals and dust flying around while you work.
Knowing these common challenges ahead of time can really save you a headache down the road and help your project go more smoothly. When sanding uneven spots, take your time and don’t hesitate to swap in fresh sanding discs often because they wear out faster than you might expect. It is smarter to apply stripper again on stubborn patches than to risk nicking or damaging your wood. Deal with splinters right away by gently sanding with a finer grit. This keeps your deck safe and much more comfortable underfoot. Try to keep a steady rhythm but remember to take breaks.
Time Management Tips to Wrap Up Stripping Your Deck in Just One Weekend (Without Losing Your Mind)
On the very first morning kick things off by clearing the deck completely—don’t forget to shield any nearby plants from the chemical splash. Then spread the deck stripper evenly like a pro over the surface.
By afternoon roll up your sleeves and scrape off that softened finish then dive into the initial coarse sanding to get things in shape.
The following morning wrap up with some fine sanding and give the deck a good thorough cleaning to chase away every speck of dust and residue.
Later that same afternoon take a close look for any spots you might have missed, touch up where needed and prep the surface so it’s all set for refinishing.
Following this schedule for how to strip decking back to bare wood helps spread out the workload and makes sure there’s enough drying time between each step—because rushing never does anyone any favors. It’s a good idea to have your tools prepped and at the ready, and don’t forget to keep safety top of mind to avoid any unwanted mishaps.