How Do You Remove a Fireplace - Step by Step Safely
This article walks you through the safe removal of a fireplace, covering all the bases from initial prep right through the repairs that come after you’ve said goodbye to the old hearth.
- Discover how to identify your fireplace type—masonry, prefab, electric, or gas—so you can remove it safely and smartly based on its unique design quirks.
- Get familiar with the must-have tools and safety gear that will help you take your fireplace apart without turning your home into a disaster zone.
- Follow a straightforward step-by-step guide to disconnect utilities, dismantle the fireplace, and handle debris disposal like a pro while keeping safety front and center.
- Pick up expert tips on how to navigate common headaches such as sneaky structural supports or hazardous materials so you’re well-prepared for whatever shows up.
If you're wondering how do you remove a fireplace, it might seem like a daunting task at first glance. But with the right guidance and a good pinch of caution, you can definitely tackle it without breaking a sweat.
Taking a Closer Look at Different Fireplace Types and What You Should Keep in Mind When It’s Time to Say Goodbye to Them
Before you even think about tearing down your fireplace it’s key to figure out what type you’re working with. Fireplaces come in all shapes and sizes from hefty built-in masonry beasts to lighter prefab models or sleek electric inserts. Each one calls for its own game plan and safety precautions. Getting a handle on the exact type you’ve got can save you a ton of headaches.
- Masonry Fireplaces: These solid, brick or stone beauties are usually permanent fixtures in a home. Given their hefty weight and robust construction, dismantling them calls for a careful touch—no rush jobs here.
- Prefabricated Fireplaces: These metal wonders come factory-built and are often nestled inside drywall. They are generally lighter than masonry types, but watch out—sometimes they’re held in place with specific fasteners that need a bit of patience to undo.
- Electric Fireplaces: Typically designed as inserts or freestanding units, these are a breeze to unplug and take out. Just keep in mind, the wall might look a little tired afterwards and could use some TLC.
- Gas Fireplaces: Equipped with chimney vents and gas lines, these require a careful disconnection process. Safety first—making sure everything is properly removed to avoid any surprises down the line.
Removing a fireplace is more complex than just considering the type you have. Often there are structural supports tucked away in your chimney or wall. If you’re not careful, taking things apart could mess with your home's stability—definitely not something you want to gamble with. Whether you need to tear down the entire chimney or just a part depends on its condition and what’s actually there. Checking local building codes and securing the right permits is essential because rules around dismantling chimneys and fireplaces can be strict due to safety, ventilation and waste issues.
Tools, Permits, and Safety Gear to Have Ready Before You Begin
Getting ready with the right tools and safety gear is absolutely key to taking down a fireplace safely and without a hitch. It’s also a smart move to double-check and secure any necessary permits before diving in, especially if you’re poking around structural bits or utility lines that could get tricky.
- A trusty sidekick for small demolition jobs and removing nails from their hiding spots.
- Great for prying things apart and giving nails or boards a gentle eviction notice.
- The big guy you call when there is heavy masonry or bricks that just won’t quit.
- Perfect for chipping away at stubborn mortar or carefully splitting bricks like a sculptor with more grit.
- Your best friend for keeping pesky dust and debris particles far from your lungs.
- Keep your eyes safe from flying bits during the messy demolition dance.
- Tough little shields for your hands that spare you from cuts, scrapes, and odd pinches.
- They take the headache out of cleanup and make debris management less daunting.
- Helps you safely reach high spots like chimney tops or mantels where a step stool won’t cut it.
- A brilliant dust buster that makes tidying up almost satisfying if you’re into that sort of thing.
Get your workspace all set by shifting furniture out of harm’s way and laying down drop cloths or plastic sheets near the fireplace to keep dust and debris from making a mess. Don’t forget to shut off any utilities like gas or electricity hooked up to the fireplace. Good ventilation is key to keeping that dust under control, and slipping on your safety gear goes a long way toward avoiding any mishaps.
Step-by-Step Guide: How Do You Remove a Fireplace Safely (Without Losing Your Mind)
Inspect the fireplace and surrounding structure carefully. Start by thoroughly checking the fireplace, chimney and their connections to the wall or floor. Watch for any hidden structural supports or utilities like wiring or gas lines.
Turn off all utilities connected to the fireplace. Be sure to shut off gas valves and flip off any electrical circuits linked to the fireplace.
Remove fireplace accessories such as the mantel, hearth, and doors. Gently unscrew or pry these parts off so you don’t damage nearby surfaces.
Demolish the chimney if needed. For masonry chimneys, start at the top and work down, removing bricks or stones little by little to stay in control.
Carefully take apart masonry or prefab units. Use chisels and sledgehammers for masonry or pry bars for prefab parts. Work slowly because less chaos is easier to handle.
Control dust and debris during demolition. Keep plastic sheeting handy and use a shop vacuum often to maintain a safe and breathable workspace.
Properly dispose of materials and recycle when possible. Masonry materials can often be recycled or reused. Follow your local rules for disposal.
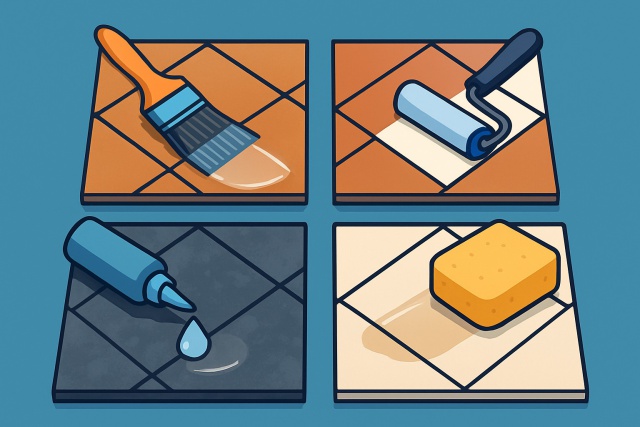
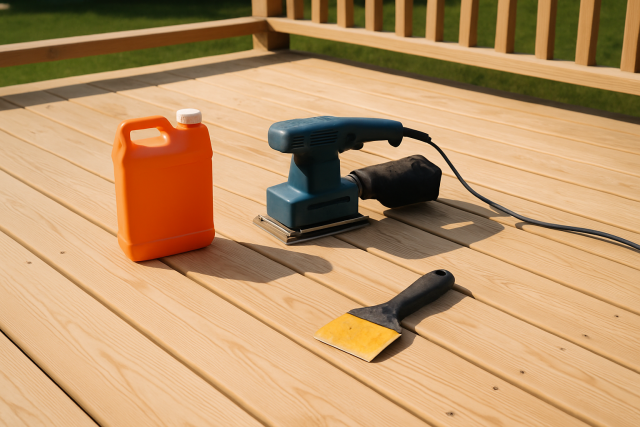
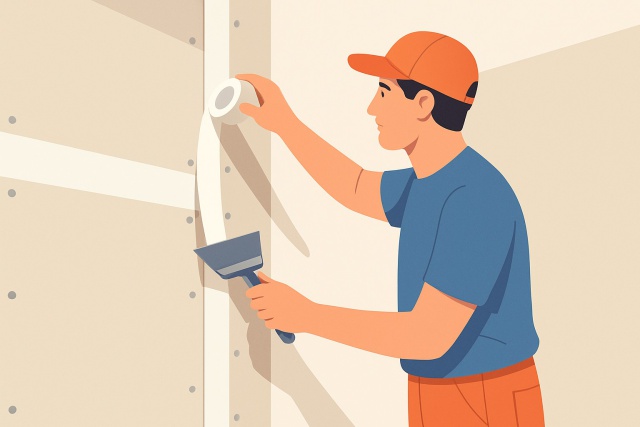
Repair and restore the wall, floor, and ceiling after removal. Patch drywall, fix flooring, and apply a fresh coat of paint or finish to tie everything together neatly.
Each step calls for patience and a keen eye on safety. Take chimney demolition for instance. Start at the top and work your way down while carefully prying bricks loose so you don’t accidentally play Jenga with the whole structure. When hauling heavy debris use the right lifting techniques—your back will thank you later. If gas lines or electrical components are involved it’s wise to bring in licensed pros rather than winging it yourself.
Common Challenges You May Face and How to Tackle Them When Removing a Fireplace
Removing a fireplace often throws a few curveballs your way. Every now and then you stumble upon structural supports you didn’t see coming. This can really complicate the demolition process. Older mortar or insulation might hide nasty surprises like asbestos lurking where you least expect it. Plus there’s the occasional discovery of hidden gas or electrical lines that definitely call for a pro’s careful hands.
If you stumble upon asbestos or start feeling unsure about the structure while removing a fireplace, it’s a good idea to hit the brakes and call in a qualified professional. Trust me, it’s the best way to steer clear of any serious health or safety headaches.
After Removal How to Bring Back Your Space and What’s on the Horizon
Once you've learned how do you remove a fireplace, turn your attention to cleaning up the space and gearing it up for whatever exciting renovation stage or fresh purpose lies ahead. Get rid of any stray debris and patch up any scrapes or dents on the walls or floors left behind by the demolition. Be sure the surfaces are ready for a fresh coat of paint or refinishing.
- Tackle the debris cleanup with care—grab some sturdy trash bags and keep everything organized to avoid turning your site into a disaster zone.
- Patch up holes and cracks where the fireplace used to hang out. Then give the area a good sanding once it is dry so everything feels smooth and fresh.
- Repair or swap out any flooring that is taken a hit whether it is hardwood, tile or carpet and make sure the surface looks seamless.
- Roll on some primer and paint or add finishing touches to the walls blending the spot effortlessly with the rest of your décor like it was never there.
- Brainstorm fun and creative ways to use that newly freed-up space—maybe some shelving, cozy seating or a feature wall that really pops.
Questions & Answers
How do I know if my fireplace is masonry or prefabricated?
Masonry fireplaces are built from bricks or stone and generally feel rock solid. They usually stick out through the roof with a proper chimney. Prefabricated units tend to be lighter and are often tucked inside drywall, sometimes showing a bit of metal. If you’re scratching your head, it never hurts to peek for manufacturer labels or dust off the home blueprints for a quick look.
Do I need a permit to remove my fireplace?
Permit requirements vary depending on where you live but most places will ask for one if you’re making structural changes like knocking down a chimney or disconnecting utilities such as gas or electricity. In my experience, it’s smarter to double-check local building codes. Cutting corners on permits can lead to fines or worse headaches down the line when selling your home.
What’s the biggest safety risk during fireplace removal?
The real trouble usually hides in plain sight like live electrical wires, sneaky gas leaks, or asbestos lurking in older materials. It pays off to shut off utilities first and suit up with protective gear. If anything weird pops up, don’t push it—call in a pro right away. Better safe than sorry, as they say.
Can I repurpose bricks from my old masonry fireplace?
Absolutely! Bricks that are cleaned up and free of mortar can find a second life in walkways, garden borders or DIY projects. Just keep an eye out for cracks or damage before you start building anything. If you’d rather not mess with them yourself, some recycling centers will happily take those old bricks off your hands.
How long does it typically take to remove a fireplace?
Taking out a prefab or electric fireplace usually wraps up in about a day. Masonry fireplaces with chimneys can take several days because of the heavy-duty demolition and cleanup. Throw in site prep and any hidden supports and the clock might tick longer than you hope.
What should I do with the empty space after removal?
Once you’ve patched and painted your walls, why not think about adding built-in shelves, a sleek media console or maybe a decorative accent wall to jazz things up? To keep the vibe cohesive, match the flooring or toss in an area rug. Pro tip: measuring the space beforehand really helps when planning where your furniture or storage will go.