How To Protect Wallpaper in a Bathroom with Shower Areas
This handy guide takes you step-by-step through using wallpaper in a bathroom shower area and shows you how to keep things safe from moisture and steam without breaking a sweat.
- Discover how to pick moisture-resistant wallpaper materials that hold their ground in steamy humid shower spaces.
- Dive into the vital prep steps for your bathroom walls to avoid mold and keep your wallpaper from peeling or bubbling.
- Get cozy with the installation process, from special adhesives that mean business to sealing every edge like a pro for extra defense.
- Learn how protective sealant and smart humidity management can work wonders to help your wallpaper look fresh longer than you would expect.
Choosing the right wallpaper in a bathroom with shower brings its share of headaches due to nonstop moisture and humidity. If you do not take the right precautions, the wallpaper can start to peel, stain or even host unwanted mold over time.
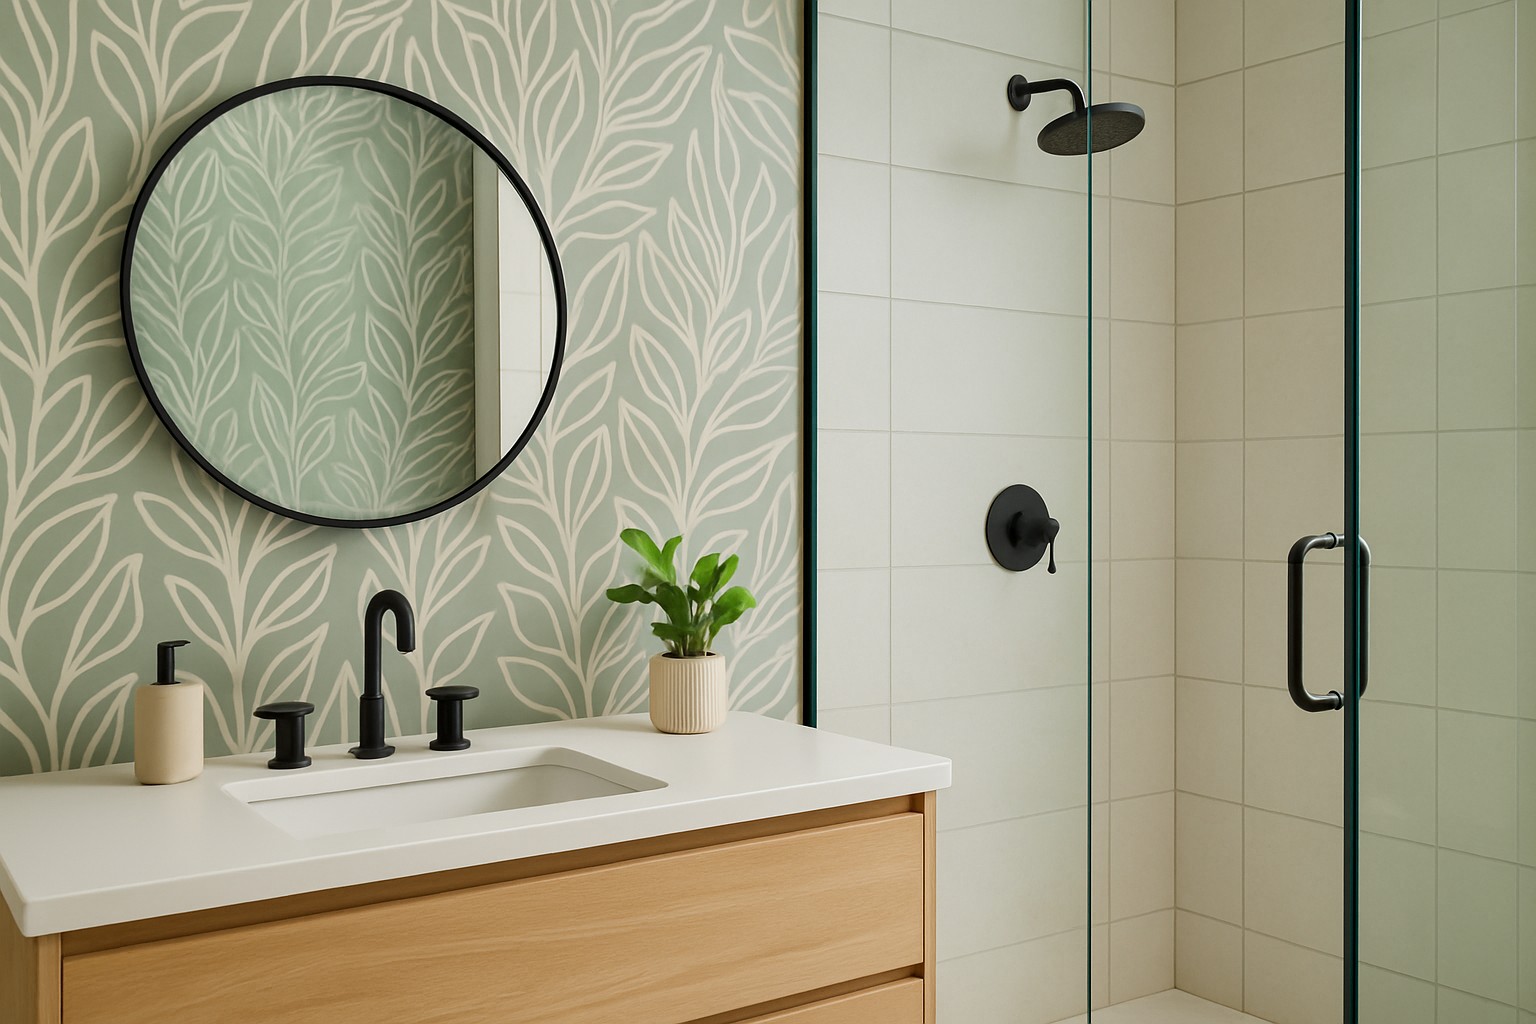
Wallpaper really adds a splash of personality and depth to bathroom design, taking the space way beyond the usual tiles and paint. Vinyl-coated or textured non-woven wallpaper usually does the trick since they are better at standing up to the damp, steamy bathroom atmosphere.
Exploring the Challenges of Using Wallpaper in Bathrooms with Shower Spaces What You Need to Know
High humidity and the usual water splashes, steam and condensation in shower areas can really damage wallpaper adhesives and make them lose their grip. Paint often bubbles like a pot left on the stove too long.
Common headaches tend to be wallpaper edges peeling away and sneaky bubbles popping up under the surface. Stubborn stains left by mineral deposits can also be a problem, and if you’re really unlucky, mold making an unwelcome appearance behind or right on the wallpaper.
A Handy Guide to Choosing the Best Wallpaper for Bathroom Shower Spaces
Picking wallpaper that handles moisture well is absolutely key. It’s a good idea to zero in on materials designed specifically for damp environments and keep an eye out for labels boasting water-resistant or waterproof qualities.
- Vinyl-coated wallpaper has a plastic layer that acts like a raincoat making it water-resistant and easy to wipe clean when life gets messy.
- Fiberglass wallpaper is naturally tough and mold-resistant so it’s a solid pick for damp spots because its non-porous surface doesn’t let moisture in.
- Non-woven wallpaper is made from synthetic fibers and usually holds up better against tears and moisture than regular paper wallpaper. It is like the tough cookie of wall coverings.
- Peel-and-stick waterproof wallpaper is easy to install and remove because its backing keeps moisture at bay.
- Spritzing your existing wallpaper with clear acrylic sprays or protective finishes can boost its water resistance.
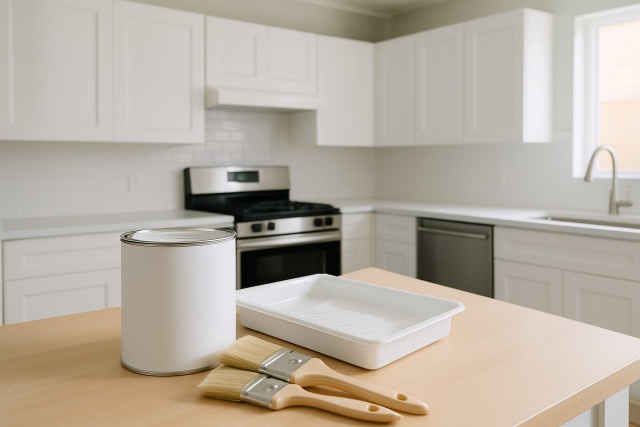
How to Get Bathroom Walls Ready for Wallpaper Installation (Without Losing Your Mind)
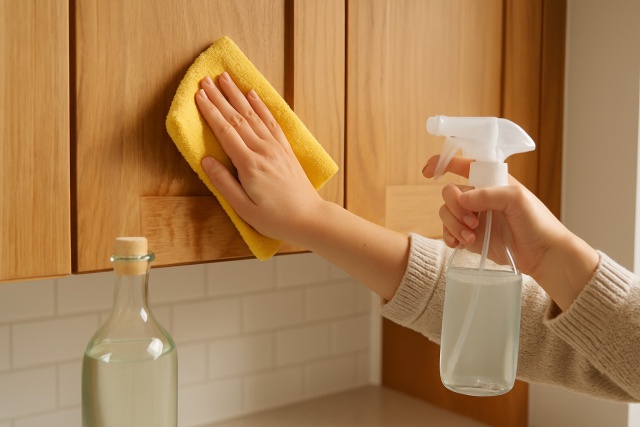
Start by giving your walls a good thorough cleaning to wipe away soap scum, dirt and grease. This step will pay off later. Then let them dry completely because patience here really is a virtue.
Patch up any holes, cracks or peeling paint using filler. Sand the area until it is silky smooth. Think of it as prepping a canvas for a masterpiece.
Apply a mold-resistant primer made specifically for high-humidity rooms to keep pesky mildew from sneaking in behind the wallpaper.
Take extra care to make sure the walls are as smooth as possible since any little bump or imperfection will become the star of the show once the wallpaper goes up.
If you’re feeling extra cautious, paint the walls with moisture barrier paint to bring more depth of defense against water damage. You can never be too safe when it comes to moisture.
Getting your walls ready properly really sets the stage for wallpaper application and can do wonders for making it last over time. When you remove dirt and seal the surfaces, the wallpaper adhesive grabs on better which means fewer bubbles and less peeling caused by trapped moisture. Using mold-resistant primers and moisture barrier paints is not just a fancy extra step—it’s vital for keeping mold, dampness and water damage at bay, especially in shower areas where humidity lingers.
A Handy Guide to Installing Wallpaper in Bathroom Shower Areas (Yes, It Can Be Done!)
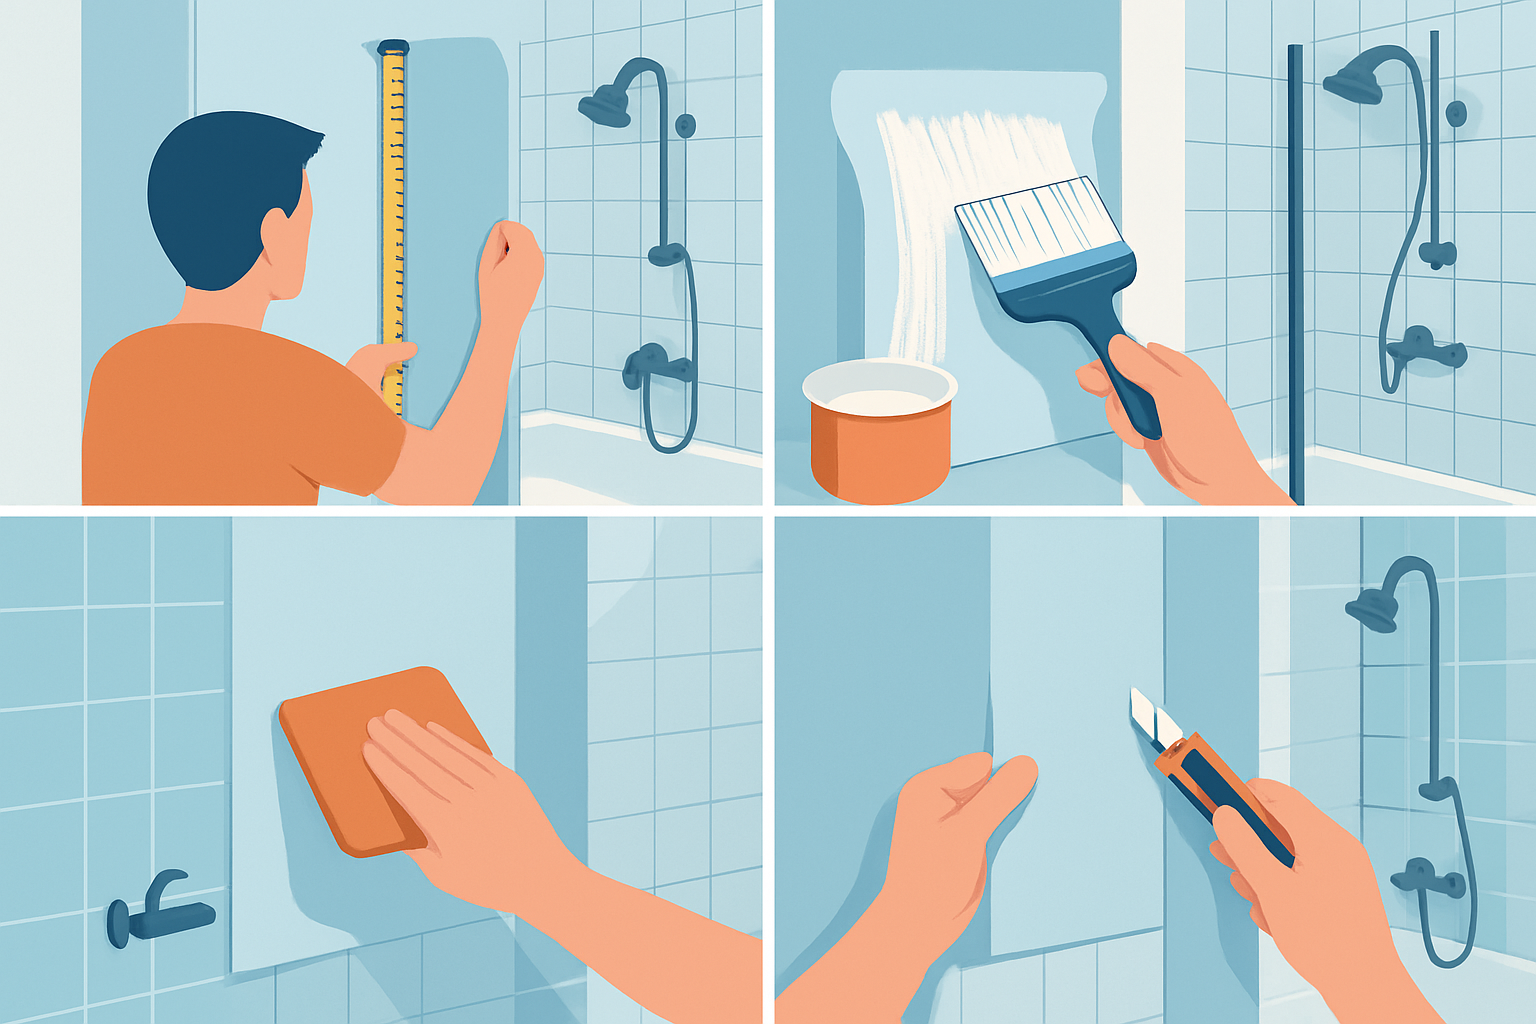
Measure the wall dimensions carefully and cut the wallpaper panels adding a generous extra 2-3 inches for trimming—it’s better to have too much than too little.
Pick an adhesive that can handle high humidity like a mold-resistant or strong vinyl type. I have found these work best in damp spots.
Begin applying the wallpaper from one corner making sure to match up the patterns just right—nothing worse than a glaring mismatch stealing the show.
Smooth out any air bubbles as soon as they pop up using a wallpaper brush or plastic smoother gently working from the center outward to keep things flat.
Grab a sharp blade to carefully trim away any extra wallpaper around edges and fixtures so you end up with a clean polished look.
Finally, let the wallpaper dry completely—keep it far from water or steam at this stage so the adhesive can do its job and set properly.
Keep water from sneaking in at seams and edges by applying a thin line of clear waterproof sealant right along the wallpaper borders—just be sure there are no gaps. When it comes to adhesives, picking ones designed for bathrooms is the way to go like ammonia-free pastes or acrylic-based glues because they generally stick well even in damp conditions.
How to Keep Your Installed Wallpaper Safe from Moisture and Water Damage (Without Losing Your Mind)
Applying protective treatments to wallpaper puts an extra barrier in place that keeps moisture at bay and helps stop pesky water stains and unwanted absorption. Using waterproof sealants, clear acrylic coatings or varnishes designed for damp spots does more than maintain the wallpaper's color—it also guards against mildew and water damage.
- Opt for water-based polyurethane sealants that dry crystal clear and retain some flexibility so they stretch with your wallpaper without issues.
- If you’re working with textured wallpaper, acrylic spray sealants are ideal because they provide a quick thin layer that covers those nooks and crannies.
- When applying, aim for a smooth and even coat but avoid soaking the wallpaper as this can cause curled edges.
- Here’s a patience tip: allow the sealant to cure for at least 24 to 48 hours before exposing it to moisture so you can be sure it’s fully set and ready to look its best.
Keeping wallpaper in bathrooms looking fresh for the long haul really boils down to regular upkeep. After showers, it is a good habit to wipe down splash-prone spots with a damp cloth to chase away moisture before it settles in. Tackling humidity is key too. Making sure there is solid ventilation like firing up the exhaust fan usually does the trick to stop condensation from sneaking in.
Extra Tips to Help Keep Your Bathroom Wallpaper Looking Great
- Install splash guards or shower screens to keep water from making a beeline for your wallpapered walls.
- Run exhaust fans during and after showers to zap that humidity and prevent steam from throwing a party on your wallpaper.
- Tweak showerhead angles or throw up curtains to dodge water spraying straight onto the wallpaper—better safe than soggy.
- Keep grout lines and seals around showers in tip-top shape to ward off any sneaky water leaks behind the walls.
These extra steps go a long way in creating a bathroom environment where wallpaper can actually stand its ground against all that pesky moisture. By reducing direct water contact and encouraging better airflow, they work hand in hand with specialized wallpaper and protective coatings to do the heavy lifting. Keeping grout and seals in tip-top shape stops moisture from playing hide-and-seek behind your walls, preventing damage you might not even notice until it’s too late.
How to Troubleshoot Common Wallpaper Problems in Shower Areas
Catching wallpaper damage early can save you a real headache down the line.
- Peeling edges usually give away adhesive failure or that sneaky moisture creeping in.
- Discoloration often signals water stains or those early, unwelcome mold patches lurking just beneath the surface.
- Bubbling or blistering pops up when moisture decides to throw a party trapped under the wallpaper.
- Mold spots are a clear sign of fungal growth that definitely demands some swift attention.
Tackle peeling edges on your wallpaper in a bathroom with shower by gently lifting them up and reapplying with a moisture-resistant adhesive. Then seal the edges with a waterproof sealant to keep things snug and secure. When discoloration shows up it usually means it’s time for a good clean with a mild mold remover or swapping out the damaged sections. If you spot bubbling carefully puncture those pesky bubbles to let trapped air escape. Then smooth everything out again with adhesive. Mold spots demand quick action with anti-fungal cleaners.