How to Remove Stain from Cabinets Without Sanding

Learning how to remove stain from cabinets without sanding is a handy trick that lets you give them a fresh new look in no time, all while steering clear of dust clouds and potential damage.
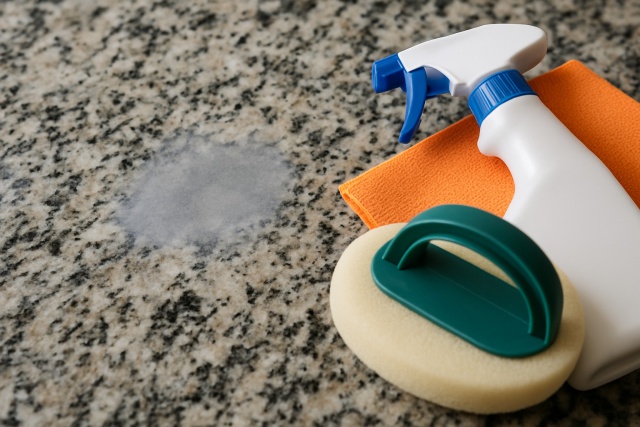
Cabinets collect all kinds of blemishes over time—water rings, grease spots, ink marks and food spills. Sanding is the go-to method for refinishing wood, but it can be dusty and labor-intensive. It can also damage delicate finishes or the wood beneath if you are not careful. Stain removers offer a neat alternative without the hassle of sanding.
Understanding Cabinet Stains including Their Causes and Different Types
Cabinet stains can sneak in from all sorts of places, each demanding its own little bit of TLC. Water stains usually pop up when cabinets take a spill or get wet now and then. Grease marks are the usual suspects after a few cooking sessions, lurking from all the oils in the air. Then there are the ink or dye spots that refuse to back down without a fight. Food and drink spills can leave their colorful mark.
- Water stains from those pesky moisture rings or sneaky leaks that leave their not-so-welcome marks on the wood.
- Grease spots, the classic aftermath of cooking oils and the occasional fingerprint that somehow always shows up.
- Ink stains from pens or markers that have a habit of wandering onto cabinet surfaces when you least expect it.
- Food and drink spills stubbornly leave behind colored residues and sticky patches, making cleanup a bit of a hassle.
- Discoloration caused by smoke from cooking or cigarette residue, giving the wood an unwanted patchy look.
- Yellowing of old wood finish, a natural consequence of oxidation or just the wood quietly darkening with age.
Key Tools and Materials You’ll Definitely Want on Hand
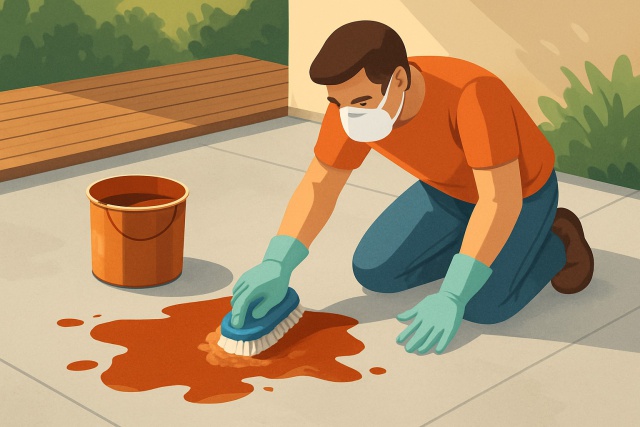
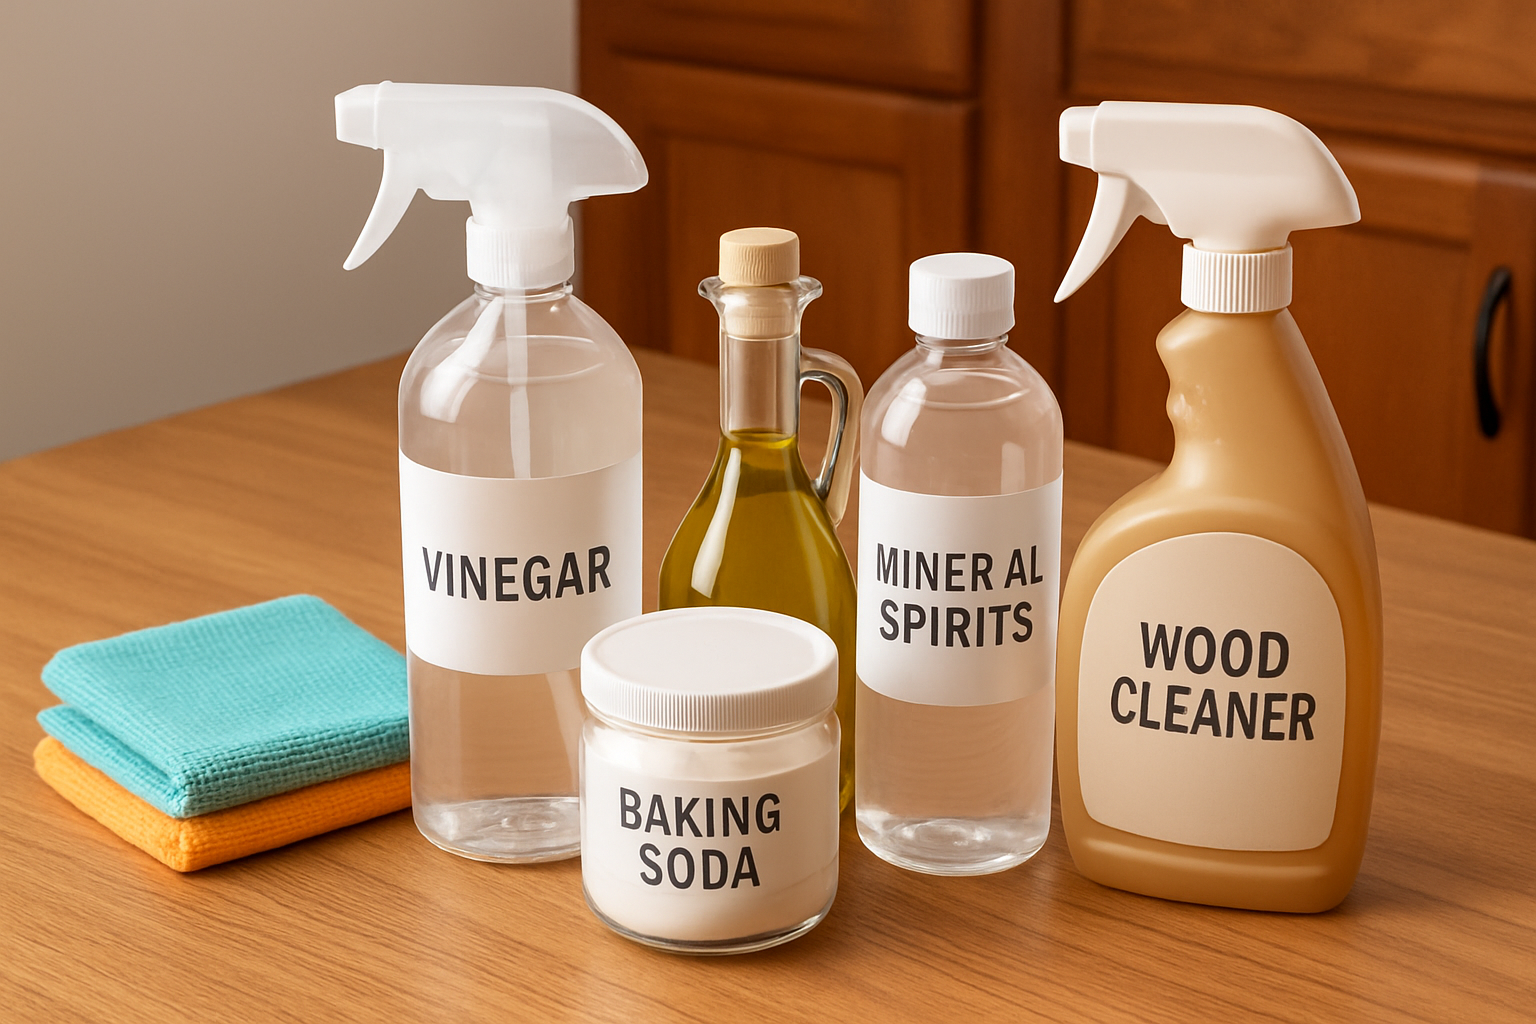
If you’re aiming to banish stains without pulling out the sandpaper, it’s best to reach for cleaning agents that strike the perfect balance between gentle and effective—paired with soft tools that won’t mess with the cabinet’s finish. Oh, and don’t forget the basics: slip on some gloves and make sure the room is well-ventilated when you’re dealing with chemicals like mineral spirits.
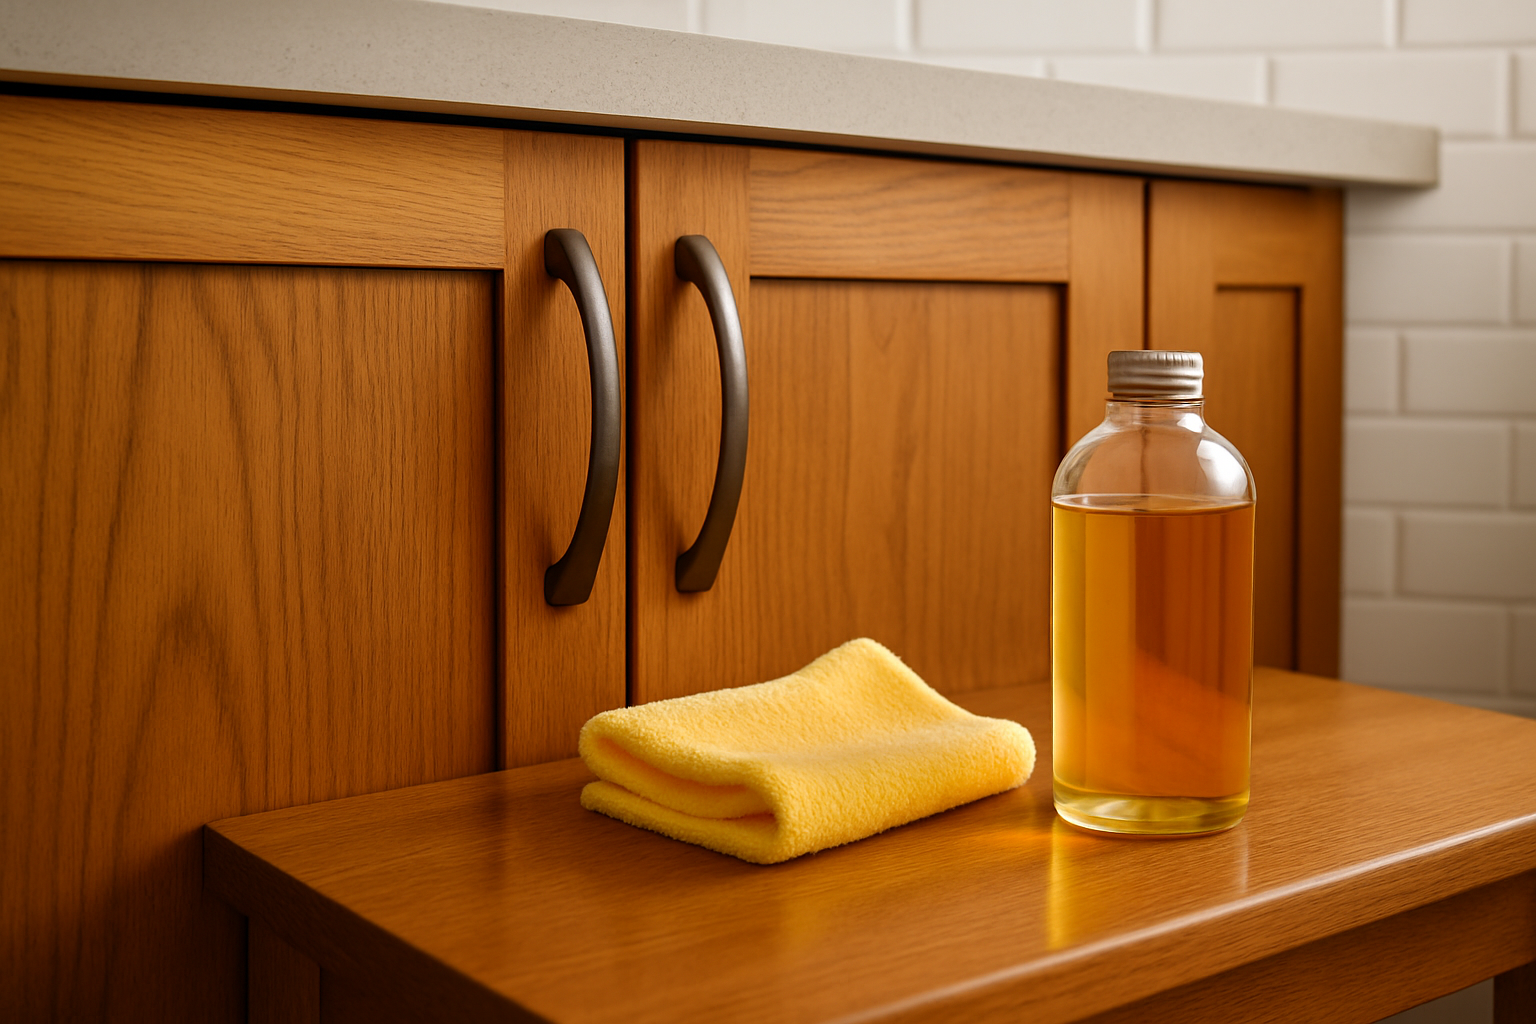
- Soft cleaning cloths or microfiber towels that won’t scratch or harm delicate surfaces—they’re a real lifesaver when you want to be gentle.
- Mild detergents like good old dish soap, perfect for tackling light stains without going overboard.
- White vinegar, a trusty natural cleaner that’s effective on those pesky water stains.
- Baking soda, which you can mix into a gentle abrasive paste to handle stubborn marks without any fuss.
- Olive oil to nourish wood and bring back that warm rich shine—like giving your cabinets a little spa treatment after cleaning.
- Mineral spirits handy for safely breaking down grease or ink spots without stressing the finish.
- Commercial wood cleaners specially made for delicate cabinet finishes because sometimes you need that extra bit of care tailored just right.
Step-by-Step Guide on How to Remove Stain from Cabinets Without Sanding
Kick things off by setting up your workspace: lay down some drop cloths, empty those cabinets and give the surfaces a quick once-over to wipe away any dust or stray crumbs.
Test any cleaning solution on a small out-of-sight spot first—better safe than sorry when it comes to preserving that finish.
Whip up a bit of mild dish soap mixed with warm water and gently wipe the area with a soft cloth—kind of like giving your cabinets a gentle pat.
For tough stains that won’t quit, mix baking soda with water into a paste, slather it on and gently scrub using a soft scrub pad—you’re aiming to coax those stains out not wage war.
When water rings or mineral buildup make an appearance, white vinegar diluted equally with water is your secret weapon—it cuts through the mess without a fuss.
Dab a little mineral spirits on a cloth and rub gently until you see the stubborn spots start to budge—patience pays off here.
After elbow grease, give the surface a light buff with olive oil to revive its shine and nourish the wood—think of it as a little spa treatment for your cabinets.
Finally, let everything dry completely and take a good look at your handiwork. If any stubborn stains are still hanging around, just repeat the steps—you’ve got this.
Tailor your stain removal approach depending on the cabinet’s finish—no one-size-fits-all here. Varnished surfaces generally take kindly to gentle detergents and a bit of mineral spirits without throwing a fit. Painted cabinets call for a gentler touch since you really don’t want to end up stripping the paint by accident.
Common Challenges and How to Dodge Them
Try to steer clear of harsh chemicals or abrasive scrubbers that could mess up your cabinet's finish. Always test any cleaner on a tiny out-of-sight spot first. Never let wood surfaces take a long soak because that leads to warping trouble. When you’re using mineral spirits handle them with care and don’t forget proper protective gear.
- Steer clear of harsh cleaners that can strip or scratch the finish because your wood will thank you.
- Always do a spot test first to avoid any unwelcome surprises.
- Don’t soak the wood since it tends to swell or warp, which can be a real headache.
- Use mineral spirits carefully and only in spaces with plenty of fresh air.
- Slip on some protective gloves and keep the area well-ventilated to stay safe and sound.
Caring for Cabinet Surfaces After Removing Stains
Once the stubborn stains are out of the way, it’s time to show your cabinet surfaces a little tender loving care. Think of it as giving them a mini spa day to restore their natural charm and keep them looking sharp for the long haul.
Keep your cabinets looking their absolute best by learning how to remove stain from cabinets without sanding, and avoid future issues by staying consistent with regular maintenance. Clean them with gentle products, wipe up spills as soon as they happen, and treat them to a little TLC with protective wax or natural oils every now and then.
- Dust your cabinets regularly to keep stubborn grime from becoming permanent.
- Use gentle soaps or products made specifically for wood to maintain the finish's sharp and happy look.
- Clean up spills right away because stains set in if you leave them unattended.
- Use a damp cloth rather than a soaking one to prevent soaking the wood with too much moisture.
- Occasionally treat your cabinets with natural wax or oil as if giving the wood a little spa day to nourish and preserve its charm.
Questions & Answers
Can I use these methods on any type of cabinet finish?
Most methods work well on varnished and stained wood. For painted cabinets, be careful with solvents like mineral spirits as they can strip the paint. It is always smart to test your cleaner on a hidden spot first to make sure it won’t mess with or discolor your finish.
What should I do if the stain does not come out after the first try?
Patience usually pays off here. If the stain is stubborn, apply your cleaning paste or solvent again and let it sit for a few minutes before scrubbing gently. Don’t go all Hulk on your cabinets because scrubbing too hard can damage the finish. In my experience, several gentle treatments work better and cause less harm than one overzealous attempt.
Is it safe to use vinegar on my wood cabinets?
Yes, diluted white vinegar mixed with equal parts water does a fine job removing water rings and mineral buildup. Since vinegar is acidic, test it first on a small spot. Avoid using it on unsealed wood because over time it might wear down the surface.
How long does the entire stain removal process typically take?
That depends on the stain you are dealing with. A straightforward cleaning usually takes 15 to 30 minutes per cabinet section. Tougher stains requiring pastes or several applications might take an hour or more, including drying time. Still, this is much quicker than sanding and refinishing, which can feel like a full-time job.
Will using olive oil make my cabinets greasy or attract dust?
Not if you play it right. Use a tiny dab on a soft cloth to buff the surface—this conditions the wood and revives its natural shine. Buff away excess oil until the surface feels dry. This avoids a greasy residue and keeps dust from settling.