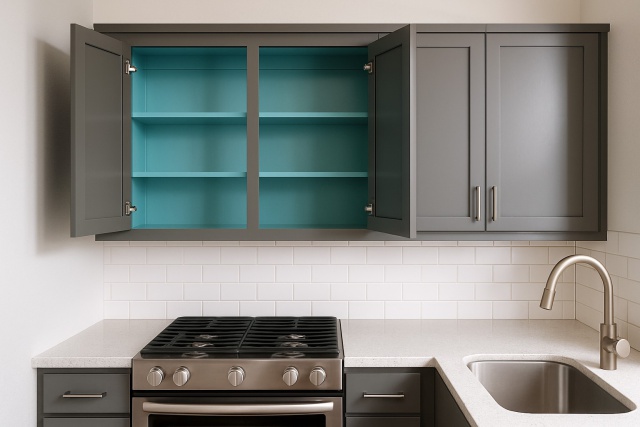
Painting Over Stained Wood Cabinets Without Sanding
Painting stained wood cabinets without sanding is a faster and cleaner way to give your kitchen or bathroom a fresh new look. It saves you time, sidesteps the dreaded dust cloud and keeps the whole project pretty mess-free—all while delivering a durable fresh finish.
Getting to Know Your Cabinets and Why Sanding Isn’t Always the Best Idea
Most stained wood cabinets you will find in homes are coated with finishes like polyurethane or varnish that give them a glossy protective shield. Sanding is usually recommended to rough up that slick surface so paint has a chance to stick but it can be a bit of a headache. It kicks up a cloud of dust and risks messing up delicate corners. It also demands quite a bit of elbow grease.
Skipping sanding can sometimes cause issues like lousy paint adhesion, peeling or a finish that looks uneven.
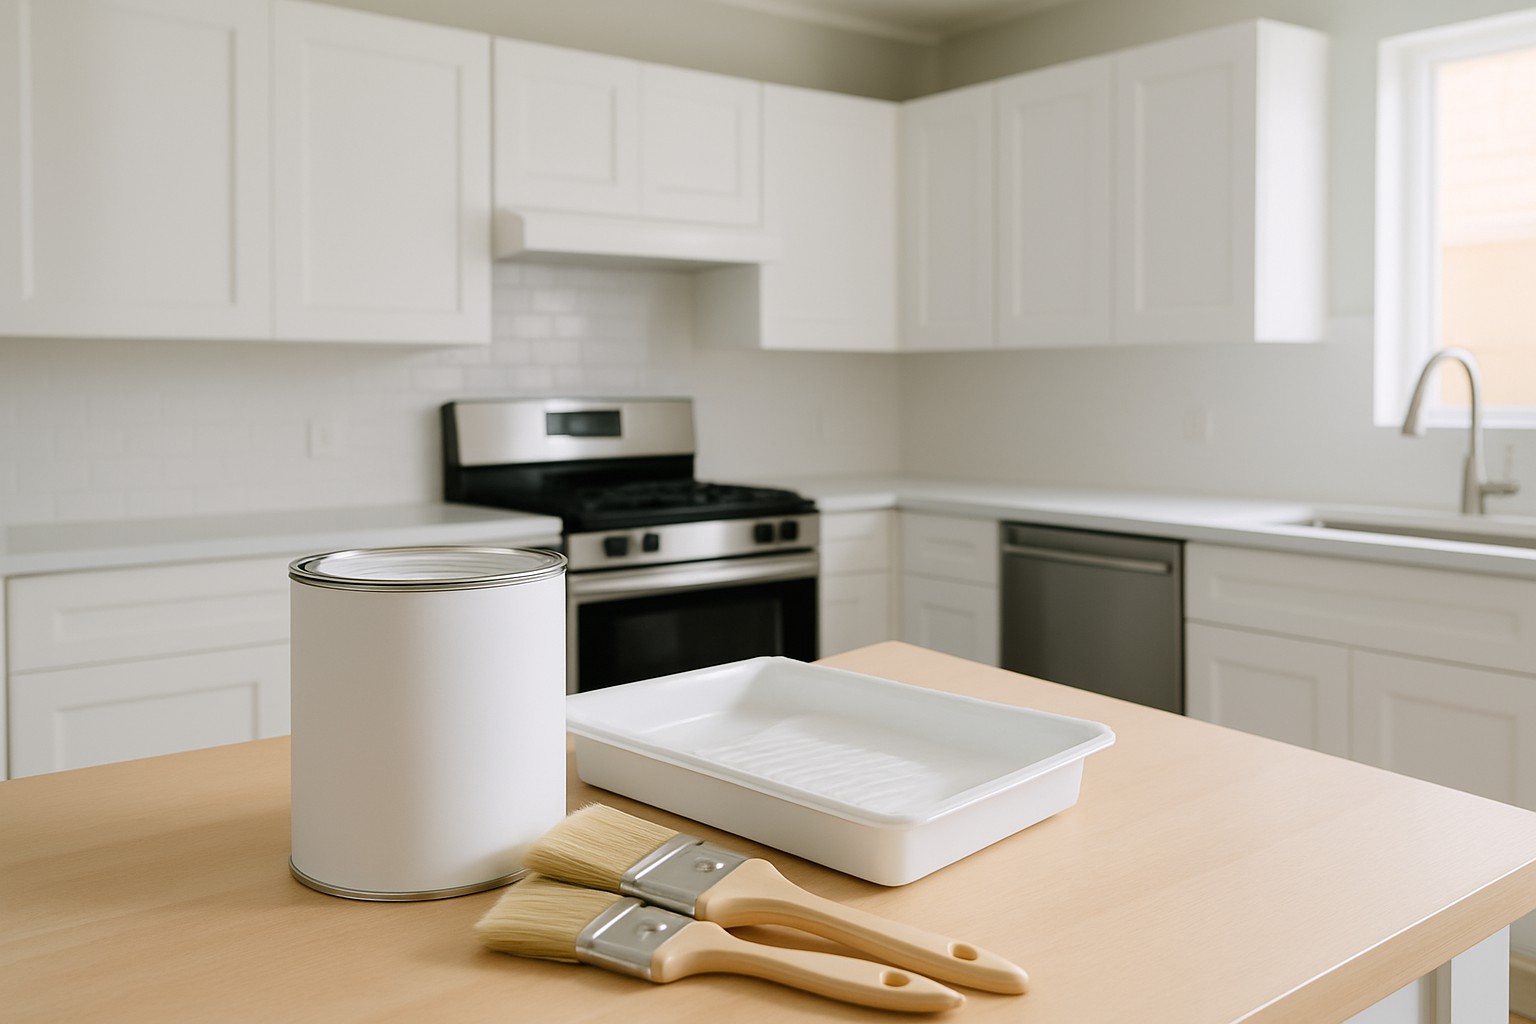
Key Supplies You’ll Want on Hand to Tackle Stained Wood Cabinets Without Sanding
- A powerful degreaser or cleaner that really gets in there to cut through stubborn oils and dirt
- Liquid deglosser to gently take down that pesky shiny finish without fuss
- A high-quality bonding primer made for slick or varnished surfaces that can be tricky to tame
- Brushes and rollers that work well with smooth finishes, making your job easier and results cleaner
- Durable paint whether you lean towards latex or oil-based depending on your preference and the project
- Painter’s tape to keep edges sharp and your work looking neat
- Drop cloths sturdy enough to shield floors and countertops from accidental splatters or spills
- Safety gear like gloves and a mask to protect your hands and lungs because a little caution goes a long way
Each supply plays its part in the grand scheme. Degreasers tackle stubborn grime to give primers a fighting chance to stick, and deglossers prep a surface that eagerly grabs paint without the hassle of sanding. Primers act like a trusty handshake that keeps paint firmly in place. Quality brushes and rollers are the secret weapons behind those smooth, envy-inducing finishes. Painter's tape paired with drop cloths do the heavy lifting by shielding your space from paint mishaps.
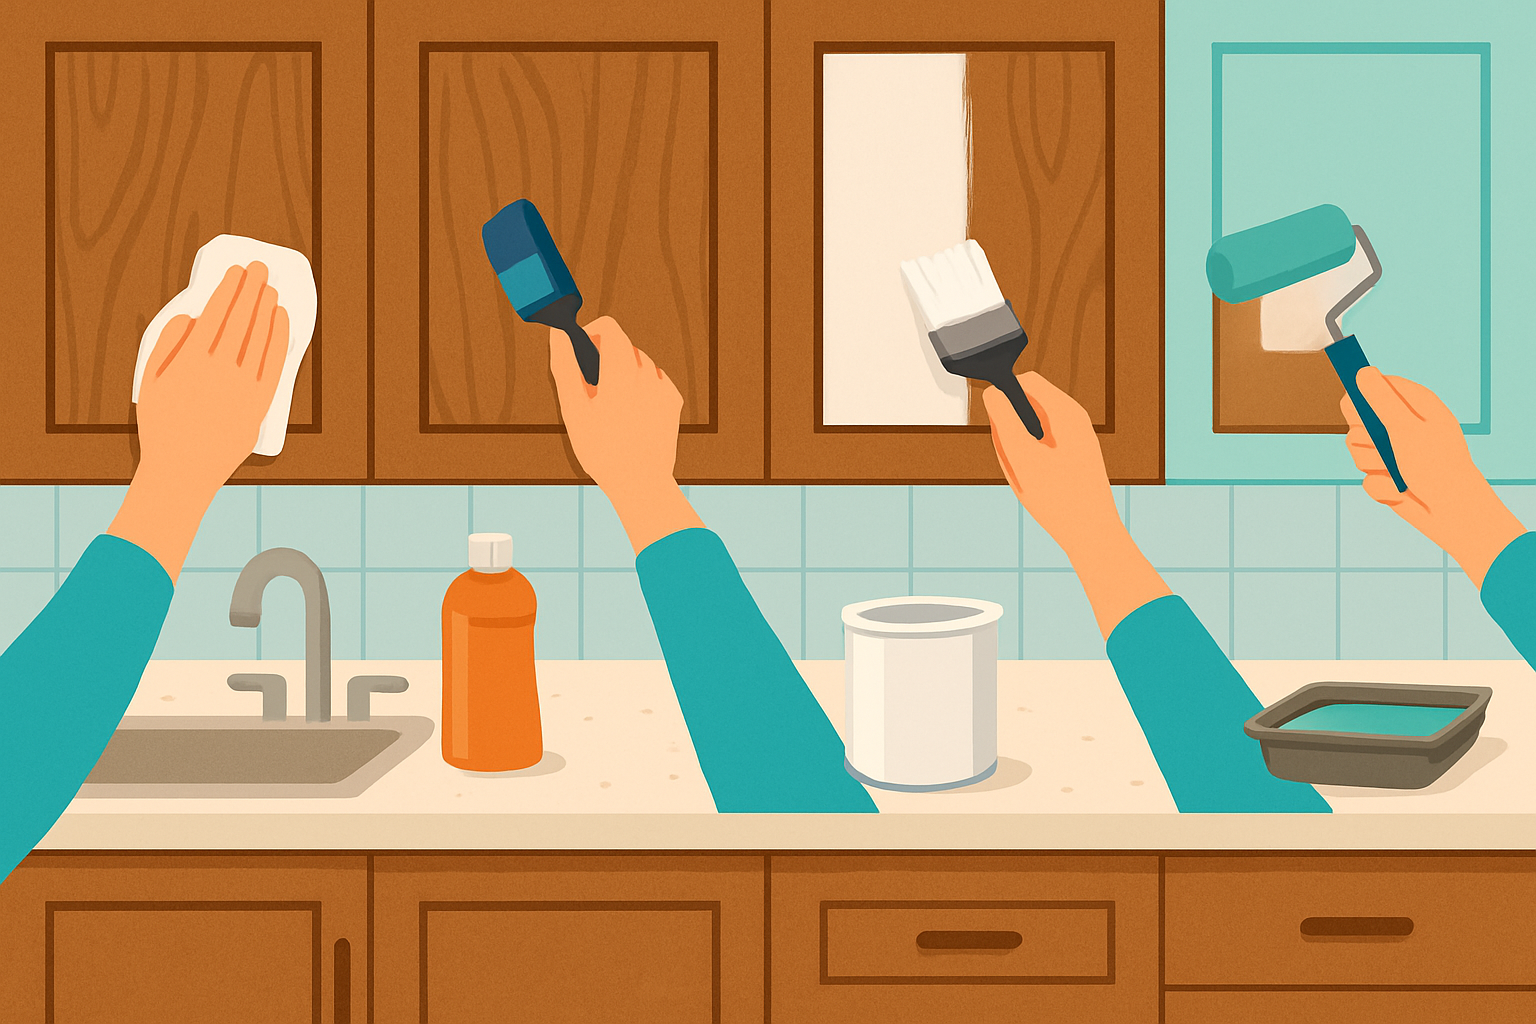
Step-by-Step Guide on Painting Over Stained Wood Cabinets Without the Fuss of Sanding
You’ll kick things off with a thorough cleaning to make sure everything’s spotless before moving on. Next up is deglossing, which prepares the surface for what’s next. Once you’ve primed, apply the paint in even coats—this builds durability and gives you that smooth polished finish we all want.
Start by taking off the cabinet doors and hardware—it makes painting much easier and saves you from annoying paint spots where you don’t want them.
Give all cabinet surfaces a good scrub with a strong degreaser or trisodium phosphate (TSP) cleaner to remove grease, oils and dirt. Think of it as a deep cleanse before the makeover.
Grab a liquid deglosser and apply it with a cloth following the manufacturer's directions carefully. This step dulls the shiny finish and helps the primer stick better.
Once the deglosser has dried, apply a high-quality bonding primer made for glossy or varnished surfaces. Make sure to cover everything evenly—no patchy spots!
Let the primer dry completely following the product’s instructions, usually a few hours or overnight.
If you want, lightly buff the primer with a fine-grit sanding sponge to smooth any texture and help the paint hold tighter.
Using a fine synthetic brush or foam roller, apply the first coat of paint with long smooth strokes. Avoid drips or thick spots—slow and steady wins the race.
After the first coat is fully dry, apply a second coat to deepen the color and boost durability. It’s worth the extra effort.
When it’s time, carefully peel off the painter’s tape before the paint is fully cured to avoid peeling paint with it. Then touch up any spots that need a little love.
Finally, give the paint several days to cure before putting the hardware back on and using the cabinets. A little patience here helps the finish last much longer; your future self will thank you.
Handy Tips for Getting a Smooth Finish Without the Sanding Hassle
- Always choose a high-quality bonding primer that is specially designed to cling well to glossy or stained surfaces.
- When selecting paint, consider your options between latex and oil-based. Think about how durable you want the finish to be and how quickly you want it to dry. Oil-based paints typically provide a silky, smooth appearance.
- Follow the recommended drying times between coats. Skipping this step can lead to peeling or bubbling, which nobody wants.
- Paint in a clean, dust-free area with plenty of fresh air. Dust settling on wet paint can ruin a fresh paint job.
- For the smoothest and most even finish, use fine synthetic brushes or dense foam rollers since they work very well.
- Avoid applying thick layers of paint. Thinner coats help prevent drips and reduce drying time, which is always beneficial.
- When using painter's tape, apply it carefully and neatly along the edges. Remove it before the paint is fully dry to avoid ragged lines and keep your work looking sharp.
Keep peeling or bubbling and that annoying uneven texture at bay by giving the surface a thorough cleaning and never skipping the all-important deglossing step. If you spot any surface imperfections, a light gentle buffing once the primer has dried usually smooths out minor flaws.
Common Mistakes People Often Make When Painting Over Stained Cabinets (That Can Turn Your Project Sideways)
- Forgetting to give cabinets a thorough cleaning before painting is one of those small but vital steps that can make or break the whole job.
- Choosing a regular primer instead of a bonding primer made for glossy surfaces is like bringing a butter knife to a steak fight.
- Applying paint directly onto a high-gloss varnish without first using a liquid deglosser often leads to trouble later on.
- Rushing or skipping drying times between coats usually causes annoying bubbling or peeling, which is definitely not the look anyone wants.
- Not using painter’s tape to protect edges and nearby surfaces can ruin the clean lines that really show off your work.
- Ignoring the instructions that come with primers and paints can be a mistake, even if those details sometimes seem like a foreign language.
- Painting in dim lighting or high humidity can mess up drying times and ruin the final finish, so it’s best to choose the right time to work.
These mistakes can really affect how long your painted cabinets last and how good they look. Leftover oils get in and cause the paint to peel as if it has had enough. Using the wrong primer is like trying to stick a magnet to plastic because it simply won’t stick properly. Rushing the drying process leads to bubbles and uneven surfaces, which no one wants to see.
How to Keep Your Painted Cabinets Looking Fresh and Fabulous
Keep your painted cabinets looking fresh and new by giving them a regular once-over with a soft cloth and some mild soap mixed with water—easy does it. Avoid harsh abrasive cleaners or scrubbing pads because they’re like nails on a chalkboard for your finish and can cause damage before you know it. When you're painting over stained wood cabinets, it's especially important to handle any chips as soon as possible and do your best to keep moisture and heat away to slow down any peeling.