Wood Transfer with Mod Podge That Won't Peel Off
The technique of a wood transfer with Mod Podge has become the go-to trick for customizing furniture and décor with your own images, text or designs. Plenty of beginners hit a snag when their transferred image starts peeling off sooner than expected—it’s a real headache. Usually this annoyance crops up because of common slip-ups during the prep or sealing stages.
Understanding Wood Transfer with Mod Podge Key Concepts and Common Challenges You’ll Want to Know
A wood transfer basically involves taking an image printed on paper and applying it onto a wooden surface, resulting in a smooth design that looks like it is naturally part of the wood itself. Mod Podge is a popular choice here since it doubles as both glue and sealant, making the process a bit more foolproof. Peeling can still happen—usually because of surface issues or using the wrong technique—causing the finish to wear out sooner than you would hope.
- Skipping a thorough surface cleaning can leave behind stubborn dirt or oils that throw a wrench in adhesion
- Peeling off the paper before the Mod Podge and image have fully dried often leads to disappointment
- Using the wrong kind of paper like regular printer paper instead of laser or transfer paper doesn’t work well with the process
- Not sealing the finished transfer tightly enough leaves it vulnerable to moisture and wear, like leaving your umbrella at home on a rainy day
Materials and Tools You’ll Need to Nail Those Wood Transfers with Mod Podge
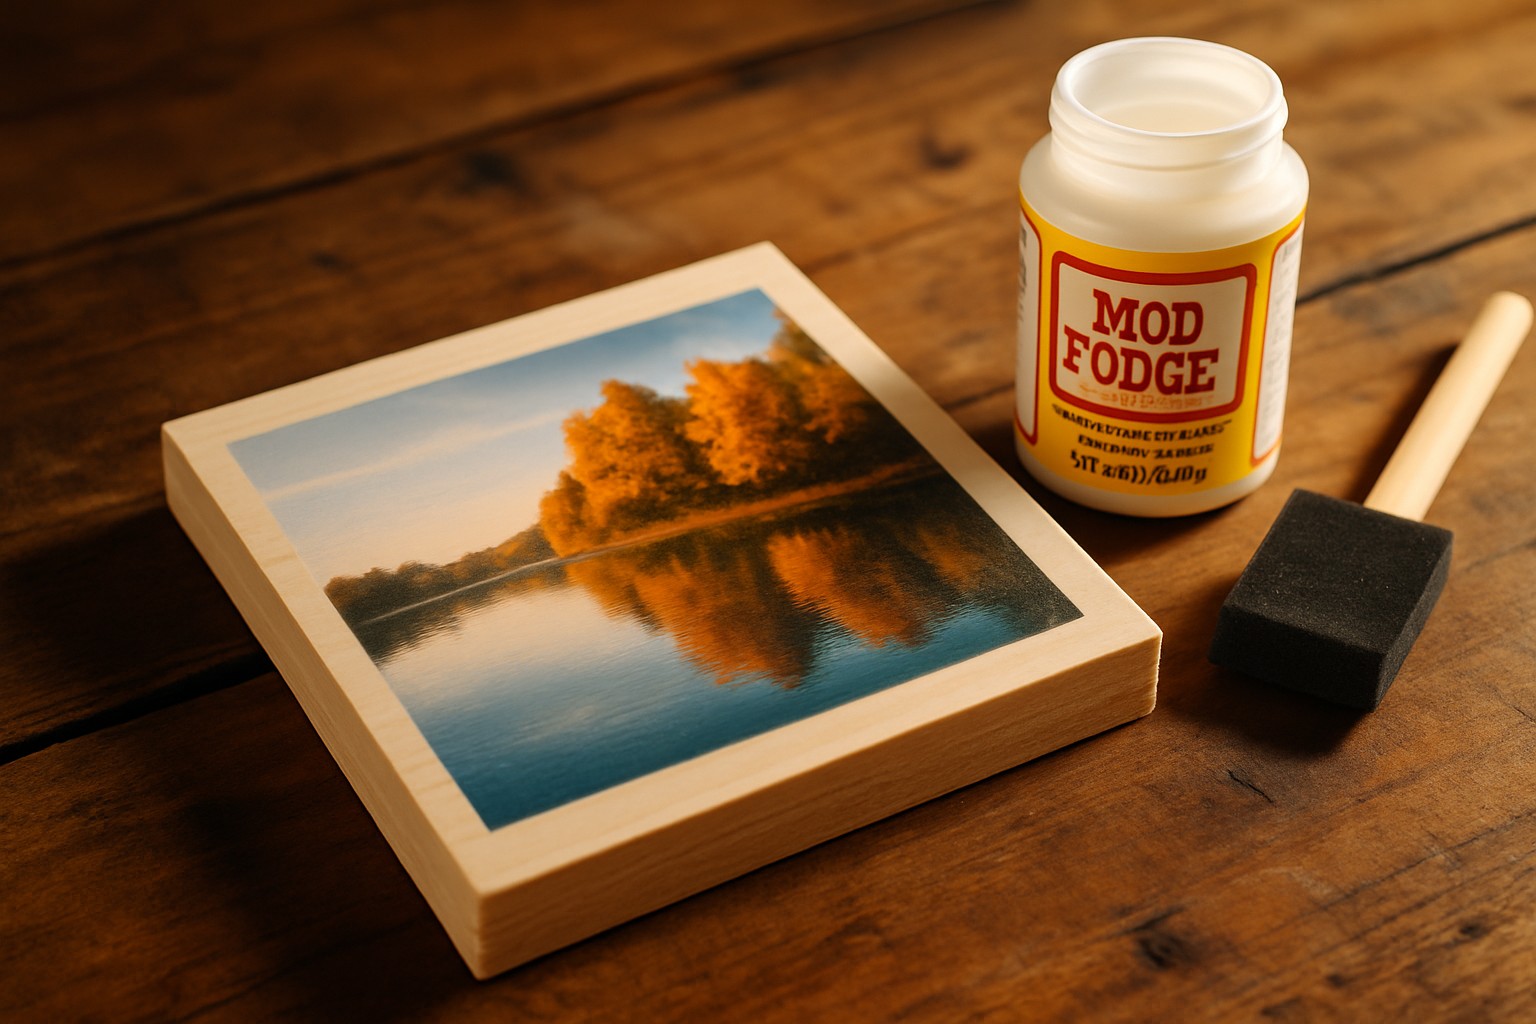
Create a transfer that won’t peel off at the first sign of trouble by starting with the right Mod Podge formula and wood prepped with a bit of TLC. An image printed on proper transfer paper and good quality brushes are your trusty sidekicks in this process along with finishing sealers.
| Material/Tool | Purpose | Tips for Selection or Usage |
|---|---|---|
| Mod Podge (Matte or Glossy) | Works double duty as both adhesive and sealer for transfers | Try to grab a version made especially for decoupage and transfers—it really makes a difference |
| Wood Surface | Serves as the sturdy base for your transfer | Smooth, well-sanded wood usually welcomes transfers with open arms |
| Laser-printed Image on Transfer Paper | Supplies the image | Stick with laser prints; inkjet can be a bit tricky since it tends to smudge or fade over time |
| Soft Bristle Brush | Spreads Mod Podge smoothly and evenly | Go for soft, clean brushes to keep those annoying streaks at bay |
| Sandpaper (120-220 grit) | Gets the wood surface ready to grip the image better | Sand gently—being too rough might leave unwanted scratches |
| Burnishing Tool or Roller | Presses and smooths the image onto the wood | Use this to smooth out bubbles and really help the image make good contact |
| Spray Sealer or Polyurethane | Adds the all-important final protective layer | Water-based sealers are usually your best bet if you want to avoid yellowing over time |
Step-by-Step Guide to Nailing a Wood Transfer with Mod Podge That Actually Sticks
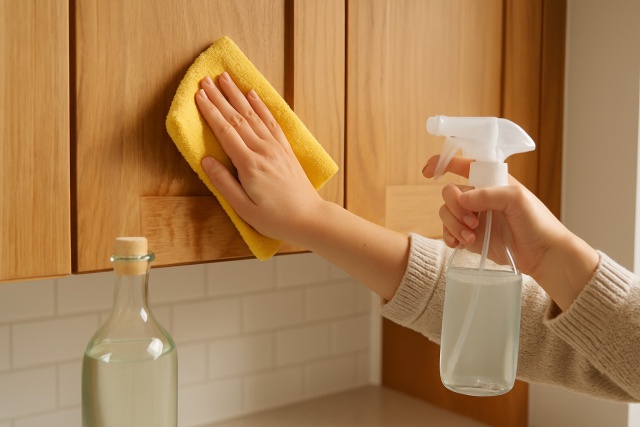
Sand your wood surface smooth using 120 to 220 grit sandpaper. Take your time to get it just right, then give it a good cleaning to remove all dust and oils.
Pick out your image and print it with a laser printer onto the correct transfer paper. If your picture includes text, flip it backwards first to avoid any awkward mirror effects.
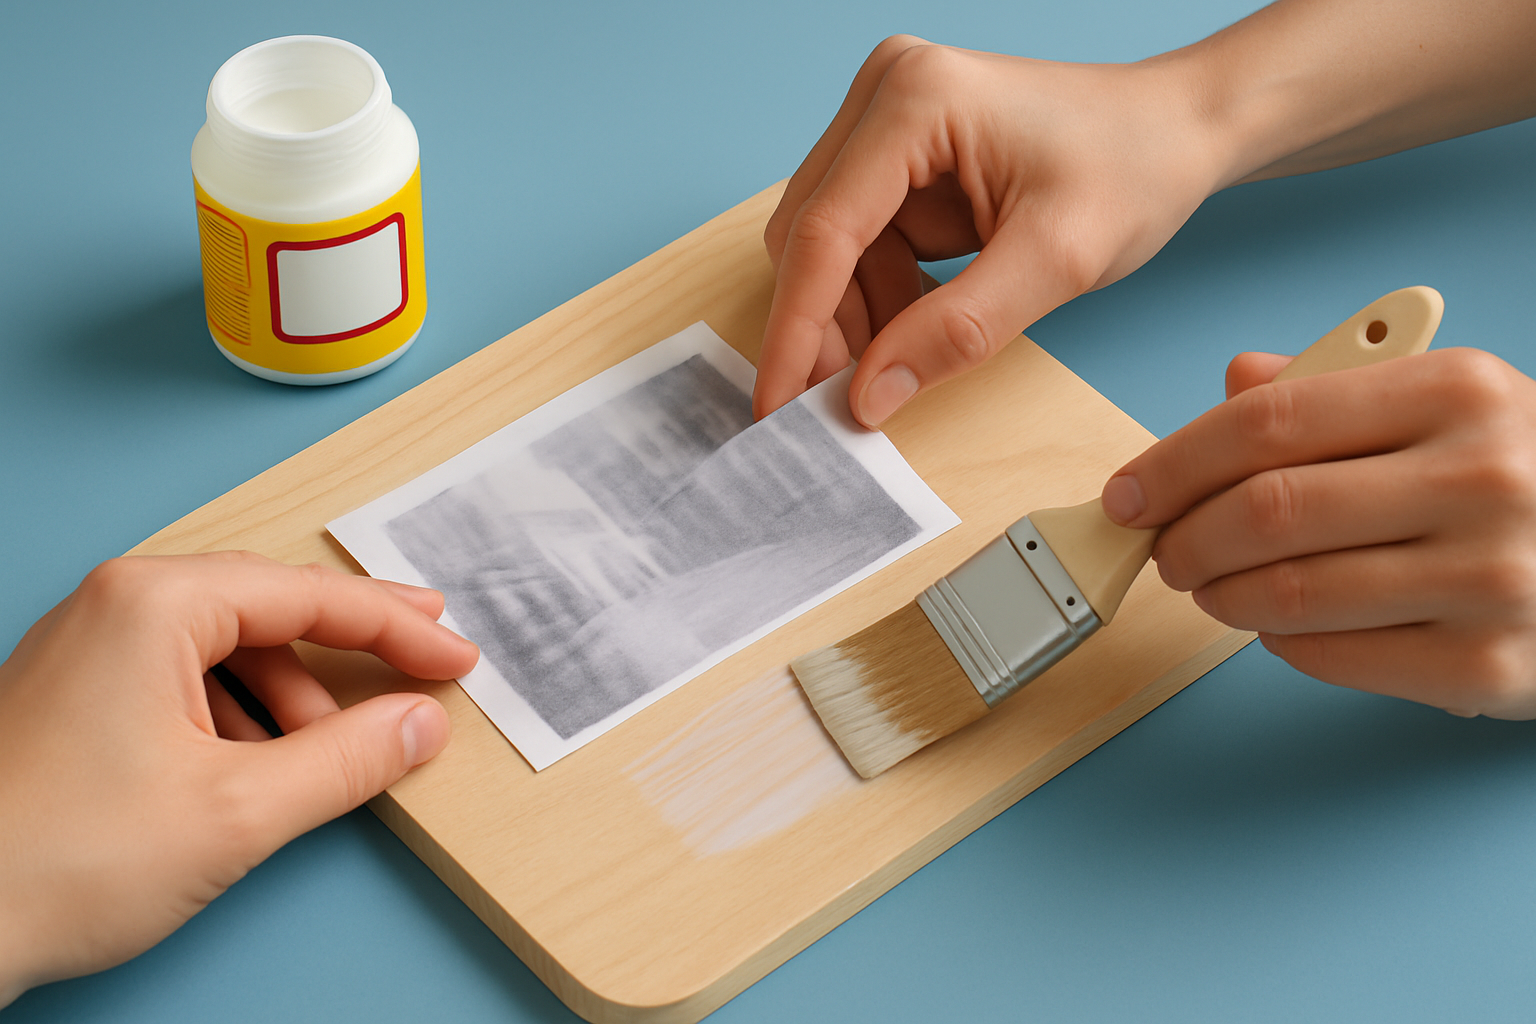
Slather a generous, even layer of Mod Podge over the wood area where your image will go. Do not be shy with it, but keep the layer smooth.
Carefully set the printed image face down onto the Mod Podge. Then gently press and smooth out any bubbles with a burnishing tool or a soft cloth. Patience really pays off here.
Let the whole thing dry completely for at least 24 hours in a warm, cozy spot. Resist the urge to peek!
Lightly dampen the paper with a sponge and slowly rub it off, revealing your transferred image bit by bit without tearing. Think of it as a delicate unveiling.
Once everything is dry, seal your masterpiece with several coats of water-based polyurethane or a spray sealer to keep it safe from peeling and moisture because nobody wants their hard work to go south too soon.
Make sure your drying area stays nice and dust-free while maintaining a steady, moderate temperature—this little bit of care can really help prevent cracking or peeling that tends to sneak in when things dry too fast or get too humid.
Troubleshooting Common Issues How to Dodge Peeling and Make Things Stick Around for the Long Haul
- If you catch any peeling, first double-check that the wood was properly sanded and cleaned beforehand—sometimes that step gets rushed and it comes back to bite you. If needed, don’t hesitate to redo the surface prep to set things right.
- To fix peeled spots, apply a fresh coat of Mod Podge. Gently smooth down any loose edges like you’re tucking in a blanket, then seal it all over again to keep things cozy.
- Give your transfers some extra muscle by adding another sealing layer such as a tough outdoor polyurethane. This is especially important if your project will brave the elements and face moisture head-on.
- Opt for high-quality Mod Podge specially formulated for wood transfers. It makes a world of difference for better adhesion and keeps that finish flexible without cracking.
"Patience and careful attention to detail really lay the groundwork for a peel-proof wood transfer. If you try to rush through any step, it tends to show up later, messing with both how sturdy and how good the final piece looks. In my experience, taking your time pays off every single time."
Inspiring Ways to Really Bring Your Wood Transfer Projects to Life
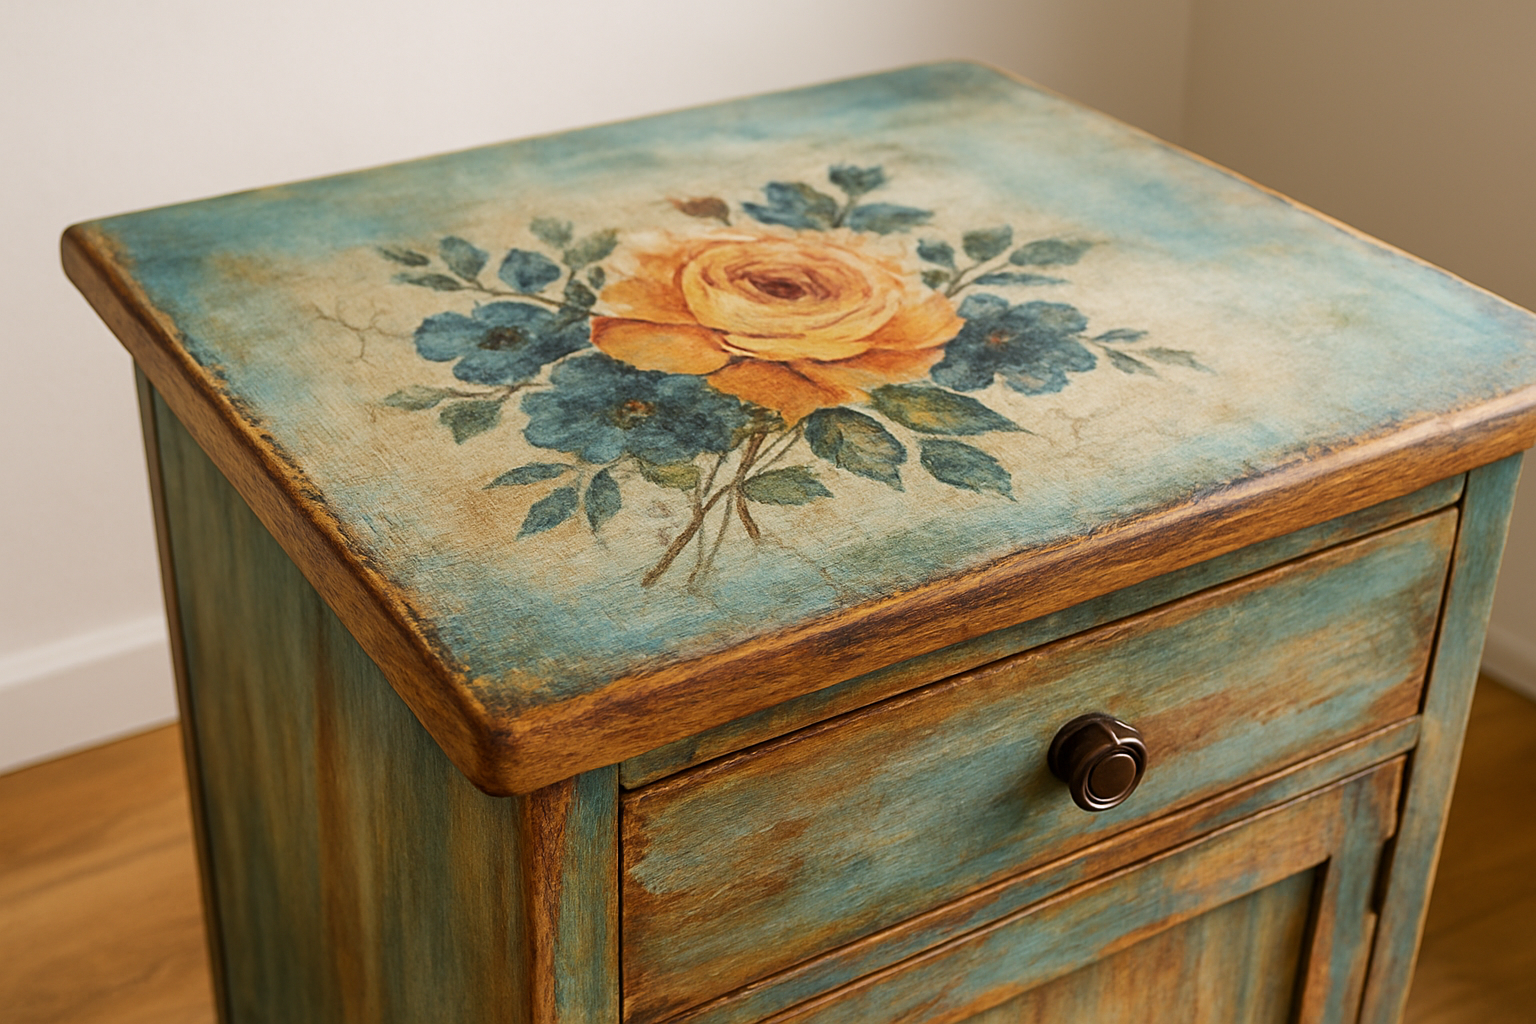
Once you get the hang of a peel-proof wood transfer with Mod Podge, the creative possibilities really start to open up. You can easily personalize your transfers by blending paint washes over them or roughing up the edges to give that charming vintage vibe. You can also layer in stencils and decorative finishes to make your furniture makeover stand out with a genuinely one-of-a-kind touch.
- Lightly roughen the distress transfer edges using sandpaper or a wire brush to create a softly worn rustic look that feels just right like a well-loved quilt.
- Apply translucent color washes or thin layers of diluted paint over the image to help it blend with the wood beneath and create a gentle whisper rather than a shout.
- Seal your masterpiece with metallic or matte finishes to add texture and subtle visual interest that keeps the eye happily wandering.
- Don’t be shy about mixing transfers with stenciled designs or hand-painted accents because this combination can bring rich layered effects that make your furniture pop with personality.