Should I Paint the Inside of My Cabinets - Pros and Cons
When you’re mulling over the idea of giving your kitchen a facelift, a key question that often pops up is, 'should i paint the inside of my cabinets?' It all boils down to practical perks, aesthetics and how much effort you’re willing to put into upkeep.
Understanding Cabinet Interiors and What You Are Really Painting
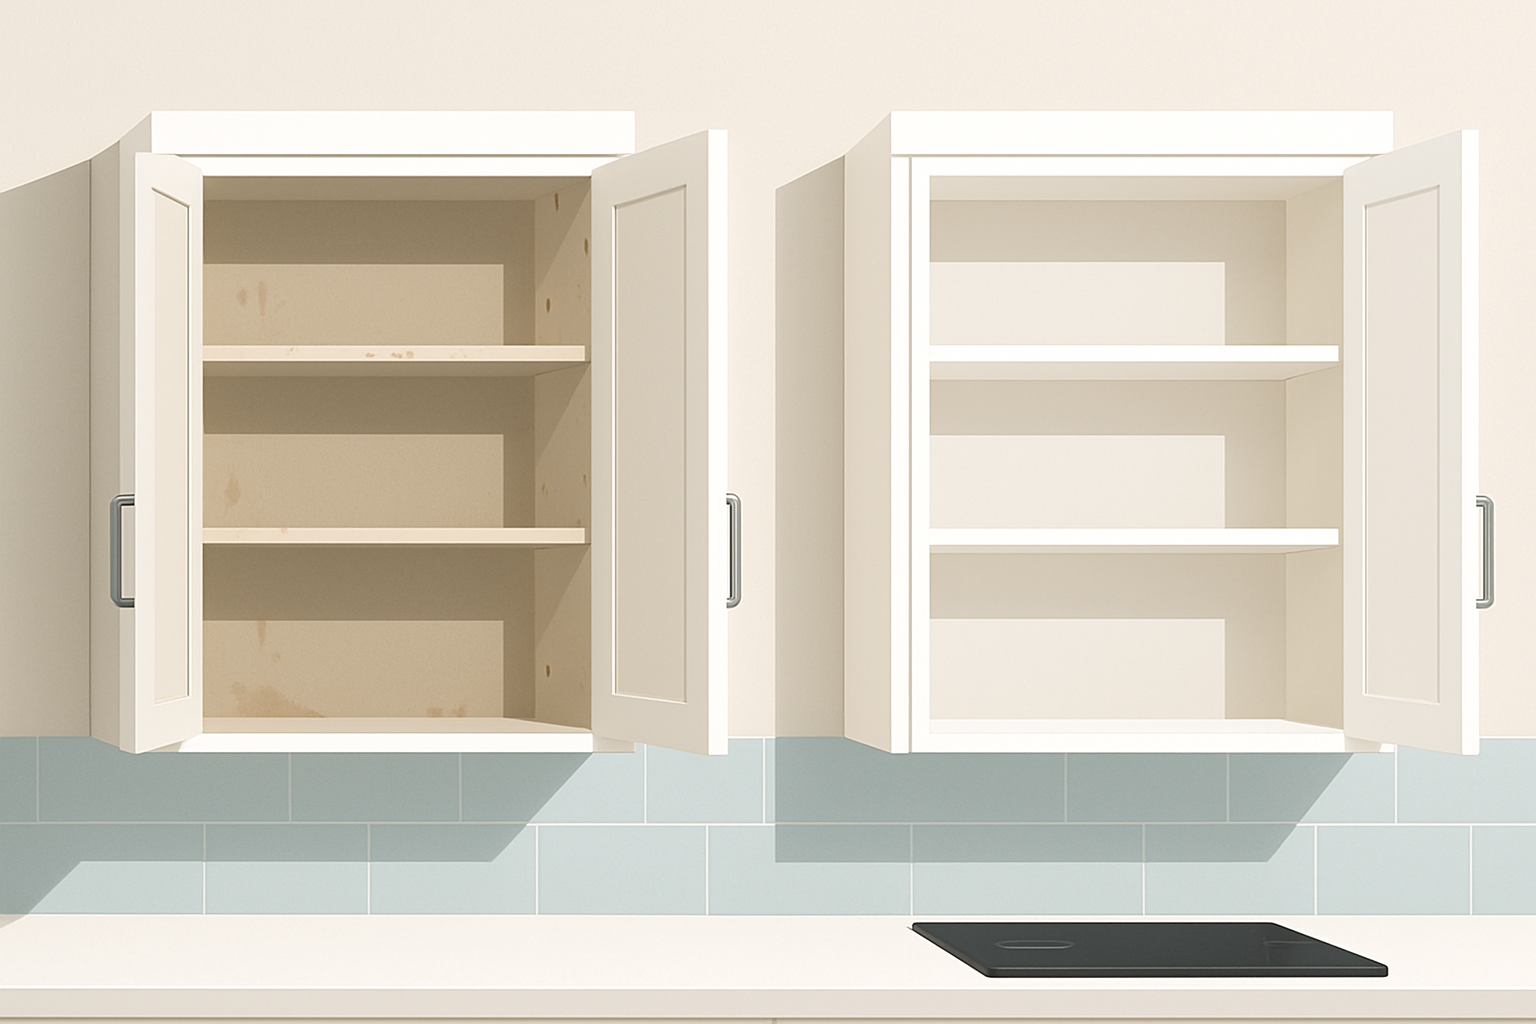
Cabinet interiors typically feature materials like plywood, MDF, particleboard or solid wood usually wrapped with laminate or veneer finishes. These surfaces often come pre-finished with melamine, paint or clear sealants designed to fend off moisture and daily wear and tear. The type and condition of these finishes inside the cabinets matter when deciding if painting will do the trick. For instance, painting over laminate or surfaces that haven’t been properly sealed usually means serious prep work to help the paint stick.
Benefits of Painting the Inside of Cabinets A Little Trick That Packs a Punch
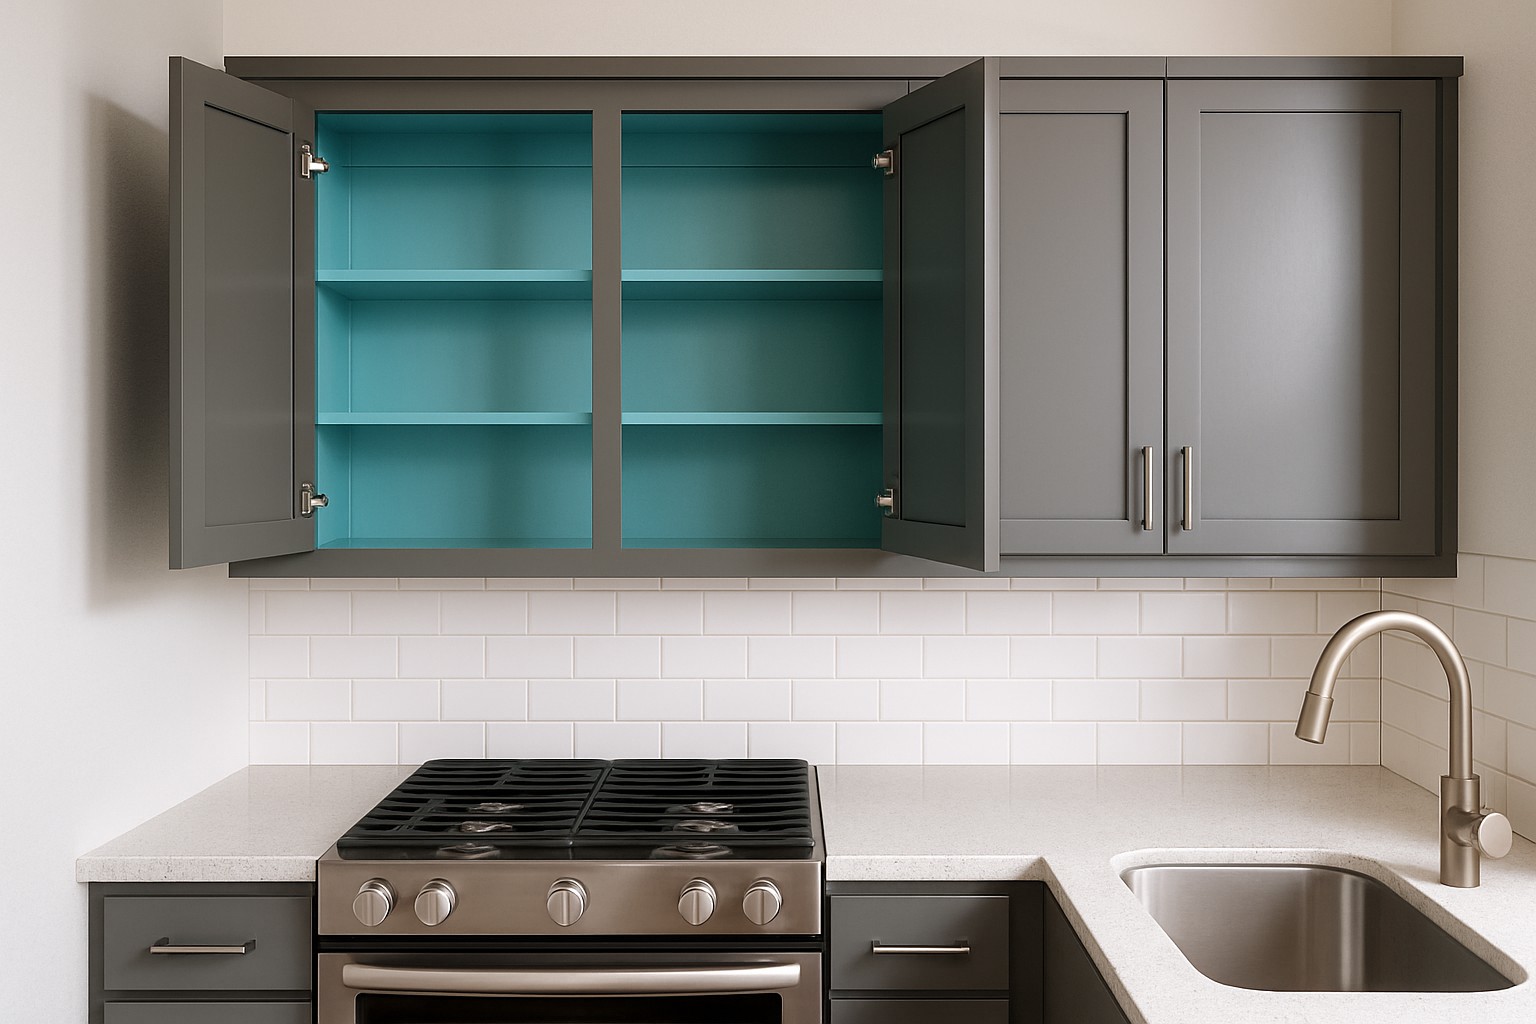
Painting the inside of cabinets comes with a handful of solid perks. It not only spruces up the appearance, but also acts as a shield against everyday wear and pesky moisture. Plus, it can make cleaning a bit less of a chore and gives you the chance to personalize the interior—whether you want it to blend in with the outside or stand out in its own little way.
- Gives the cabinet’s interior a fresh updated vibe that brightens those often-overlooked storage nooks.
- Adds durability that stands up to scratches, stains and moisture like a champ.
- Makes spills less of a headache by boosting resistance so cleaning up becomes a smoother task.
- Improves visibility and organization with lighter or contrasting colors inside, making it easier to spot what you’re looking for.
- Offers a wallet-friendly alternative to a full cabinet replacement by breathing new life into tired or outdated interiors.
- Lets homeowners get creative by coordinating or contrasting the interior paint with exterior finishes, adding a personal flair that makes the space pop.
These benefits really come in handy for older cabinets that start to show their age—think wear and tear inside or those stubborn discolorations—or in bustling kitchens where spills and stains seem to be part of the daily routine.
Drawbacks of Painting Cabinet Interiors
While painting the interiors of cabinets might sound like a neat little upgrade, it’s not all sunshine and rainbows. Honestly, it can add a bit of extra hassle that you might not have bargained for. For starters, prepping those tight corners and tricky spots can feel like a test of patience. Plus, if the paint isn’t perfectly applied, you could end up with a finish that peels or chips faster than you would like, especially in areas that see a lot of wear and tear. And let us not forget, in my experience, painted interiors could mask some underlying issues like moisture damage or wood warping, leaving you with surprises down the line. So, it’s worth weighing these factors before you grab that can of paint and dive in headfirst.
Painting cabinet interiors comes with its perks but it’s not always a walk in the park. The prep work alone can take more time and elbow grease than you might expect. Over time paint can start to peel or chip especially if your cabinets live in a humid or greasy environment. And don’t forget about ventilation during the painting process—it’s an easy-to-overlook detail.
- Getting interior surfaces ready usually means rolling up your sleeves for cleaning, sanding and priming. This can stretch the timeline more than you would hope.
- Achieving a smooth, even finish inside cramped cabinet corners can be quite the juggling act. It often calls for special tools or spray equipment to get the job done right.
- The paint smell tends to hang around like an uninvited guest during application so making sure there is plenty of fresh air or taking a breather away from the kitchen is a smart move.
- Paint doesn’t always play nice when exposed to humidity or cooking oils and this can sneak up on you with peeling or discoloration down the road.
- Painting inside cabinets risks accidentally messing up hardware, hinges or shelves if they’re not carefully masked off or taken out first. A little extra caution goes a long way.
- Picking the wrong paint can lead to poor adhesion and that could throw a wrench in the cabinet’s warranty or shorten its lifespan. It pays to choose wisely.
These drawbacks often become a real headache in kitchens that lack proper ventilation or are prone to dampness. They also occur when cabinets are made of materials that don’t play nice with paint.
Key Things to Keep in Mind Before You Dive Into Painting Cabinet Interiors
Homeowners really ought to eyeball details like the cabinet material and pick the right paint. They should also consider how well the room breathes.
- Make sure the paint you choose works well with cabinet materials like MDF or plywood so it lasts longer.
- Pick a paint type that fits your style and needs such as semi-gloss or satin enamel because these are durable and easy to clean.
- Don’t rush the prep work. Give your cabinets a good scrub, remove grease, sand gently, and apply a primer for a flawless finish.
- Keep the area well-ventilated. Fresh air helps reduce fumes and speeds up drying.
- Check if painting the insides could affect your cabinet warranty or durability to be safe.
- Consider your budget and whether the time needed fits your renovation schedule.
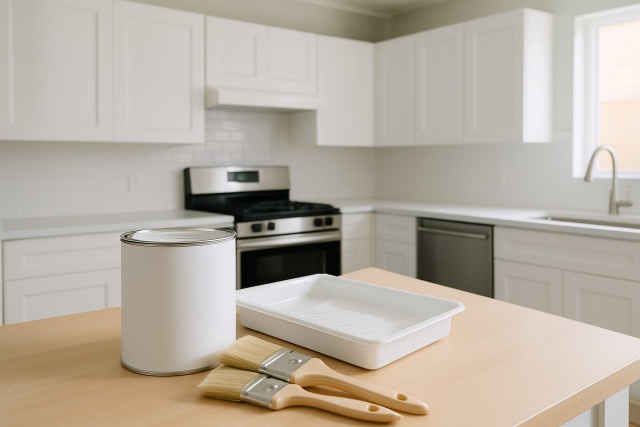
Step-by-Step Guide to Painting the Inside of Your Cabinets the Right Way (Because a Little DIY Magic Never Hurt Anyone)
Painting the inside of cabinets properly calls for careful prep, a keen eye for details and patience.
Completely empty out all the cabinet interiors so you can reach every nook and cranny without worrying about your belongings getting splattered with paint.
Grab some painter’s tape and carefully cover the hardware, hinges and edges. This simple trick really helps keep the paint exactly where it belongs.
Give the inside a good scrub using a degreaser to remove oils, dirt and stubborn stains. Then be patient and let it dry thoroughly.
Lightly sand all the interior surfaces to give the paint a good grip. Think of it as priming the canvas. After sanding, dust it all off so there’s no pesky residue left behind.
Apply a primer that’s specially made for your cabinet’s material. It acts like a shield that blocks stains and helps your paint job last longer.
Use a high-quality brush or spray gun to lay down thin and even coats of paint. Make sure each layer dries completely before adding the next because slow and steady wins this race.
Once everything’s dry, take a close look and touch up any spots that need a little extra love to achieve that perfectly smooth and even finish.
Should I Paint the Inside of My Cabinets? Who's Really Cut Out For It and Who Should Steer Clear
Ultimately, the question of should i paint the inside of my cabinets boils down to your renovation goals and how tired or fresh your kitchen feels. It also depends on how much time you are willing to spend on the project.
- Perfect for homeowners wanting to give their cabinets a fresh new look without the headache or expense of full replacement.
- Often a solid pick for older or tired cabinet surfaces that need a fresh protective layer to bring them back to life.
- Best suited for DIY enthusiasts who don’t mind rolling up their sleeves for cleaning, sanding and careful brushwork that pays off in the end.
- Not the greatest option in kitchens prone to high humidity or poor airflow unless you use moisture-resistant paint and seal things up tight.
- Usually not the way to go if you want a quick and easy fix without proper prep and letting everything dry just right.
Questions & Answers
What is the best type of paint to use for the inside of kitchen cabinets?
When it comes to durability and easy cleaning, semi-gloss or satin enamel paints usually steal the show. These finishes stand up well to everyday wear and moisture and wipe clean without turning into a bigger chore. Just be sure the paint works with your cabinet material whether that’s MDF or laminate. Picking a low-VOC version helps keep strong paint smells from overstaying their welcome.
Is it really necessary to sand and prime the inside of the cabinets before painting?
Absolutely, prepping the surface is where the magic begins if you want your paint job to last. Sanding roughens the surface just enough for paint to hang on tight while primer boosts adhesion, blocks stains, and increases durability. Skipping this step is like building a house on shaky ground. You’ll often end up with peeling or chipping paint, which is the last thing you want in a kitchen used day in, day out.
How long will the paint on the cabinet interiors last before it needs to be redone?
With solid prep work and top-notch paint, you can expect the interior finish to hold strong for 5 to 10 years. Of course, the real longevity depends on how heavily the cabinets are used, the materials, and your kitchen’s microclimate. High humidity or nonstop daily use can wear the finish down faster, so keep that in mind.
Can I paint the inside of cabinets that are made of laminate or have a glossy finish?
You sure can but it’s not as simple as just slapping paint on. Laminate and glossy surfaces need to be lightly sanded to tone down their shine and then primed with a special high-adhesion primer for slick surfaces. This extra effort creates a good grip so the paint sticks well and won’t peel when you least expect it.
What are some alternatives to painting if I want to refresh my cabinet interiors?
If you want a quick fix that’s easy to undo, adhesive shelf liners are a handy option. For something more long-lasting, professional re-laminating can really change the game. Sometimes just adding organizational inserts to cabinets in good shape gives the space a fresh feel—no paintbrushes required.
How long does the entire process of painting cabinet interiors typically take?
You’re probably looking at 2 to 4 days to do the job right. That includes a full day for emptying, cleaning, sanding, and priming. Applying several thin coats of paint—with plenty of drying time between—will take another day or two. Rushing the drying process usually causes problems, so patience really pays off here.