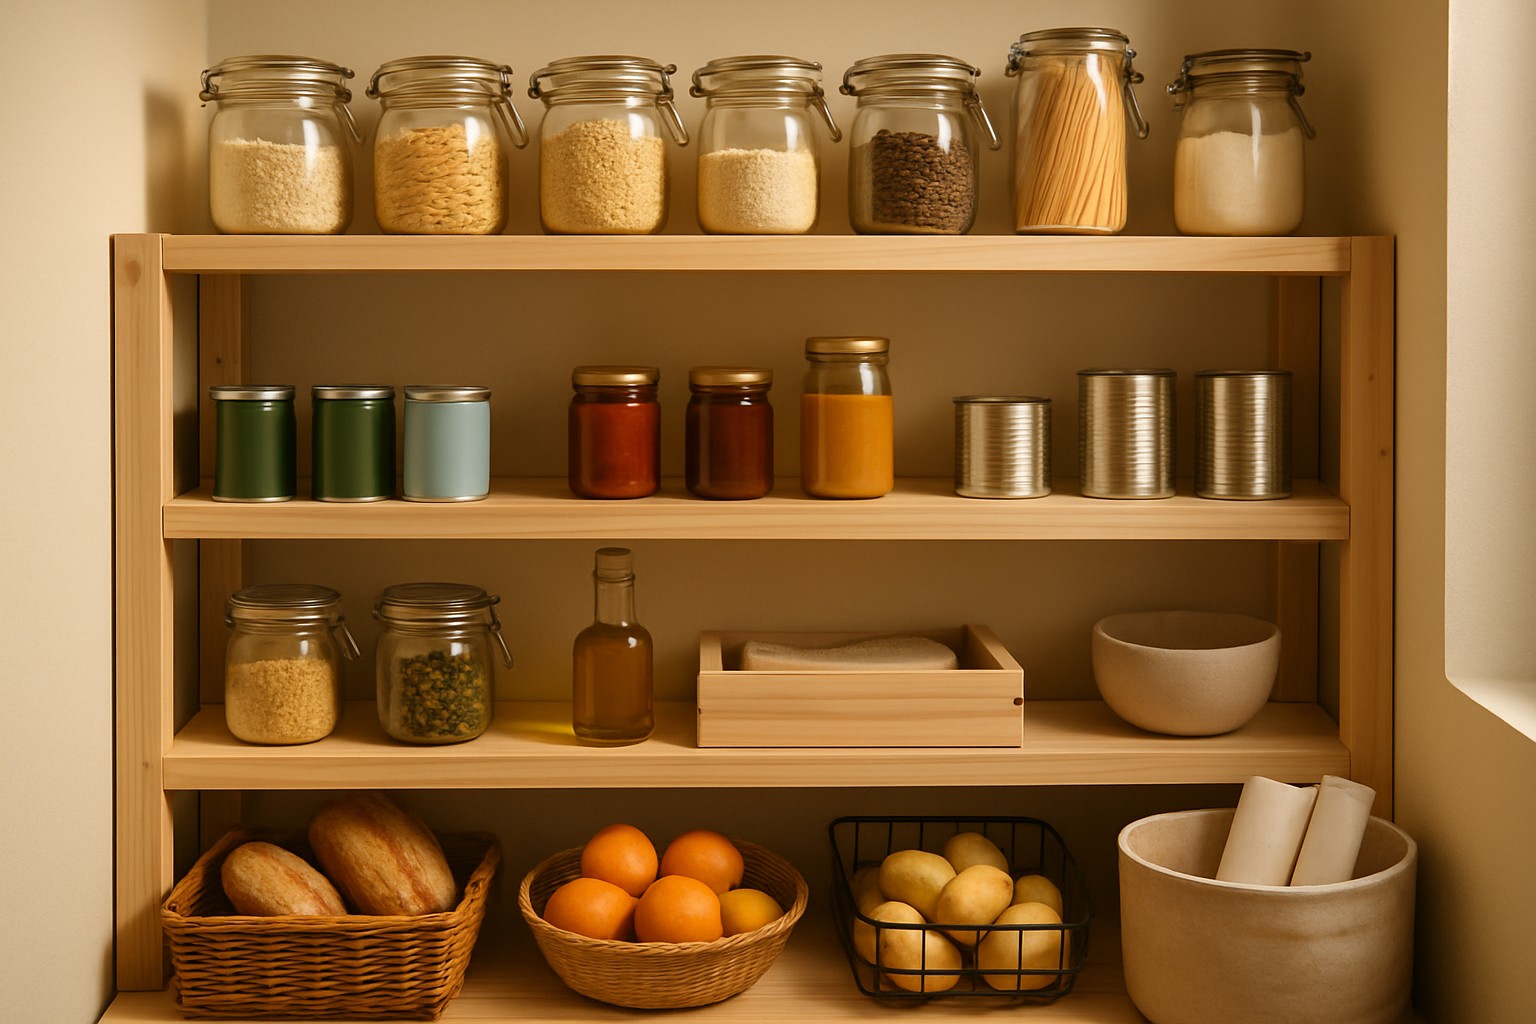
How to Build a Pantry Shelf Using Simple Tools at Home
This guide takes you by the hand to build custom pantry shelves with straightforward tools and helps you create kitchen storage that’s clever and reliable.
- Discover how to size and design pantry shelves that maximize your storage space and keep your kitchen neat
- Dive into the best materials and tools for crafting shelves that stand strong against moisture without emptying your wallet
- Follow easy step-by-step directions to safely cut, assemble, and install shelves using basic tools you probably already have
- Pick up practical tips for tackling pesky hiccups like uneven walls and wood that won’t behave
Learning how to build a pantry shelf at home is not only a smart and budget-friendly move, but it also gives you the chance to customize your storage exactly the way you like it—no more digging around for kitchen essentials. This step-by-step guide gently walks you through crafting a sturdy, handy shelf using basic tools you likely have lying around.
It’s really helpful to get a handle on the different types of pantry shelves and the materials you will need. Also, keep the basic tools within arm's reach.
Planning Your Pantry Shelf Design and Dimensions Made Easy
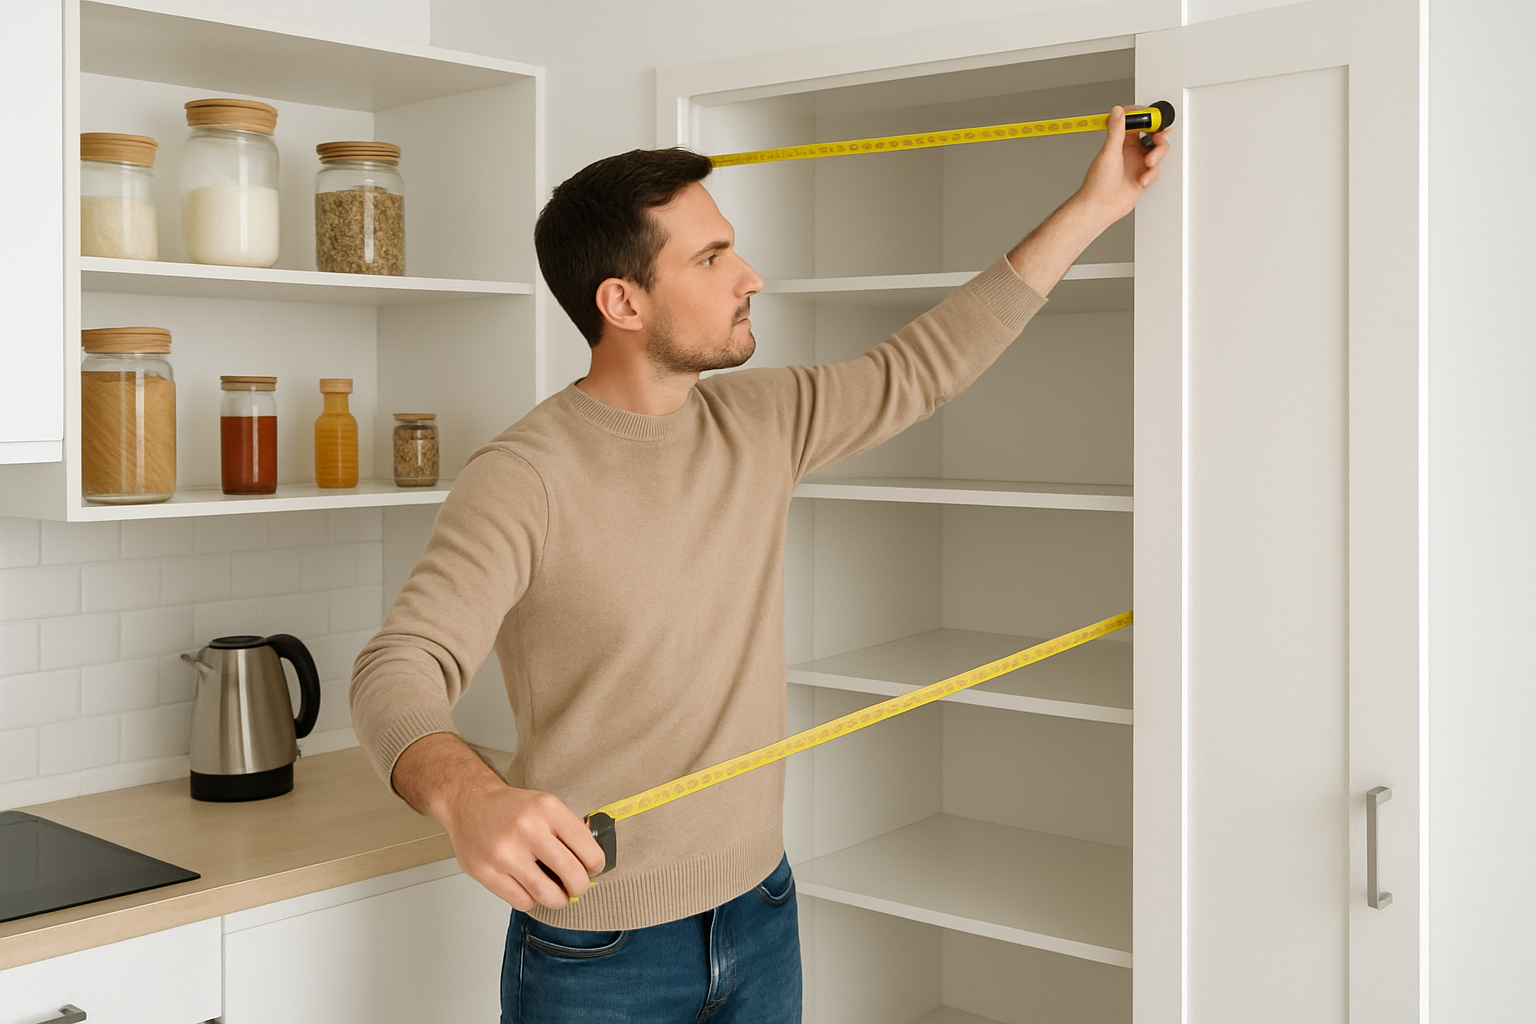
Good planning really is the secret sauce to a successful pantry shelf project. Start by taking careful measurements of your pantry space—height, width and depth—because guessing rarely ends well.
- Grab your trusty measuring tape and take down the width, height and depth of your pantry space. Don’t rush this step—precision pays off.
- Mull over how many shelves you’d like keeping in mind the pantry’s height and what you stash most often. Think about those odd-shaped bottles or tall cereal boxes you wrestle with.
- Figure out the spacing between each shelf. Make sure there’s enough room to fit taller jars, cans or small appliances that end up in your pantry nook.
- Think about the weight your shelves will have to bear so you can pick materials and brackets that won’t let you down when stacking all those goodies.
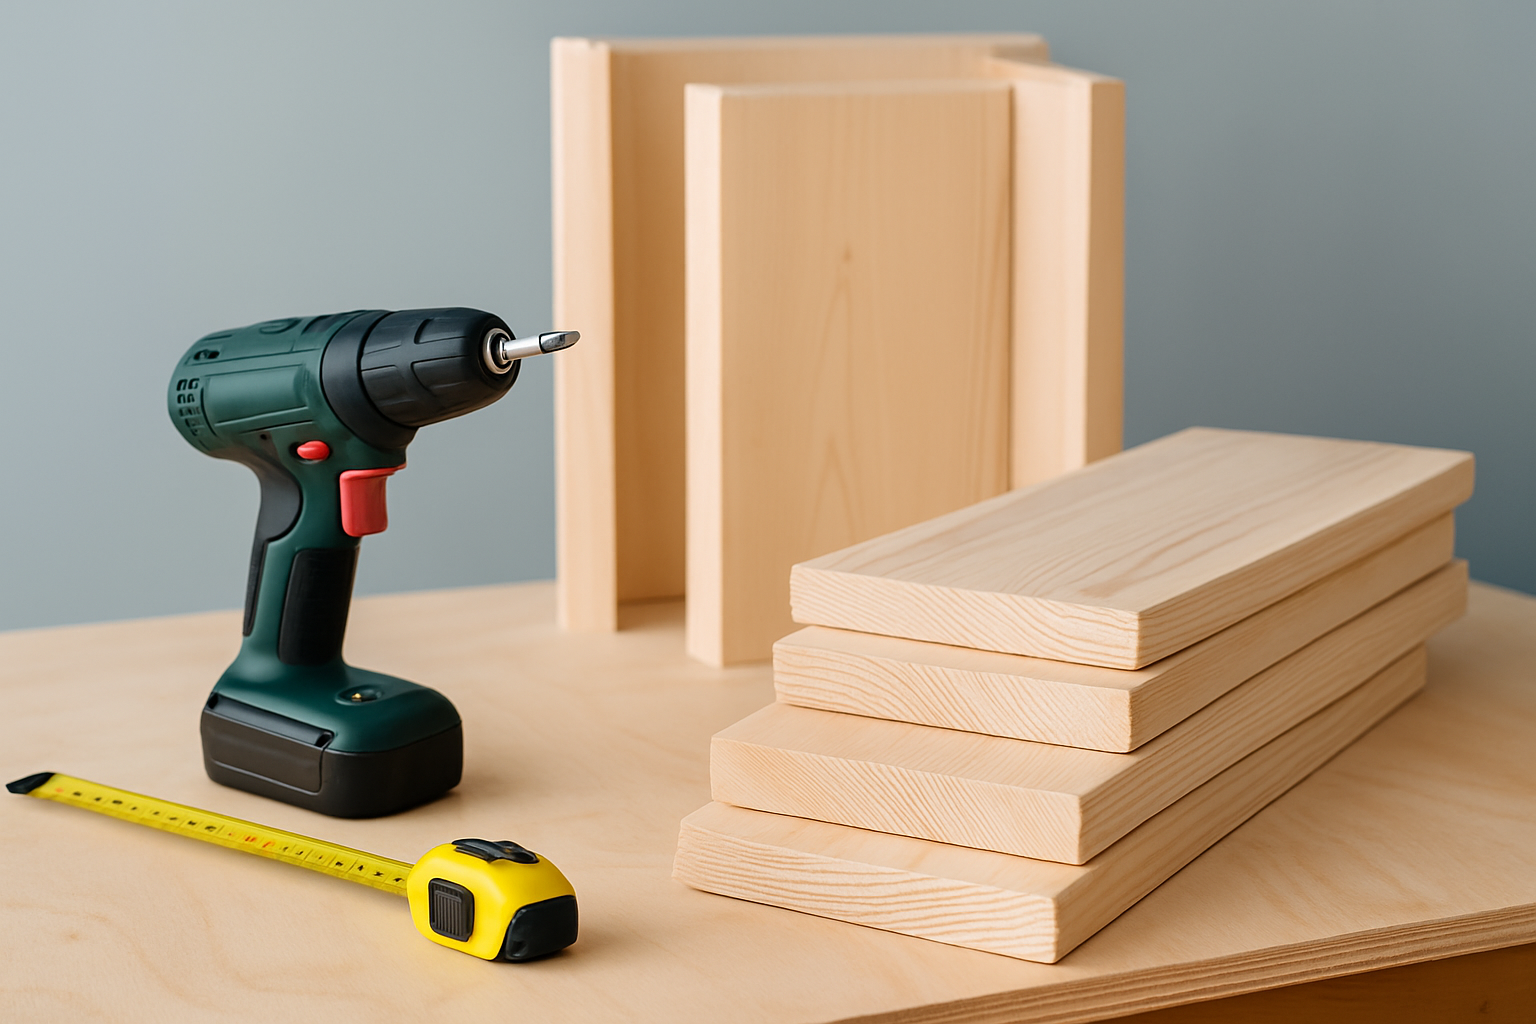
Rolling Up Your Sleeves Gathering Materials and Tools
Once you have nailed down your measurements and design, it is time to round up all the materials and tools you need to assemble your pantry shelf. Most of these are easy to find either at your local hardware store or online. You will want to grab basics like a drill, saw and measuring tape plus materials such as wood, screws and brackets to keep everything sturdy.
| Item | Purpose | Approximate Cost | Where to Buy |
|---|---|---|---|
| Pine boards | These are the backbone—used for the main shelving surface and frame | $15-$30 per board | Most hardware stores or your favorite home improvement center |
| Screws | Essential for fastening shelves and brackets securely | $5-$10 per pack | Local hardware spots or just a quick click away on online retailers |
| Shelf brackets | The unsung heroes that hold up your shelves on the wall | $8-$20 per set | Find them easily at home improvement stores |
| Drill | Handy for making pilot holes and driving screws smoothly | $40-$100+ | Available at hardware stores or online marketplaces if you’re feeling fancy |
| Saw | Vital for cutting wood to size—hand saws are budget-friendly; power saws cost a bit more | $20-$60 for a hand saw, more for power saws | Check out hardware stores or home centers |
| Measuring tape | Your best friend for accurate measurements, no guesswork required | $7-$15 | Pick one up at hardware or general stores |
| Sandpaper | Perfect for smoothing out those rough edges before finishing up | $5-$10 | Craft stores or your local hardware shop will have it |
Picking the right wood really makes a world of difference when it comes to how durable and moisture-resistant your pantry turns out. Pine often steals the show since it’s easy on the wallet and a breeze to work with. Hardwoods like oak or maple bring extra durability to the table, though they’ll usually ask for a bit more of your budget in return.
A No-Nonsense Guide on How to Build a Pantry Shelf
Start by measuring and marking your wood according to the shelf dimensions you planned. A good old pencil and a square will keep those lines sharp and spot-on.
Take your time to cut each piece to size using either a hand saw or power saw and stick close to your markings—precision here never hurts.
Give all those cut edges a thorough sanding to smooth out rough patches and avoid unwelcome splinters.
Assemble the shelf frame by attaching the side supports to the top and bottom boards with screws. This is where it starts to look like a shelf!
Secure the individual shelves inside the frame, spacing them evenly or according to your master plan.
Next, install sturdy shelf brackets on the wall where the shelf will live using a drill and the right anchors to make sure they hold tight.
Carefully mount the assembled shelf onto the brackets and wall, checking with a spirit level to keep things perfectly horizontal.
Finally, test the shelf’s stability by gently pressing down and adding a bit of weight to confirm it’s nailed down firmly and won’t go anywhere.
Make safety your absolute top priority—think of those protective goggles and gloves as your trusty sidekicks. Secure your materials firmly when cutting, and apply steady pressure when drilling to dodge those frustrating slips.
Typical Challenges and Some Handy Ways to Tackle Them
Building a pantry shelf can throw a few curveballs your way like uneven walls or warped wood or measurements that just won’t seem to line up right. Knowing how to navigate these hiccups ahead of time helps keep your project cruising smoothly.
- Before you start installing brackets, grab a stud finder and a level to handle uneven pantry walls because a secure mounting is worth the extra effort.
- To prevent your wood from warping, choose kiln-dried lumber and store it properly until you are ready to use it.
- Always double-check your measurements and mark them twice. It may seem like overkill, but it will save you a lot of frustration later.
- Choose heavy-duty anchors or screws that fit your wall type to ensure your shelves stay firmly in place over time.
- When space is limited, consider adjustable or corner shelving because these smart solutions can help you maximize every inch of pantry storage.
Final Steps Painting and Upkeep Putting the Finishing Touches Where It Counts
Now that you've learned how to build a pantry shelf and have it all put together, giving it a coat of paint or stain not only jazzes up its appearance but also shields the wood from pesky moisture. Water-based paints or stains designed for indoor use work wonders, especially when you finish off with a clear sealant to really lock in durability.
- Go for moisture-resistant paint or wood stain to give your shelves a fighting chance against sneaky pantry humidity.
- Apply a clear polyurethane or varnish over painted or stained surfaces because it boosts durability and makes cleanup easy.
- Make it a habit to wipe down the shelves regularly with a damp cloth and gentle cleaner since this routine keeps dust and sticky spots from taking over.
- Every few months check the shelves for sagging, loose screws or damage. It is better to be safe than sorry when it comes to keeping things sturdy and secure.
Questions & Answers
What’s the easiest type of wood to use for a beginner building a pantry shelf?
Pine usually takes the cake for beginners since it’s budget-friendly and simple to cut. It’s lightweight and sands down like a charm which is great when you’re still getting the hang of things. If you’re after something tougher, pre-sanded plywood is a solid backup. It stands up well against warping and saves you some elbow grease on finishing.
How do I ensure my pantry shelf won’t sag under heavy items?
Use wood that’s at least three-quarters of an inch thick and beef up your shelves with sturdy brackets or supports spaced between 16 and 24 inches. If you’re loading it with heavier stuff, tossing in a center support can really save the day. You might also lean on hardwoods like oak for extra muscle. I’ve found it helps to give your shelf a little weight test during assembly. Better safe than sorry before you hang it up for good.
Can I build a pantry shelf without power tools?
Absolutely. A handsaw, hammer, nails and some sandpaper are all you really need though it might feel like things move at a snail’s pace. Picking up pre-cut lumber from your local hardware store can speed things along. For drilling pilot holes, a manual hand drill gets the job done. A power drill will make life a lot easier if you have one handy.
How long does it typically take to build a pantry shelf?
For a straightforward design plan on spending about 4 to 6 hours total which includes measuring, cutting, assembling and mounting. If you’re going the extra mile with paint or stain, tack on another 2 to 3 hours. Drying time for paint or sealant can really stretch things out so it’s wise to factor that into your timeline.
What’s the best way to adjust shelves for uneven pantry walls?
Grab a level and some shims—those thin wooden wedges—to tuck behind brackets and fill in any gaps. Another trick is attaching a ledger board first, a level horizontal piece screwed into the wall. Then mount your shelves onto that. It’s like giving yourself a smooth dependable baseline even if your walls have a mind of their own.
How can I make my pantry shelves more resistant to moisture?
Seal up the raw wood with water-based polyurethane or moisture-resistant paint especially if your pantry loves to get a bit humid. Steer clear of particleboard since it’s notorious for swelling when wet. Quick clean-ups of spills and good ventilation go a long way in keeping your shelves looking sharp and standing strong over time.