Easiest Cheapest Way to Tint Clear Plastic for DIY Projects?
Finding the easiest cheapest way to tint clear plastic is a straightforward trick to give your DIY projects a serious upgrade—think better looks and a bit more privacy plus a handy shield against UV rays.
A Handy Guide to Clear Plastic Types and the Tinting Tricks That Actually Work Best
Different clear plastics come with a variety of surface textures and chemical compositions that can really influence how well tint adheres to them. Acrylic boasts a smooth surface that tends to play nicely with most tinting techniques, making life a bit easier. Polycarbonate is tougher and more durable, but you might find it gives solvents a run for their money by sometimes resisting them. Then there is PETG, which is pretty flexible and generally easy to tint.
- Acrylic boasts a smooth surface and decent durability, making it a reliable go-to for spray paints and dyes that usually play nice with it.
- Polycarbonate is tough and great at resisting impact, though it can sometimes throw a tantrum when faced with certain solvents. Vinyl films tend to get along with it much better.
- PETG brings some nice flexibility to the table and is often spotted in window tint films and dyes, but it can be a bit scratch-happy.
- PVC sheets don’t show up that often and might give you a hard time bonding with adhesives or solvents, so approach with a bit of caution.
- Polypropylene is typically not clear and generally does not get along well with tinting products designed for other plastics, so it’s usually best left out of those plans.
How to Pick the Most Affordable and Straightforward Tinting Method Without Breaking the Bank
Picking the right tinting method usually boils down to juggling a few key factors: cost, ease of application, material availability, durability, and whether you want something that lasts or just a temporary splash of color.
- The cost of materials and tools really plays a huge part in keeping your overall project budget in check—it’s surprising how quickly those little expenses add up.
- How easy the product is to apply can genuinely save you from a world of mistakes and frustration. It’s worth paying attention to the details here.
- Drying or curing time tends to be a bit of a pace-setter, often deciding how fast you can wrap up the whole project.
- Durability is key if you want that tint to stay looking sharp without peeling or fading over time. Nobody loves a project that starts looking shabby too soon.
- How easy it is to clean up afterwards makes the whole post-project maintenance way less of a headache.
- Safety during application often hinges on things like toxicity and ventilation—better safe than sorry when you’re dealing with these substances.
- Being able to reverse the tint is a nice-to-have if you’re after something temporary or want to keep your options open for adjustments down the line.
The Easiest Cheapest Way to Tint Clear Plastic with Simple and Budget-Friendly Methods That Will not Break the Bank
A few DIY tinting options really stand out because they’re both simple and kind on the wallet. Spray paints offer a quick, customizable finish—just remember good ventilation is a must and a steady hand helps to avoid those uneven spots. Permanent markers give you pinpoint control for small areas, although they’re not exactly built to last unless you seal them up tight. Window tint films are a sleek, reversible choice that work wonders for covering larger surfaces without the hassle. Plastic dyes soak right into surfaces, delivering a smooth tint without breaking the bank.
| Tinting Method | Cost | Ease of Application | Durability | Appearance |
|---|---|---|---|---|
| Spray Paints | $ | Pretty straightforward | Sticks around for the long haul | Can go from matte to glossy, depends on the mood |
| Permanent Markers | $ | Easy as pie | Holds up okay | Might end up a tad streaky, if you’re not careful |
| Window Tint Film | $$ | Manageable for most | Tough as nails | Gives you that smooth, flawless finish that’s hard to beat |
| Plastic Dyes | $-$$ | Fairly straightforward | Stands the test of time | Rich colors that really pop |
| Household Alternatives | $ | Simple enough | Doesn’t last forever, more like “here for a good time” | Light, temporary, just enough to make a difference |
Spray Paint Tinting Easy to Apply with a Variety of Finish Options to Suit Every Taste
Give the plastic surface a good wipe with some alcohol to remove any oils. A light sanding with fine-grit sandpaper usually helps the paint cling better. When spraying, hold the can about 8 to 12 inches away and apply thin, even coats. Patience is key so let each layer dry completely before moving on. It’s better to build several light layers than to risk runs. If you want, a clear protective coat at the end can seal the deal.
Using Permanent Markers for Precise or Small-Scale Tinting
Sometimes, you just need to add a little pop of color without going all out, and that’s where permanent markers shine. They’re perfect for nailing those tiny details or touch-ups where bigger tools might feel like overkill. Plus, in my experience, they’re pretty forgiving if you’re aiming for precision but don’t want to break out the full kit. So, if you’re dabbling with delicate spots or want to experiment without making a mess, permanent markers can be your low-key secret weapon.
Permanent markers like Sharpie or Prismacolor are your go-to for simple, precise tinting on those smaller projects or intricate designs. I’ve found alcohol-based markers tend to hold up better over time, so they’re usually the safer bet. Make sure to color the plastic evenly and be patient enough to let the ink dry completely—rushing it only leads to a mess. To keep your handiwork looking sharp, a light coat of clear acrylic spray or varnish does wonders as a protective shield.
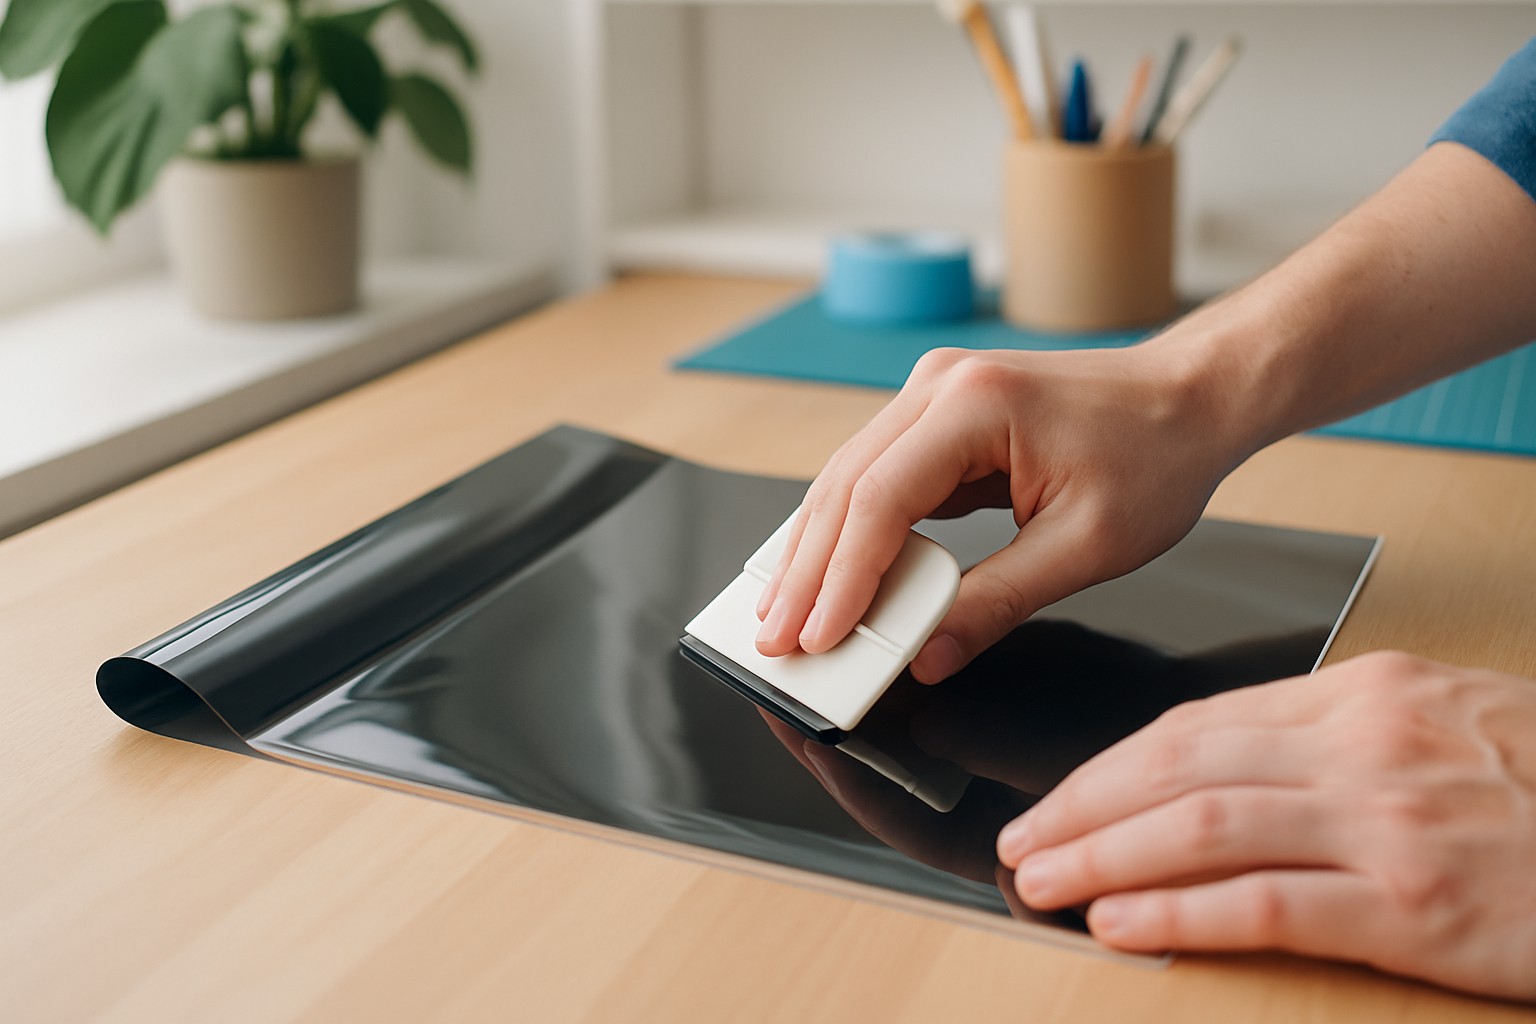
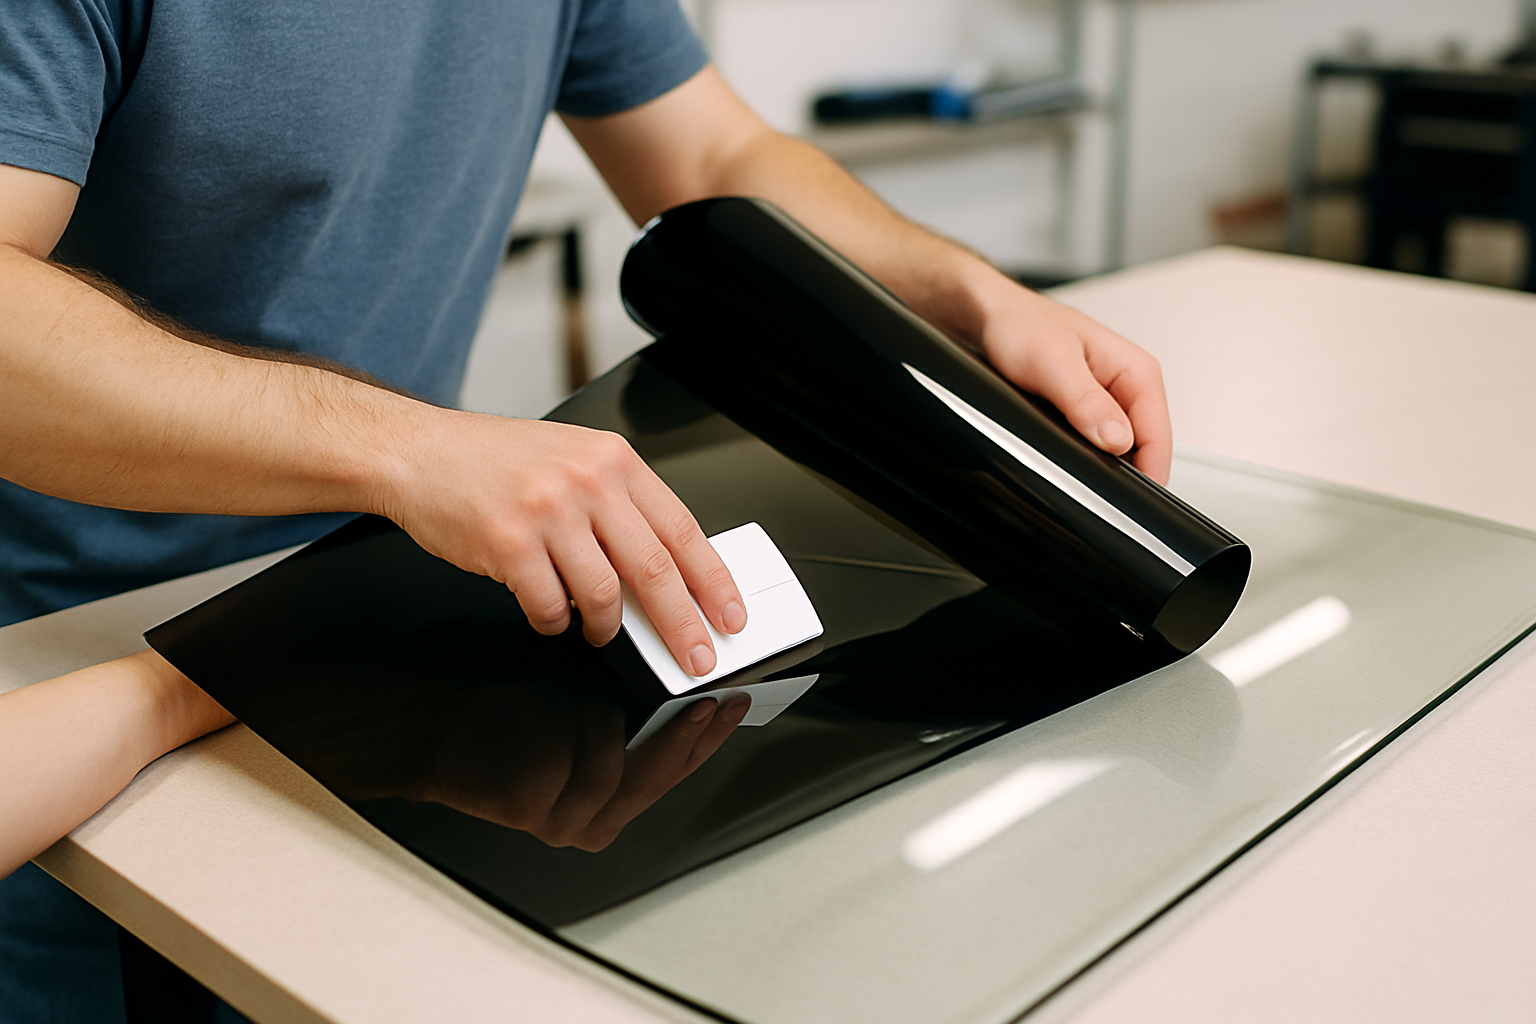
How to Apply Window Tint Film for a Clean, Professional, and Reversible Finish That’ll Make You Proud
Window tint films are self-adhesive sheets that you trim to size and stick directly onto your plastic surface. First, give the plastic a thorough cleaning because leftover dust or oils will cause headaches later on. Using a spray bottle filled with soapy water, lightly mist the plastic before applying the tint film. This trick lets you wiggle the film without it sticking immediately and helps keep annoying bubbles at bay. Slowly peel off the backing while smoothing the film with a plastic squeegee or a trusty credit card. Gently nudge any bubbles toward the edges so they can escape. Then carefully trim the excess film with a sharp blade because precision pays off. Finally, be patient and let the tint cure for 24 to 48 hours so it sticks perfectly.
How to Use Plastic Dyes and Everyday Household Items to Create Custom Tints
Plastic-specific dyes usually pack a punch with rich, lasting color—provided you use them right. For smaller projects, mixing dye powder or liquid with a bit of water or rubbing alcohol and applying it with a sponge or pad often does the trick. If you’re after a simple DIY hack, diluting food coloring in rubbing alcohol and gently brushing or soaking the plastic can work wonders. Fabric dye diluted in warm water might sometimes tint plastics too, though it’s always a good idea to test on a scrap first. Just remember to let your piece dry completely in a well-ventilated spot and slap on some gloves to keep your skin happy.
Helpful Tips and Best Practices for Getting a Quality Tint Job that’ll Actually Last
- Make sure to give the surface a thorough clean and dry it completely before tinting. This extra effort helps the tint stick like a charm.
- Work in a dust-free zone with good airflow because you don’t want any sneaky particles crashing your tint party.
- If you can, test the tint on a scrap piece of the same plastic first. Think of it as a dress rehearsal so you know exactly how it will behave.
- Apply thin, even coats and be patient between layers. Rushing rarely leads to a smooth finish and a little patience pays off big time.
- Don’t forget your protective gear. Gloves and masks will be your best friends during application.
- Stick to the product’s recommended drying or curing times. It might seem tedious but it’s the secret sauce for a tint that really lasts.
If you notice issues like uneven coverage or peeling and bubbling, it’s usually worth sanding and cleaning the surface again before applying another coat. When smoothing films a gentle touch goes a long way to dodge those pesky wrinkles.
When You’re Better Off Letting the Pros Handle Tinting Instead of Going the DIY Route
DIY tinting is often the go-to for individuals looking for the easiest cheapest way to tint clear plastic on smaller projects themselves. When you’re dealing with bigger or more intricate jobs or those needing a tougher finish, it’s usually best to let the pros take the wheel. Especially if your project involves tricky shapes or spot-on color matching or will face tough conditions like weather or harsh chemicals. The experts come armed with the right tools and materials to get a result that truly sticks around. On top of that, professional tinting can save you time and help dodge costly slip-ups—something you definitely don’t want when working on car parts or architectural features that can’t be slapped together last minute.
Questions & Answers
What is the absolute cheapest way to tint a small piece of clear plastic?
For a tiny project grabbing some permanent markers or whipping up a quick homemade blend of food coloring and rubbing alcohol usually does the trick without breaking the bank. Markers give you that pinpoint precision while the food coloring mix can be brushed on for a softer touch. Keep in mind neither option is truly permanent unless you protect your work with a clear acrylic spray—think of it as a raincoat for your tint.
Can I use regular window tint film from the auto parts store on my DIY project?
Absolutely, regular automotive window tint film generally plays nicely with clear plastics like acrylic and polycarbonate. It’s a handy reversible choice if you’re not ready to commit. Just a heads-up: make sure your plastic is squeaky clean then apply the tint using soapy water. This little trick helps keep pesky bubbles at bay and gives you wiggle room to reposition before it sets.
How do I prevent spray paint from peeling or scratching off the plastic?
This one pays off if you put in the prep work. First give your plastic a good wipe-down with isopropyl alcohol to banish any oils. Then lightly sand it with some fine-grit paper (around 400 grit)—this helps the paint grab on like velcro. Go easy and apply several thin coats rather than one thick blob and seal the deal with a clear protective coat for serious staying power.
Is it safe to use food coloring to tint plastic, and will it last?
Using food coloring is safe enough but you should know the color won’t stick around for long—it’s pretty delicate and can easily wash or wear off. It’s perfect if you’re just testing out shades or working on a short-term project. If you want something more permanent with a similar vibe, go for a plastic dye that soaks into the surface and stands up better over time.
What type of clear plastic is the easiest for a beginner to tint?
Acrylic is often the go-to for beginners. Its smooth hard surface is forgiving and plays well with nearly every tinting method you can think of—paint, films, dyes, you name it. Plus it’s less prone to scratching during prep, giving you a nice even canvas that makes your tinting efforts look that much cleaner.
When should I definitely not try to tint plastic yourself?
It’s a safe bet to call in the pros when you’re dealing with large complicated or curved surfaces or if your project needs to be super tough—think automotive or outdoor gear. Also if you absolutely need a flawless bubble-free finish on something front-and-center, you might want to leave it to those with the right tools and know-how. Some jobs really are worth the expert touch.