Easy Ways to Decorate Your Own Pumpkin at Home

Learning how to decorate your own pumpkin at home is a delightful and creative pastime that anyone can enjoy, especially during the crisp colorful days of fall that beg for a little crafty fun.
How to Pick the Perfect Pumpkin for Your Decorations (Without Losing Your Mind)
Choosing the right pumpkin is where the magic begins if you want your decorations to look just right. Take a good look at the size, shape and texture along with firmness—these little details make all the difference in keeping your pumpkin fresh and your handiwork intact throughout the season.
- Bigger pumpkins give you more room to get creative with detailed designs or mix and match different decoration styles without feeling cramped.
- Try to pick pumpkins that have a smooth and even shape because they’re easy to paint or add decals on.
- Keep an eye out for firm skin free of blemishes since it helps your decorations last longer like a good guest who doesn’t overstay their welcome.
- Pumpkins with matte or slightly textured skin usually hold paint and glue better so you won’t have to redo your masterpiece halfway through.
- Don’t just go for the classic orange ones. Try white, green, or striped pumpkins to add a fresh and unexpected pop to your display that might steal the show.
How to Get Your Pumpkin Ready for Decorating (Without the Usual Mess)
Taking the time to prep your pumpkin properly makes all the difference—it helps create a smooth surface and improves how well paints, stickers or decorations stay put. Giving it a good clean and thorough dry plus tidying your workspace beforehand can go a long way in making your design last longer and look more polished and professional.
Start off by giving the pumpkin a good wipe down with a damp cloth to shoo away dirt and dust and any stubborn grime that might prevent stickers or paint from sticking properly.
Next, make sure you dry the pumpkin thoroughly with a towel and then let it air dry completely. You don’t want moisture sneaking in and ruining your decorations later.
If you’re planning to paint some intricate designs, it’s smart to apply a thin layer of primer or white acrylic paint first because it really helps those details stand out.
Don’t forget to protect your workspace. Spread out some newspaper or something similar to catch spills since cleaning up is nobody’s favorite pastime so make it easier on yourself.
Easy and Fun Ways to Decorate Your Own Pumpkin with a Personal Touch
Once you’ve got your pumpkin all set try these simple decorating tricks that skip the mess of carving. Whether you’re into painting or attaching fun decorations these beginner-friendly methods keep things neat.
- Go for acrylic paints if you want bright long-lasting colors that dry quickly with no waiting.
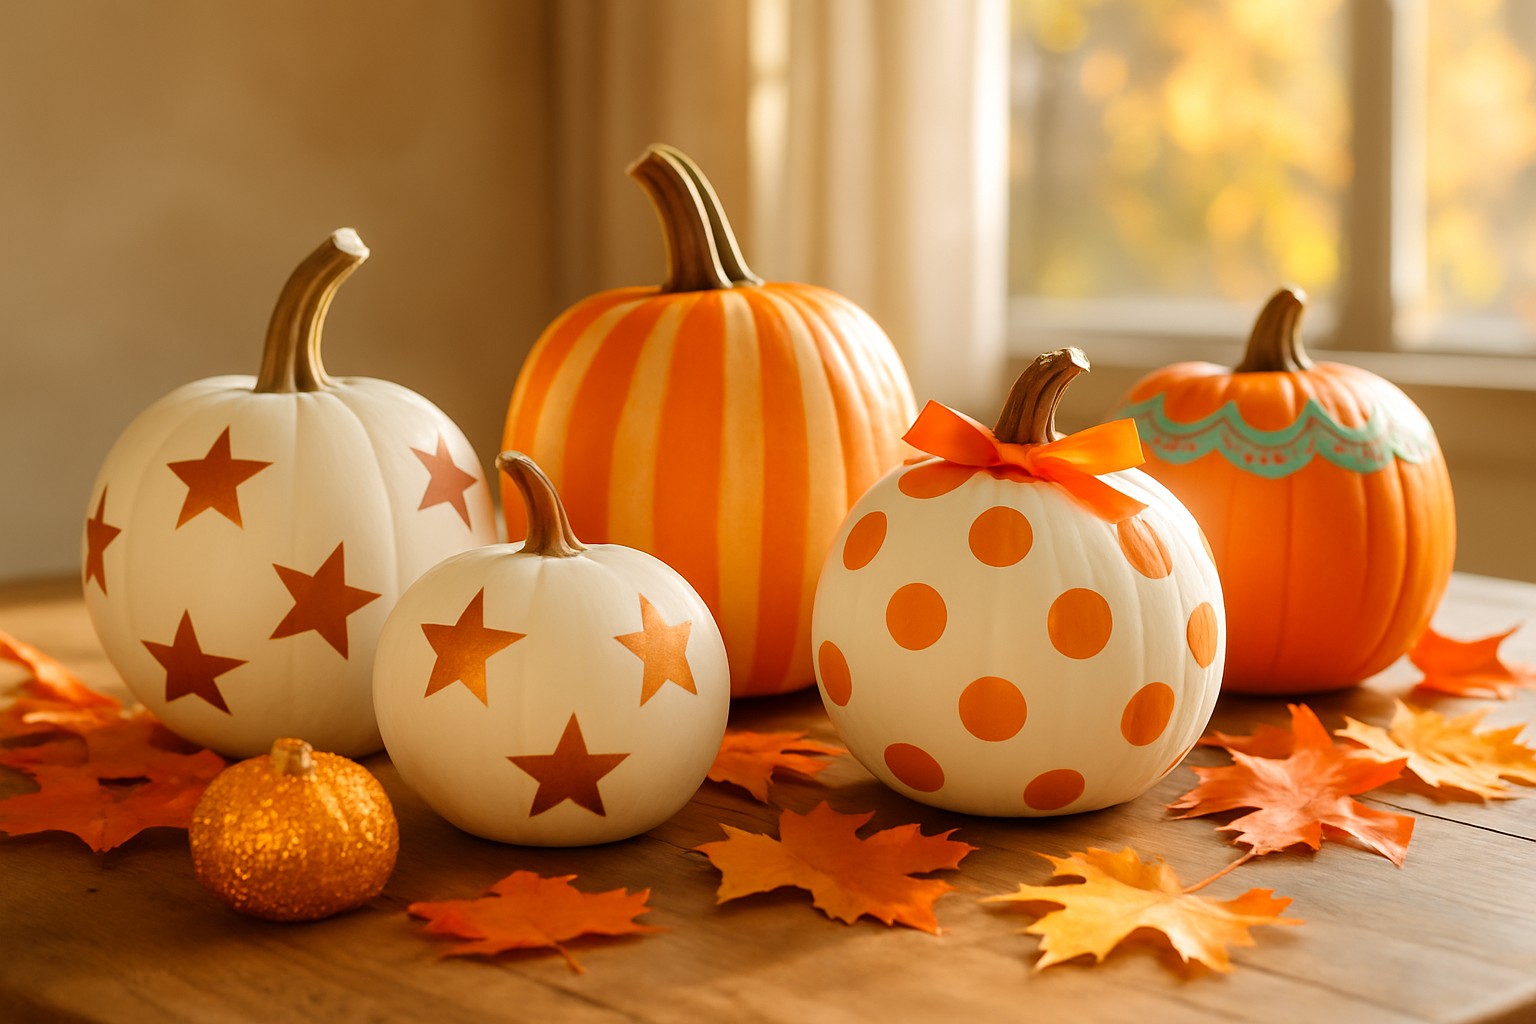
- Grab some pre-made stencils or create custom decals to easily nail intricate designs.
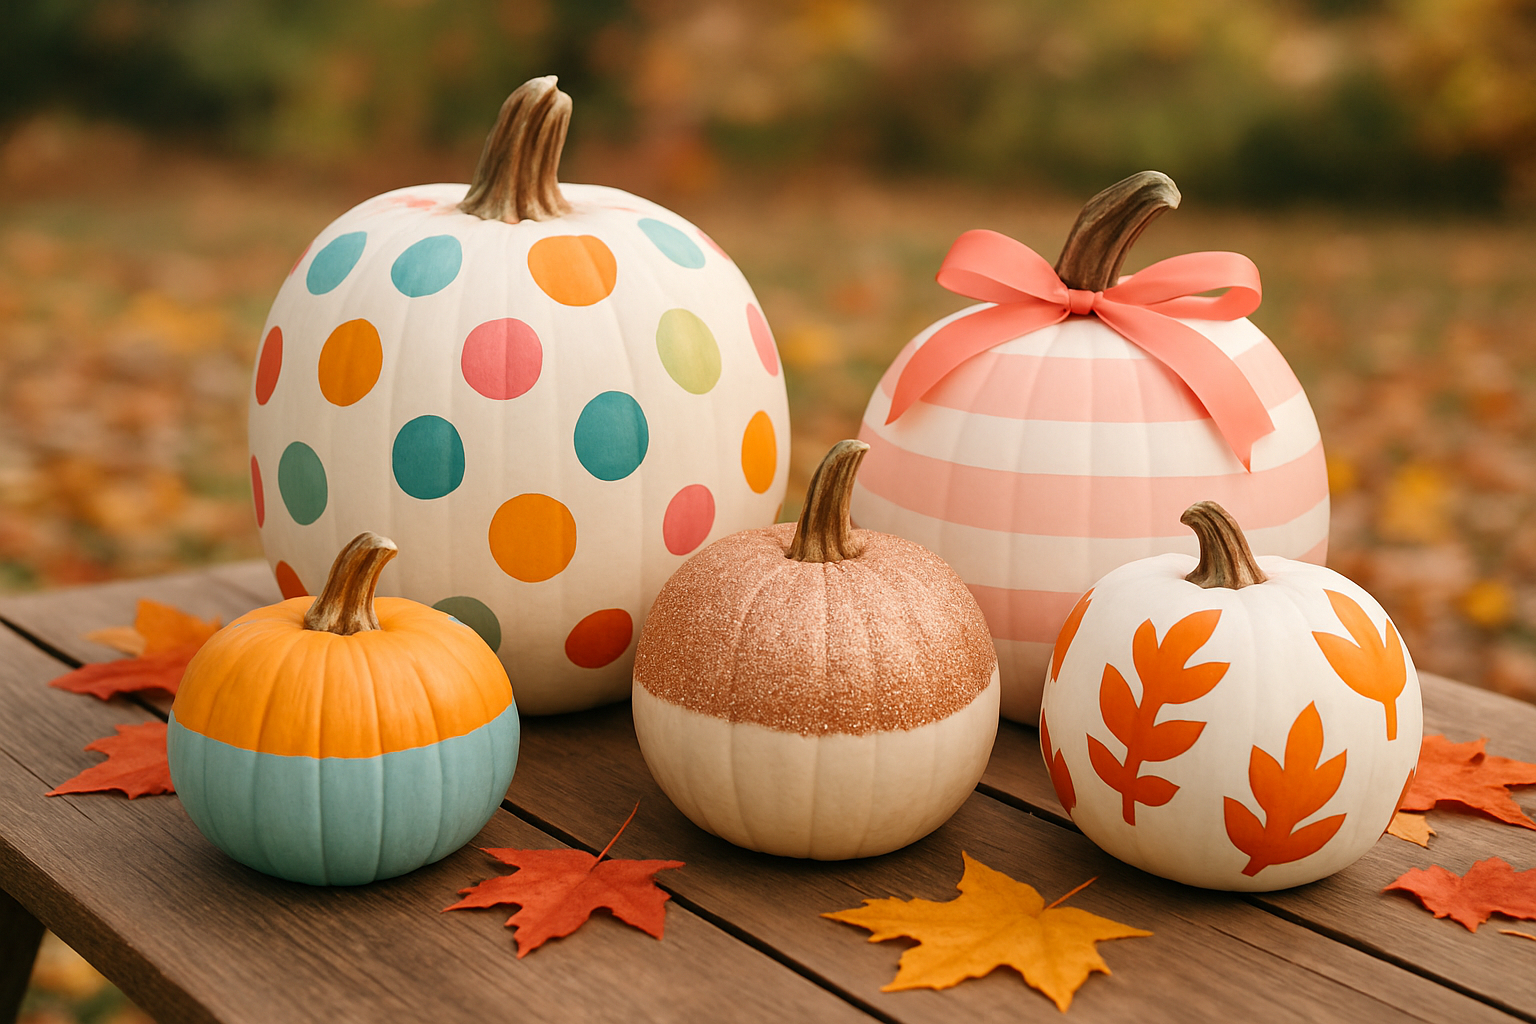
- Wrap washi tape or colorful ribbons around your pumpkin for a quick pop of personality that is hard to miss.
- Sprinkle on buttons, faux jewels or a dash of glitter to add texture and sparkle.
- Use permanent or paint markers to carefully draw patterns and fine details with precision that impresses every time.
- Mix and match these techniques. Layering them creates a look that’s just your own and totally one of a kind.

A Foolproof Guide to Painting Your Pumpkin with Style
Start by picking out your favorite acrylic paint colors and gathering a handful of brushes in various sizes. Having options makes tackling those tiny details much easier.
Lightly sketch your design onto the pumpkin with a pencil or a washable marker. Draw just enough to guide you without worrying about perfection.
Apply a base layer over the entire pumpkin or just the design area and then be patient. Let it dry completely because rushing this step is a rookie mistake.
Use smaller brushes to build up the details and make sure each layer dries before you start the next one. This way, you will avoid the dreaded smudges.
Finish by giving your masterpiece a quick spray with clear acrylic sealant. This simple step helps protect your art from moisture and fading over time.
Go for good-quality acrylic paints that are designed specifically for outdoor use, and be sure to let each layer dry completely before moving on to the next—usually somewhere between 30 minutes and an hour. Try to apply the paint gently to dodge any cracking.
Stickers and Decals for Decorating Without the Mess
If you’re after a fuss-free and tidy way to jazz up your space, stickers and decals are where it’s at. They bring a world of design possibilities to your fingertips—from festive seasonal vibes to cheeky little patterns—and the best part is, you can slap them on in no time with barely a mess to speak of.
- Go for decals made from flexible vinyl or other materials that work well with the pumpkin’s natural curves instead of stiff ones that resist.
- Give your pumpkin a good clean and make sure it’s completely dry before applying decals so they stick really well.
- Feel free to layer lots of decals to create detailed designs or bold, larger-than-life images.
- When it’s time to remove the decals, gently peel from one edge and avoid using sharp tools to protect your pumpkin’s appearance.
Adding a Touch of Personality with Accessories and Embellishments
Make your pumpkin truly your own by jazzing it up with buttons and ribbons. Add glitter, sequins, and all sorts of craft supplies that catch your eye. These little details add texture and a bit of sparkle, effortlessly transforming an ordinary pumpkin into something that stands out from the crowd.
Gather a variety of decorations—think buttons, ribbons, bows, a sprinkle of glitter and some faux jewels to add extra pop.
Sketch out your masterpiece on paper or arrange it right on the pumpkin. Sometimes seeing it live gives you a much clearer idea.
Secure everything in place with craft glue, hot glue or tiny pins that hold it all together like magic.
Give your glue plenty of time to dry completely in a cozy stable spot where it won’t get jostled or messed with.
Keep safety front and center—skip sharp pins if kids or pets will be around and pick materials tough enough to brave the weather if your pumpkin is outdoors.
Tips to Help Your Pumpkin Decoration Stay Fresh Longer (and Keep It Looking Spooktacular)
Taking good care of your decorated pumpkin is key if you want it to stay fresh and charming throughout the fall season. Make sure to shield it from moisture, too much sun and pesky critters that have a knack for ruining things.
- Use clear acrylic sealants or craft sprays designed to protect surfaces. These lifesavers can really extend your pumpkin’s prime time.
- Keep your pumpkin tucked away in a cool dry spot shielded from harsh sunlight and moisture.
- When the weather turns sour or night falls bring your pumpkin indoors. It’s a simple trick that helps fend off early spoilage.
- Do your best to avoid puncturing or cutting too deeply into the pumpkin’s skin because that invites decay.
- Dab on some household preservatives like a diluted bleach solution on the pumpkin’s surface. It’s a handy way to slow down mold’s unwelcome party crash.
Tackling Those All-Too-Common Hurdles When Decking Out Your Pumpkins
When you decorate your own pumpkin, you might hit a few bumps like paint peeling off or decals starting to lift. Uneven surfaces can also make sticking on decorations a hassle.
- If the paint starts to peel, gently sand the spot and apply fresh primer before repainting. Easy fix really.
- Give your stickers a better chance by warming them with your hands or a hairdryer. It’s like giving them a pep talk before they settle in.
- On bumpy uneven pumpkin surfaces flexible materials or pencils offer much better control than paint.
- Save yourself headaches by working in small sections and letting each part dry fully before moving on. Patience pays off here.
- If you slip up no worries just clean any mistakes right away with a damp cloth. It keeps your design safe from long-term oops moments.


