Is It Better to Tie Dye Wet or Dry?

Tie dye is a vibrant and endlessly creative fabric dyeing technique that never loses its charm, but many wonder: is it better to tie dye wet or dry? Whether you’re just dipping your toes in or have tried tie dye more than once, this choice really matters. It shapes the final look and texture and affects how you tackle the process.
Getting Started with Tie Dye Swirls and Splashes
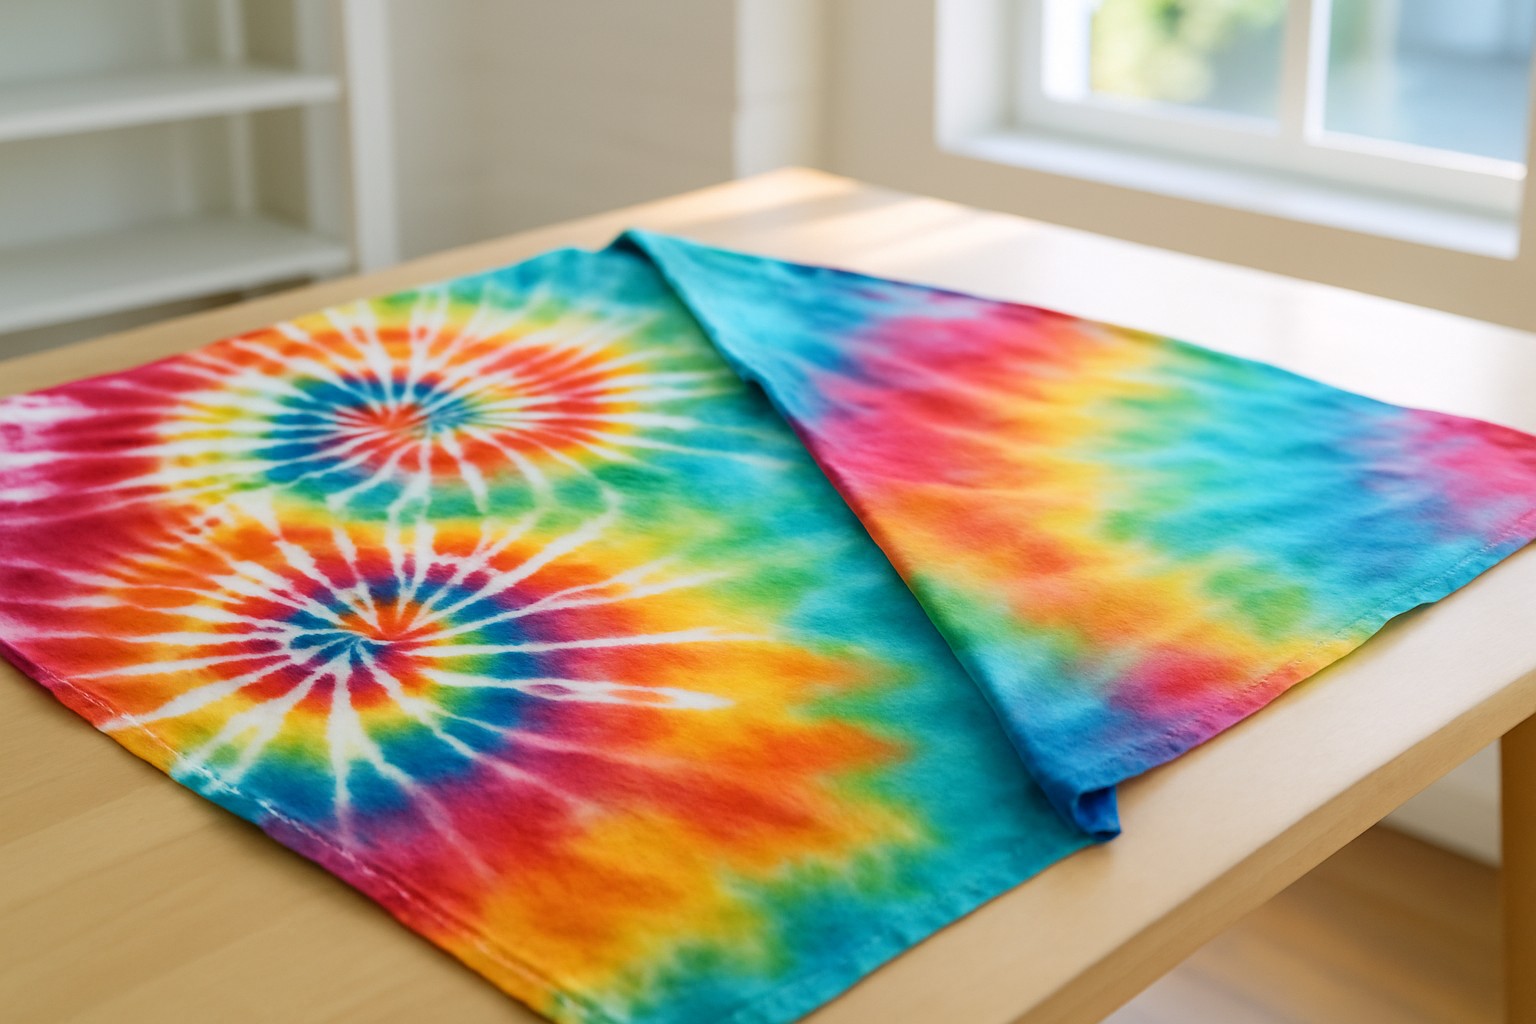
Tie dyeing involves folding, twisting or tying fabric to block certain spots and then applying dye to create unique patterns. The dye bonds with the fabric fibers and produces bright and unexpected designs.
- Cotton, rayon and silk usually steal the spotlight when it comes to tie dye because they soak up dye like a charm. This results in bright eye-catching colors that really pop.
- The must-have tie dye gear includes rubber bands, squeeze bottles, gloves and fiber reactive dyes you don’t want to be without.
- Fiber reactive dyes are clever because they form a chemical bond with the cellulose fibers in natural fabrics. This means your colors stick around longer and don’t fade into a sad memory.
- Giving your fabric a good wash first is a smart move. It strips away sizing and oils that could act like little dye blockers and stop colors from sinking in the way you want.
What Actually Happens When You Tie Dye on Dry Fabric?
When you slap dye onto dry fabric the fibers seem to gobble up that concentrated color in a flash delivering sharp and vibrant results that really pop. Because the fabric is dry the dye tends to hang tight where you place it which helps minimize bleeding and create clear edges.
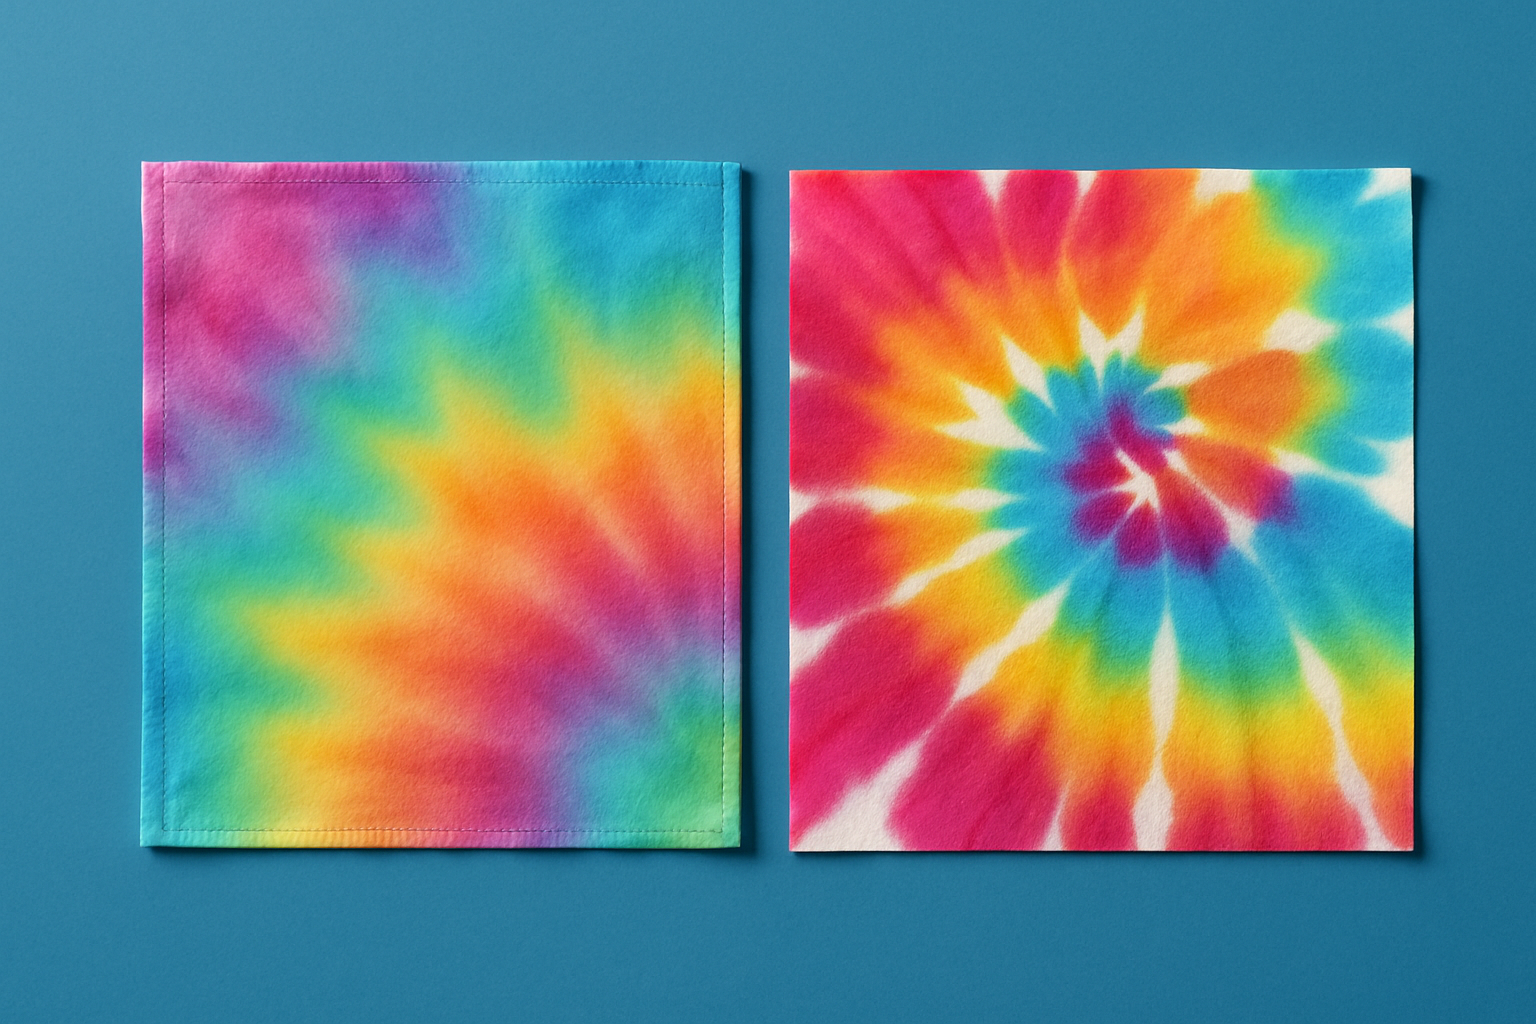
- Dye usually spreads less evenly on dry fabric resulting in crisp sharp patterns that really pop.
- Colors on dry fabric tend to look brighter and more saturated giving off a vibrant vibe that’s hard to miss.
- Different colors rarely blend so each section stays distinct almost like they’re having their own little party.
- Dye soaks into fibers more slowly which affects how well the color sticks around over time.
What Can You Expect When You Tie Dye on Wet Fabric? Let’s Dive In
Pre-wetting fabric before applying dye softens the fibers and helps the dye spread more smoothly to give you lovely seamless color transitions and blends. The water dilutes the dye and encourages it to diffuse which results in softer edges and a vibe closer to watercolor art. Wet tie dyeing also speeds up the dye's soak-in time so you get your results faster.
- Dye tends to spread more easily on wet fabric creating patterns that feel wonderfully blended and natural, almost like a watercolor painting come to life.
- Colors usually emerge softer and often merge gently where they meet giving off a vibe that is easy on the eyes.
- The edges of the dyed sections are generally softer too and add a lovely flowing quality to the overall design.
- Moisture opens up the fibers letting the dye soak in faster—kind of like a sponge eagerly soaking up every drop.

Key Factors to Keep in Mind When Deciding: Is It Better to Tie Dye Wet or Dry?
Choosing to tie dye on wet or dry fabric usually boils down to a handful of key factors—things like the look you’re aiming for and the kind of fabric you’re working with. The type of dye you use and how comfy you feel with the process also matter. These details shape how the dye dances on the fabric and what your final design looks like.
The choice between sharp or soft patterns often depends on the kind of color pop you want and how you prefer your hues to blend.
Fabric absorbency and texture play a big role in dyeing.
Dry dyeing can be a real lifesaver because it usually requires less hands-on time. It might take longer to fully set.
Wet dyeing usually produces beautifully smooth gradients. Dry dyeing stands out when you want sharp, precise shapes.
The type of dye also matters. Fiber reactive and acid dyes behave differently depending on whether the fabric is wet or dry.
Step-by-Step Guide to Tie Dyeing on Dry Fabric because sometimes, you just gotta let your creativity run wild and your fabric dry before the magic happens
Tie dyeing on dry fabric really shines when you want bold, sharp patterns that pop. Give your fabric a good wash and let it dry completely. This step is key to washing away any chemicals that might mess with your colors. Then get creative. Fold and tie the fabric with rubber bands or string in any pattern you fancy. Using squeeze bottles, carefully dab concentrated dye onto the dry fabric to keep those colors crisp and well-defined.
Give your fabric a good wash in cold water—skip the fabric softener this time—and dry it completely to remove any sizing that might be lurking around.
Fold or twist the fabric and secure it tightly with rubber bands. This little trick helps you get those crisp and sharp resist patterns everyone loves.
Take your time applying the dye slowly and carefully onto the dry fabric. Make sure to target different sections to achieve a well-blended look.
Cover your dyed masterpiece with plastic wrap and let it work its magic. Follow the dye’s instructions, which usually suggest anywhere between 6 and 24 hours depending on your patience level.
Rinse the fabric in cool water until it runs clear. Then give it a regular wash and let it air dry—no rush, good things come to those who wait.
Step-by-Step Guide to Tie Dyeing on Wet Fabric—Because Dry Just Will not Cut It
When tie dyeing on wet fabric, start by soaking your freshly cleaned piece in water and then give it a good wring to get rid of the excess. You want it damp, not dripping all over the place. Next, fold and tie the fabric nice and tight. Go ahead and apply the dye generously because the magic happens as the colors blend naturally due to that lingering moisture. Let the dye do its thing for the recommended time before you rinse it out.
Give the fabric a good wash, then let it soak in water until it’s evenly wet all around with no dry spots allowed.
Gently wring out the fabric so it’s nicely damp but not dripping. Otherwise, you’ll end up with dye running everywhere like a watercolor gone rogue.
Tie the fabric up tight with rubber bands or string. This is where the magic of your pattern really takes shape.
Slather on the dye generously and let those colors mingle and bleed together in their own unpredictable way because that’s part of the fun.
Cover your masterpiece with plastic wrap and let the dye work its magic. Make sure it fully sets before you rinse and dry it. Patience pays off here.
Common Misunderstandings About Wet and Dry Tie Dye (and Why They Trip Up Even the Best of Us)
There are quite a few myths floating around about wet and dry tie dye techniques that tend to trip up beginners. Some people swear that wet tie dye is guaranteed to make an absolute mess, while others say dry tie dye never lets the colors play nicely together.
- Wet tie dye can produce sharp detailed patterns when you take a little extra care so it doesn’t have to turn into a wild messy affair.
- Dry tie dye often brings out bright punchy colors but don’t write off blending shades. You can layer dyes or slightly dampen the fabric to mix things up.
- The fabric being wet doesn’t mean you’re doomed to endless dye runoff. Handle it right and you’ll keep things neat and tidy.
- Dyeing on dry fabric isn’t always faster because how long the color sets usually depends on the type of dye more than on whether the fabric is dry or wet.
- Both wet and dry methods work well with fiber reactive dyes. There’s no need to hunt for a special formula for either one.
Tips for Getting the Best Results, No Matter If You’re Team Wet or Dry
To truly bring out the best in your tie dye's color and durability, it pays to pick the right fabric and prepare your dyes with care. A common question is whether it is better to tie dye wet or dry, and the answer depends on your desired outcome. Handle the fabric thoughtfully. Whether you are diving into wet or dry methods, keeping those ties snug and following the dye setting instructions usually results in vibrant and long-lasting patterns that catch the eye.
- Go for natural fibers like cotton or rayon since they usually soak up dye much better than synthetic ones. This makes a noticeable difference.
- Don’t forget to wear gloves and cover your workspace unless you want to end up with a new tie-dye outfit on your hands and table.
- When tying the fabric sections, make sure they’re snug but be gentle because you don’t want to accidentally slice the fibers or ruin the shape you are aiming for.
- Stick to the recommended dye setting times and follow the instructions closely to get vibrant, lasting colors.
- After dyeing, rinse the fabric gently in cold water and wash it separately. This extra step helps keep the colors bright for longer.
Questions & Answers
Which method is better for a beginner, wet or dry tie dye?
Dry tie dye tends to be the safer bet for beginners since it’s more forgiving. The dye stays where you apply it, resulting in sharper and more predictable patterns with less messy bleeding. It’s easier to control how your final piece will look while you’re still learning the folding and dyeing process.
Will my colors be less vibrant if I use the wet method?
Not really. Wet dyeing usually gives you soft blended watercolor vibes but vibrant colors are still possible. The water thins out the dye a bit but if you’re working with quality fiber reactive dyes and keep your fabric damp—not drenched—you’ll get bright, saturated hues that pop.
How long should I let the dye set for each method?
The magic number mostly depends on the dye type rather than whether the fabric is wet or dry. With most fiber reactive dyes, wrapping your fabric tightly in plastic and letting it chill for 6 to 24 hours works well. This gives the dye enough time to bond firmly so your colors stay put no matter if you started with dry or damp fabric.
Can I mix methods on a single project?
Absolutely. Mixing things up is totally doable. For intricate designs, you might wet some parts of your fabric and leave others dry before applying dye. This blends crisp defined areas with soft gradient sections and helps you craft a look that’s more interesting and uniquely your own.
Does the type of fabric affect whether I should use wet or dry?
Definitely. The fabric really calls the shots. Natural fibers like cotton soak up dye well with either method. Dry dyeing often shines with vivid colors while wet dyeing helps the dye sink into thicker fabrics like terrycloth towels evenly. Just pre-wash your fabric to remove any oils that could interfere with the dye.


