How Long Does a Candle Take to Set for Best Burn Quality
Knowing how long a candle takes to set is one of those little details that can make all the difference between a candle that burns safely and evenly—and one that just doesn’t quite hit the mark. It’s also key to locking in that beautiful, lingering fragrance we all love.
What Does the Term 'Setting' Mean in Candle Making, Anyway?
'Setting' in candle making is that key moment when the freshly poured melted wax starts to cool off and firm up around the wick and inside the container.
Why Does Proper Setting Time Really Make a Difference in Candle Burn Quality?
Letting the wax have its time to set properly really does the trick—it cools down evenly and forms a solid, consistent structure that’s key for how your candle lights up the room.
- If the candle doesn’t get enough time to set properly, you might end up with tunneling—that annoying scenario where the wick burns straight down the center and leaves a frustrating ring of wax around the edges.
- Uneven burning sneaks in when the wax cools too fast or in fits and starts, kind of like it can’t quite make up its mind.
- The scent can come across as a bit weak if the fragrance doesn’t fully mingle with the cooled wax—like a shy guest at a party who just doesn’t speak up.
- Wick mushrooming usually shows up when the wick burns all wonky because the wax isn’t sticking around the way it should.
- Giving your candle the patience to set properly really pays off, ensuring a burn that’s steady and helps you squeeze every last bit of life from it.
- Candles allowed to settle just right tend to release their fragrance more evenly, which truly elevates the whole vibe and makes the experience all the more enjoyable.
Factors That Can Sink or Speed Up How Long It Takes for a Candle to Set
Several factors affect how long a candle takes to set, from the wax’s physical quirks to the environment where it’s left to cool. The type of wax is a game-changer. Soy, paraffin and beeswax each cool and crystallize differently. Candle size is not just about looks. Bigger candles hold on to heat like a warm blanket and usually take more time to fully solidify. Temperature and humidity around the candle can speed things up or slow them down. Warm and muggy conditions tend to drag out the process.
| Factor | Effect on Setting Time | Explanation |
|---|---|---|
| Soy Wax | Slower setting | With its lower melting point and leisurely cool-down, soy wax gently nudges you toward a smoother finish—though patience is key since it takes longer to set |
| Paraffin Wax | Faster setting | This one cools off in a flash because it crystallizes quickly; perfect if you’re in a hurry, but watch out for a few uneven spots here and there |
| Beeswax | Slowest setting | Dense and tough as nails, beeswax demands extra cooling time but rewards you with a candle that stands the test of time |
| Small Candle Size | Fast setting | Less wax means less waiting—smaller candles chill out fast and solidify in no time |
| Medium Candle Size | Moderate setting | Striking a reasonable balance, these take their sweet spot between 12 to 24 hours to fully set |
| Large Candle Size | Slow setting | More wax, more hang time—big candles hold onto their heat longer, stretching setting past the 24-hour mark |
| Ambient Cool Temp | Faster setting | When the air’s on the cooler side, wax tends to harden up quicker, speeding up the process |
| Ambient Warm Temp | Slower setting | Warm environments keep that wax soft and cozy, putting the brakes on solidifying for a bit longer |
| Glass Containers | Moderate to slow setting | Glass likes to hang on to heat, so expect a more relaxed cooling pace compared to metal |
| Metal Containers | Faster setting | Metal’s a natural heat conductor, whisking the warmth away and helping your candle set faster |
Common Setting Times for Various Candle Types A Handy Guide
Setting times can really run the gamut depending on the candle’s design and how you plan to use it. Container candles safely nestled in their holders usually firm up faster than free-standing pillars. Smaller candles like votives tend to harden quicker because of their compact size. Specialty shapes or taper candles often need more patience and a longer curing period to keep their shape intact and burn just right.
- Container candles usually need 12 to 24 hours to fully set. It depends on the type of wax and their size, so some patience is required.
- Pillar candles are denser and bigger. They often take around 24 to 48 hours to solidify completely, so don’t expect to rush these beauties.
- Votive candles are smaller and tend to set up quickly, often within 6 to 12 hours. They are the sprinters of the candle world.
- Taper and specialty-shaped candles can be unpredictable with their setting times. They often need a longer cure to hold their shape and guarantee a smooth steady burn—worth the wait in my experience.

Step-by-Step Guide to Making Sure Your Candle Sets Just Right
Get the best results when setting your candle by monitoring the pouring temperature and choosing the right spot for cooling. Be patient and let the candle cure properly. Following these steps can save you from annoying issues like cracking or uneven surfaces and result in a smoother finish.
Pick the right wax and wick combo that fits your candle type and the kind of burn you are aiming for.
Pour the melted wax at the exact temperature the manufacturer recommends because this step saves you from uneven cooling and burning.
Place your candle somewhere stable at room temperature away from drafts and direct sunlight. This helps it cool down nicely and steadily without any surprises.
Let the candle cure for at least the suggested time, usually 24 to 48 hours or more before lighting it up for the first time. Patience here really pays off.
How Long It Takes Candles to Set (Spoiler: It’s Not Always What You’d Think)
It is pretty common to believe that a faster setting time automatically means you are dealing with a higher quality candle, or that all candles behave the same no matter their wax type or size. Some individuals even swear by tossing candles in the freezer to speed things up, or think that setting time only really matters for scented candles.
- Myth: Faster setting always means a better burn. Rushing the cooling process can actually cause cracks and pesky surface flaws that nobody wants to deal with.
- Myth: Curing times are the same for all candles. Different waxes and candle styles each have their own sweet spot when it comes to setting time if you want top-notch quality.
- Myth: Putting candles in the freezer helps them set. Sudden temperature swings usually lead to uneven textures and structural headaches.
- Myth: Only scented candles need proper setting. Every candle—scented or not—gets a boost from careful cooling and curing, which makes for a better burn and safer experience all around.
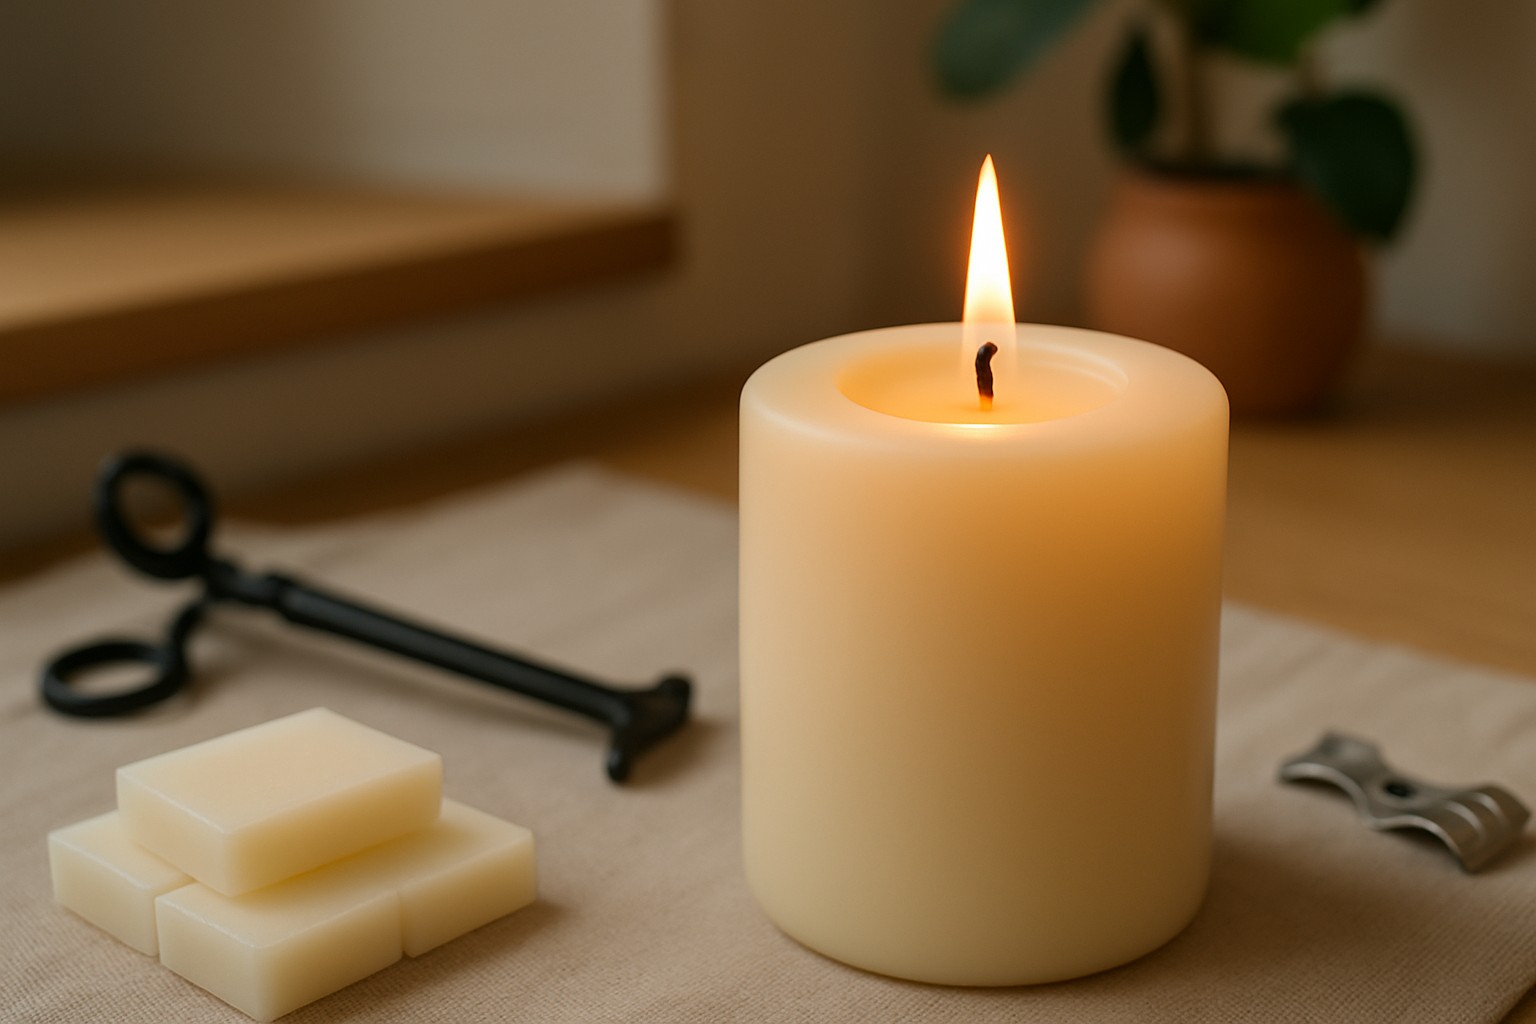
How to Tell When Your Candle Has Truly Set
A few quick checks can really save the day and confirm if the candle is all set. You want the surface to look smooth and opaque with no cracks or sticky spots sneaking in. Give the candle a gentle touch to make sure it’s fully cooled and hardened because nobody wants a gooey surprise.
- Take a good look at the candle’s surface to make sure it’s even, smooth as silk and properly opaque. Avoid any wet spots or unwanted shine that might throw you off.
- Give the candle a little feel. It should be cool and firm to the touch, not soft or warm like it just woke up from a nap.
- Go ahead and do a quick test burn for 30 to 60 minutes to check how steady the flame dances and see if the scent spreads around the room as it should.
Handy Tips to Boost Burn Quality After Setting
Once your candle has fully set there are a few straightforward tricks to keep its burn quality in tip-top shape. Trimming the wick on the regular and keeping an eye during burn sessions usually work wonders for the flame’s size and how evenly the wax melts away.
- Trim the wick to about 1/4 inch before lighting. This simple trick really helps keep those pesky large flames and soot at bay.
- Make sure to burn the candle long enough each time to form a full melt pool. It’s the secret to avoiding that annoying tunneling effect.
- Store your candles in a cool, dry spot away from heat and direct sunlight. Nobody wants their favorite candle softening or cracking right before a cozy night in.
Questions & Answers
Can I speed up the setting process by putting my candle in the refrigerator or freezer?
It’s usually best to resist the urge. Popping your candle in the fridge or freezer might seem like a shortcut but chilling the wax too quickly can cause it to shrink unevenly. This results in cracks, sinkholes, or a patchy scent you don’t want. The golden rule? Let your candle cool slowly at room temperature undisturbed and it will thank you in the end.
How long should I wait to burn a new soy candle versus a paraffin one?
Soy wax tends to be more patient and usually needs a longer curing time than paraffin. A paraffin container candle might be good to go within 12 to 24 hours. A soy candle of the same size benefits from chilling for about one to two weeks. That extra wait lets the fragrance oils bond with the wax so you get a richer, stronger scent when lit.
My candle surface looks smooth and solid. How can I be 100% sure it is set properly before lighting?
Looking smooth and solid is a great start but a hands-on check helps too. Give it a gentle press near the wick. The surface should feel cool and firm to the touch, not soft or warm. If you want to go the extra mile, light it for a short burn of 30 to 60 minutes. A steady flame and an even melt pool are green flags everything is set just right.
Does the room's temperature really make a difference in how my candle sets?
Absolutely. If your room is warm or humid, the cooling process drags on and can lead to uneven setting or a weak scent. On the flip side, if it’s too cold or drafty, the wax might solidify too quickly and get pesky cracks. Ideally, you want a fairly stable moderate room temperature like Goldilocks finding the ‘just right’ spot to get the smoothest, most even set.
I am making a large pillar candle. Do I need to let it set longer than a small container candle?
Oh definitely yes. Larger denser pillar candles behave like heat traps. They hold warmth in the core longer and usually need 24 to 48 hours to harden completely. Smaller votives tend to set in 6 to 12 hours. Rushing a big candle’s setting is a recipe for trouble like collapsing or uneven burning so patience really pays off here.