Can You Paint Tile Backsplash in Kitchen Without Prep?
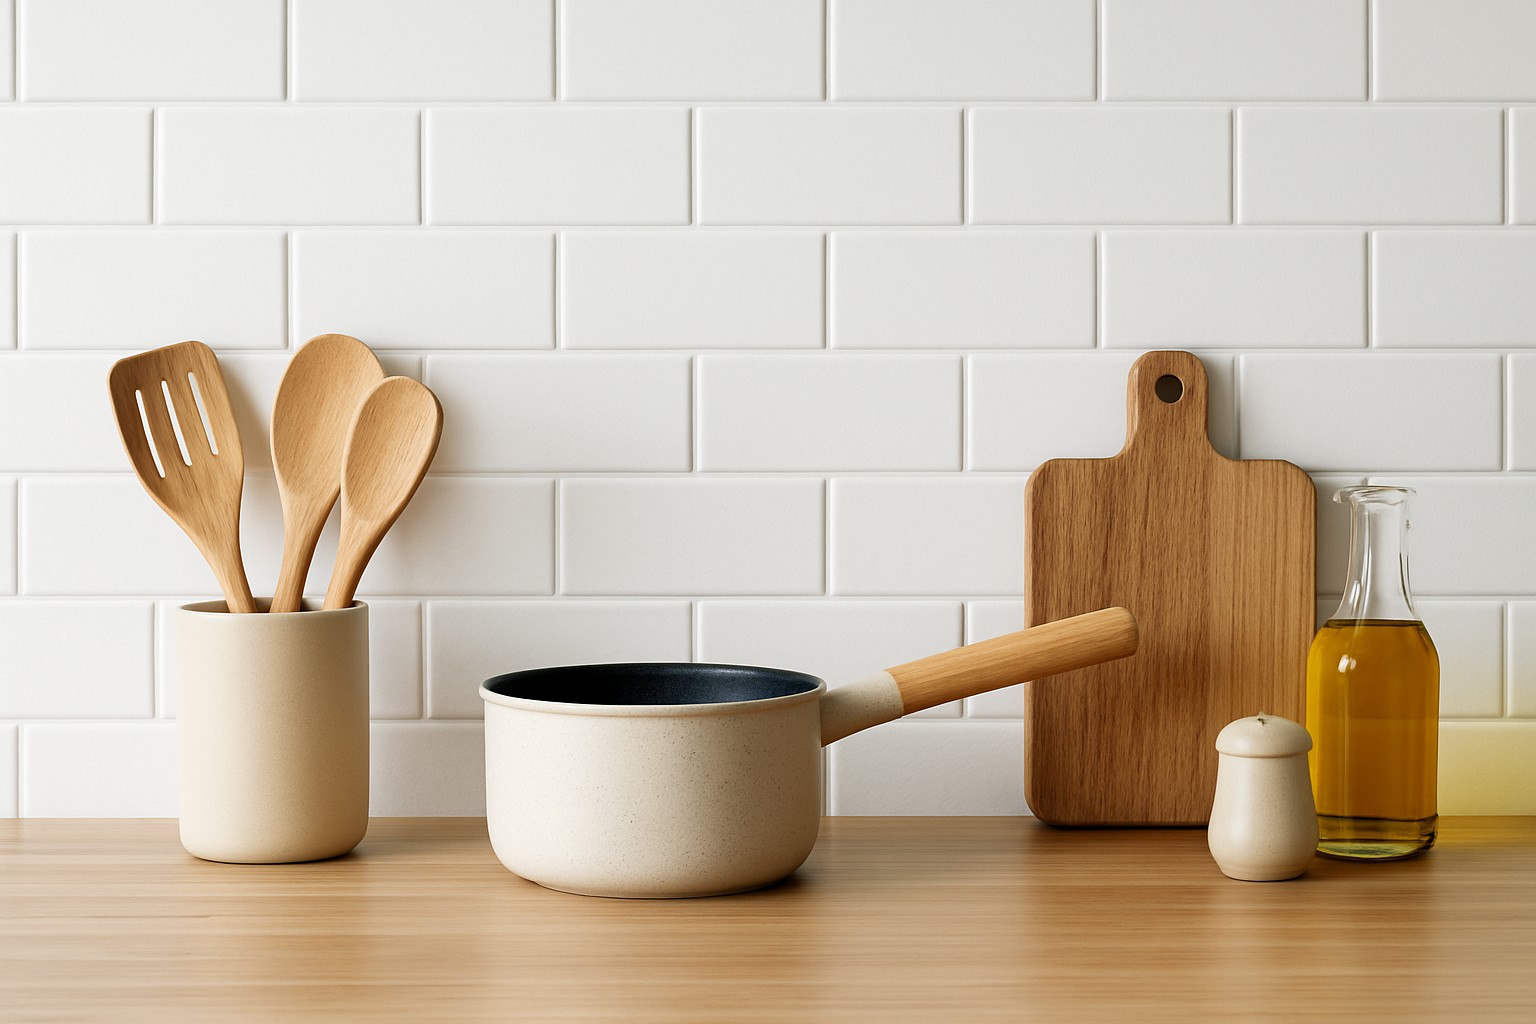
If you're wondering can you paint tile backsplash in kitchen spaces, the answer is yes - it's a tried-and-true way to freshen up your space without a full remodel. Lots of people ask if they can skip the prep work and paint directly on the tiles. Taking extra time to prep properly makes all the difference because it helps the paint adhere better, last longer, and give you a smooth finish you want.
Can You Really Paint a Tile Backsplash in Kitchen Without Doing Any Prep Work First?
Painting tile without any prep work might sound easy and technically you can do it. But in my experience it is rarely the smartest move. Tiles have a slick glossy surface that will not hold paint properly. Skip proper prep and you set yourself up for frustration like peeling, chipping or uneven patches.
- Paint often refuses to stick properly and peels or flakes off sooner than you would hope.
- If the base isn’t smooth the finish can look patchy or blotchy which is never a good look.
- Kitchen steam and grease take a toll on the paint making it prone to damage.
- This means your paint job might have a shorter lifespan and you’ll need to touch it up more often.
- Plus, the surface gets tougher to clean because paint applied without proper prep resists scrubbing.
In those rare moments when you’re tackling matte unglazed tile that hasn’t seen much grease, you might get away with light sanding and skipping the primer altogether.
Key Steps to Gear Up Before Painting a Tile Backsplash
Give those tiles a good scrub to wipe away any grease, dirt and grime that’s been lurking around.
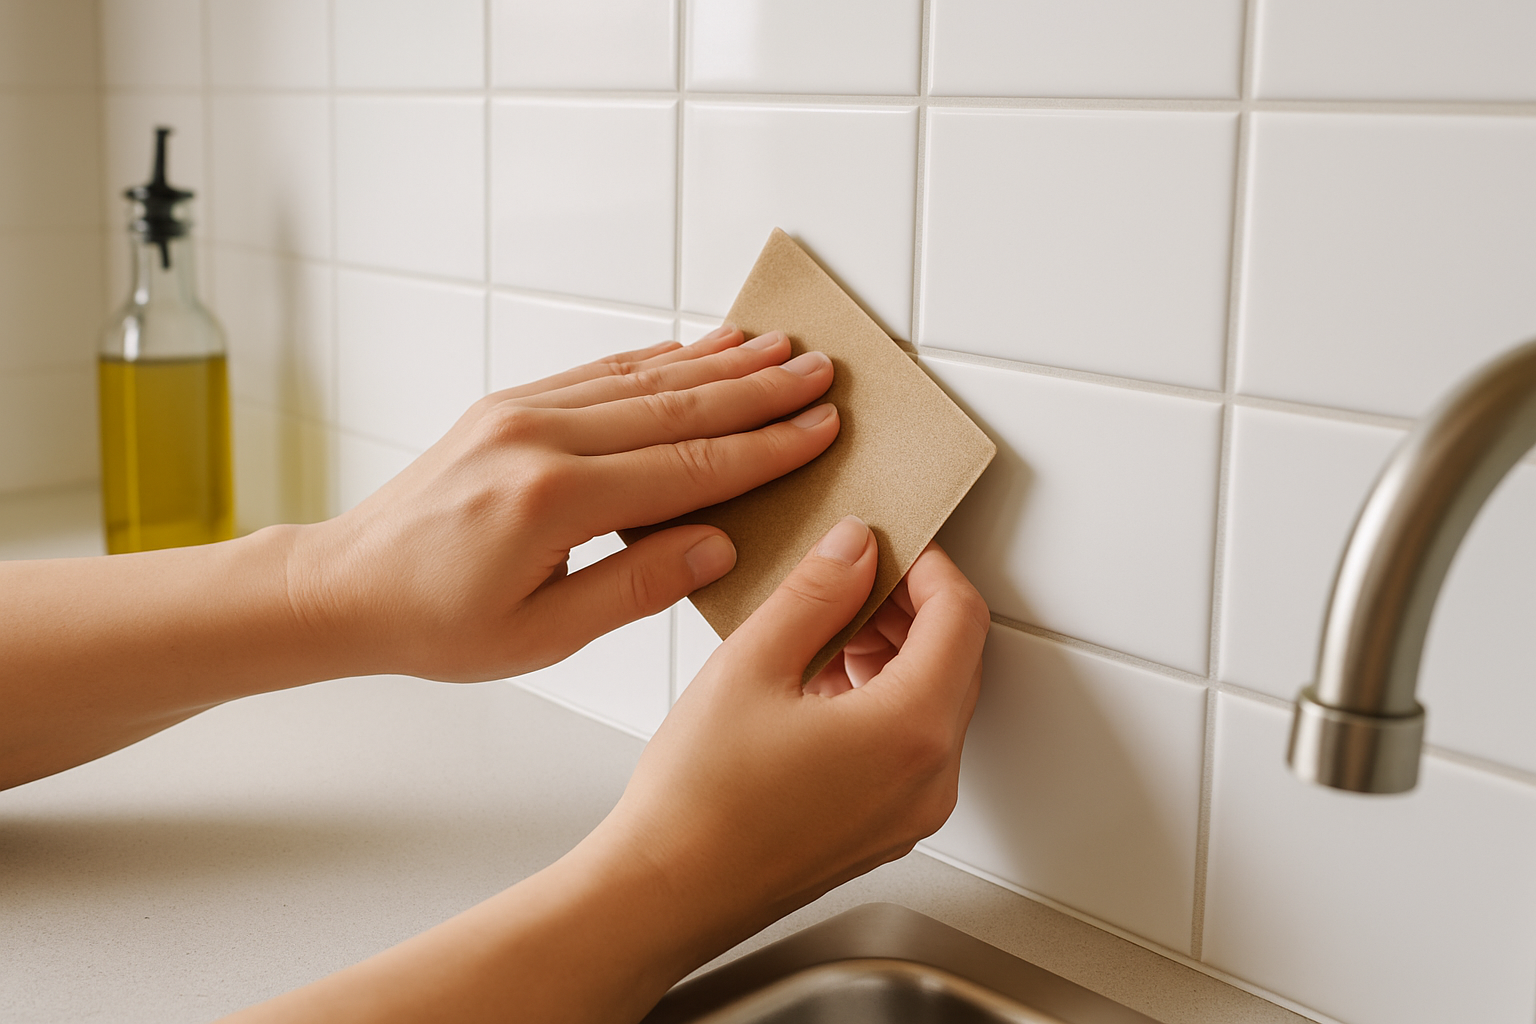
Give the surface a light sanding to take the shine down a notch. This little trick really helps the paint grab on.
Patch up any cracked or missing grout to smooth everything out because it’s all about that even canvas.
Reach for a primer that’s made just for tiles or glossy surfaces since it makes a world of difference.
Finally, don’t rush it. Let the area dry completely before diving into the painting. Patience pays off here.
Start off by giving those tiles a thorough clean with a heavy-duty degreaser like trisodium phosphate (TSP) or a kitchen cleaner that is tough on oils—this step is worth the elbow grease. Once you’ve wiped everything down, take some fine-grit sandpaper (220-320 grit) and lightly sand the tiles because this roughens the surface just enough to help the paint grab on like a champ. Fill cracks in the grout with a grout repair kit to smooth out bumps or imperfections. Next, pick a primer that really sticks, usually an epoxy-based or bonding primer designed for ceramics and tiles.
Top Paints and Tools You’ll Want for Your Tile Backsplash
Picking the right paint really matters—it's one of those small details that can make a big difference. Epoxy and enamel paints usually deliver great durability along with a glossy finish, which makes them perfect for kitchen tiles. Acrylic paints designed specifically for tiles or damp surfaces also tend to do a solid job, no fuss. Using good-quality synthetic brushes or small rollers not only helps spread the paint evenly but also spares you from those annoying streaks.
| Paint Type | Durability | Ease of Application | Finish Quality | Drying Time | Suitability for Kitchen Tiles |
|---|---|---|---|---|---|
| Epoxy Paint | Very High | Moderate (best used with good ventilation, trust me, you’ll want fresh air) | High Glossy | 24-48 hours | Excellent – Tough as nails and keeps moisture at bay like a champ |
| Enamel Paint | High | Easy to moderate | Smooth and durable finish that stands up well over time | 6-12 hours | Very Good – Handles heat and moisture like a seasoned pro |
| Acrylic Paint | Moderate | Easy to apply | Matte to semi-gloss finish that looks clean without fuss | 1-2 hours | Good – Just remember, a proper primer is your best friend for sticking power |
| Latex Paint | Low | Easiest of the bunch | Matte finish, simple but not very hardy | About 1 hour | Generally not recommended unless you’re willing to do some serious prep work |
| Spray Paint (Epoxy or enamel-based) | High | Requires a steady hand and plenty of ventilation | Very smooth and even coverage – great if you’re after that flawless look | 1-2 hours | Ideal for nailing even coats on textured tiles without breaking a sweat |
Epoxy paint is famous for its rock-solid durability and impressive resistance to moisture. This makes it a go-to option for kitchen backsplashes that deal with heat and steam. Enamel tends to be easier to slap on and offers a finish that lasts a good while, usually with fewer coats needed. Acrylic paints can hold their own on tiles that are properly primed but usually don’t last as long as epoxy or enamel. Spray paints give you that smooth even finish everyone loves but call for good ventilation and some finesse to keep overspray in check.
A Down-to-Earth Guide to Painting Your Tile Backsplash
Clear off your kitchen workspace and cover counters and appliances with drop cloths to protect them from drips or splatters.
Clean the tiles well and sand them thoroughly to roughen the surface then let them dry completely. Being patient here really pays off.
Use a brush or small roller to apply a generous coat of primer made specifically for tiles. Don’t be shy with this step because it’s the key to success.
Allow the primer to dry fully following the manufacturer’s instructions. You don’t want to rush this part and regret it later.
Paint the first coat with even strokes starting at the top and working your way down to prevent drips.
After the first coat is completely dry apply a second coat if you want perfect full coverage.
Finish by applying a clear water-based polyurethane sealer for extra durability and moisture protection. Think of it as armor for your newly painted tiles.
Try to work in a well-ventilated space and don’t forget to wear a mask to keep fumes at bay. When you’re applying your paint use light and even strokes whether you’re using a brush or roller to avoid brush marks. Patience really pays off here. Letting each layer dry fully might feel slow but it’s the secret to making your paint job stand the test of time.
Common Challenges You Might Run Into and How to Dodge Them
- Paint peeling often sneaks up when the surface hasn’t been cleaned just right or if you decided to skip the primer—big mistake.
- You might notice brush marks showing up, especially if the brushes are on the cheap side or if you’re slathering the paint on a bit too thickly.
- Uneven color tends to pop up when you don’t lay down enough coats or if the paint dries faster than you’d like, which can happen more often than individuals realize.
- Drying times can drag on longer than expected, especially when it’s humid or there’s barely any airflow swirling around.
- Painting glossy tiles is a bit of a dance, and it’s tricky without giving them a good sanding first to grip onto.
- It’s super important to shield those grout lines carefully so you don’t end up with paint bleeding or buildup—it’s a messy situation nobody wants.
Tackle these challenges by starting with a spotless well-sanded surface that is nicely primed. Pick high-quality brushes and apply thin, controlled coats. Keep humidity low and ensure plenty of fresh air flows around to speed up drying and avoid stickiness. Painter's tape is your best friend for guarding grout lines. When it is time for the edges, a steady hand or small brush will save the day with precision.
How to Keep Your Painted Tile Backsplash Looking Fresh and Fabulous
If you're wondering can you paint tile backsplash in kitchen surfaces, the answer is yes - just keep it looking sharp by using gentle non-abrasive cleaners and a soft cloth. Trust me, the paint will thank you. It's best to avoid scrubbing hard or using abrasive pads since those usually cause annoying chips.


